
I’m working my way through projects in my master bedroom makeover, and while there hasn’t been anything particularly “blog worthy” yet, I did do one small DIY this week that was:
a) something I’ve never done before
b) super easy
c) turned out spectacular.
Want to know what it was?

I turned silver into gold with a magic little product called Rub ‘n Buff. Have you heard of it or used it before?
Rub ‘n Buff is a metallic wax finish that is often used on frames, restoring antiques, or any craft project/home decor that you want to add a metallic touch to. It comes in a variety of gold colors and also a few silver and copper finishes as well. To me, the beauty of this product is how quick and easy it is to use. You can buy spray paints that have a metallic look to them, but this is way more simple to apply with a brush vs. setting up an area to spray paint, applying several coats trying to get smooth, even coverage, and waiting for them to dry.
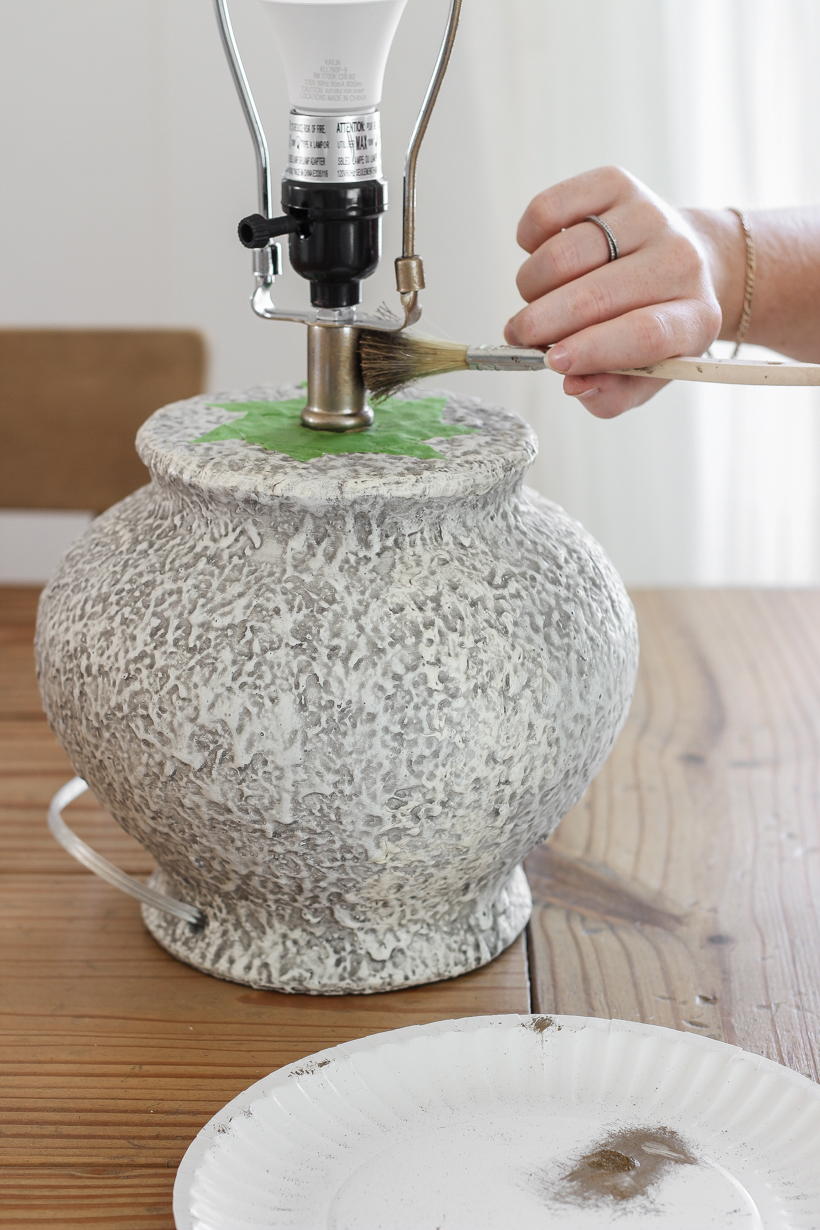
And in the situation I was using it for, I would have to do a whole lot of taping and prep work to be able to spray paint the silver parts of this pretty lamp gold if I didn’t use Rub ‘n Buff. I bought two lamps for my nightstands that are beautiful, but all the metal on the lamp and shade is bright, shiny silver. I generally go with a gold finish if possible in this house, so I wanted to see if I could quickly give the lamps a little makeover to turn the silver into gold…
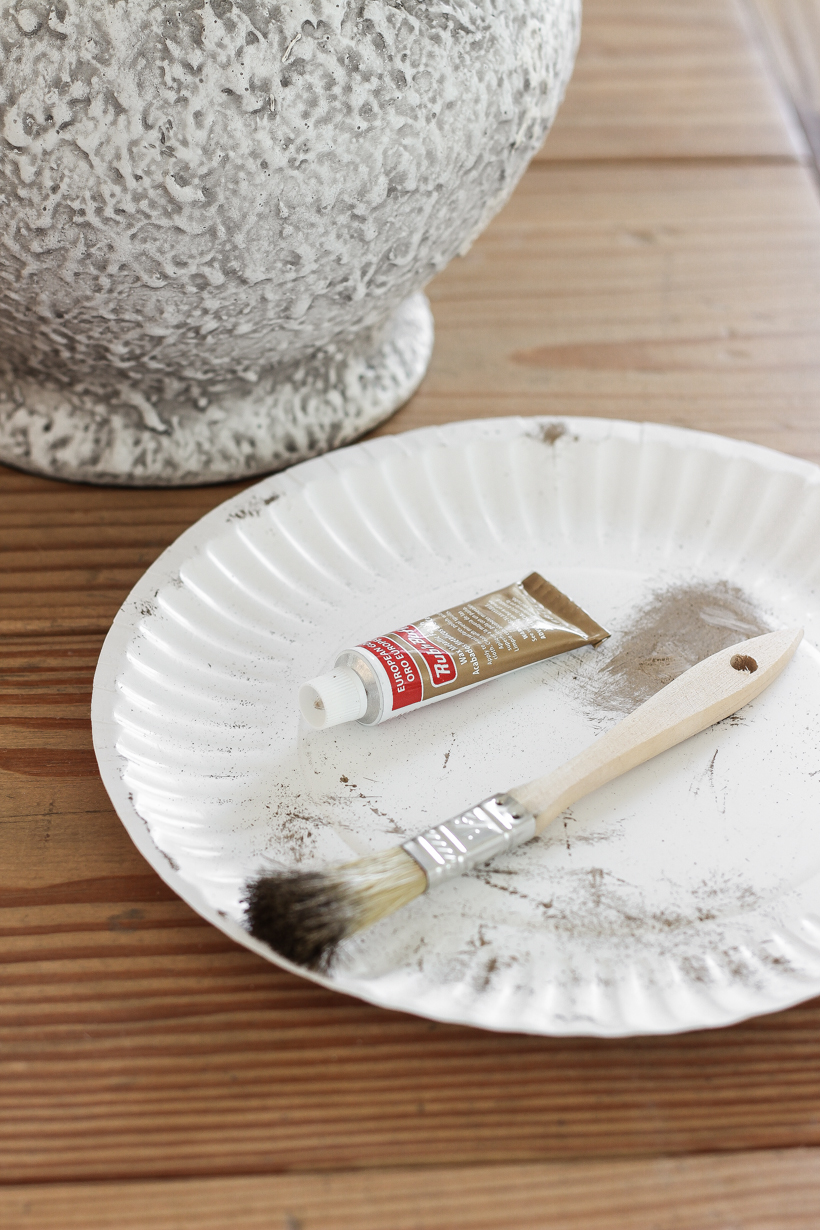
All I needed for this project was a brush, paper plate, and a tube of Rub ‘n Buff. I was shocked how tiny the size of the tube was, but it didn’t take long to realize that a little bit of this product goes a LONG way.
I taped off a few parts of the lamp that I didn’t want to get any gold on and dabbed small amounts of the Rub ‘n Buff to all the silver surfaces. I was shocked how well the product adhered to the shiny metal surface, and it took very little effort to get a smooth, even finish. I used the color European Gold, which turned out to be a very natural looking “antique gold” finish in my opinion.
T I P : want a truly aged antique look? Give your item a quick coat of black spray paint before applying the Rub ‘n Buff! The black spray paint will not only give your wax something to hold onto better, but the little bits of dark that will show through the gold finish will give it a really authentic antique look. You will barely see these parts of the lamp once I put the shade back on, so I didn’t both with this step, but I’m excited to try this technique on another project that will be more visible!

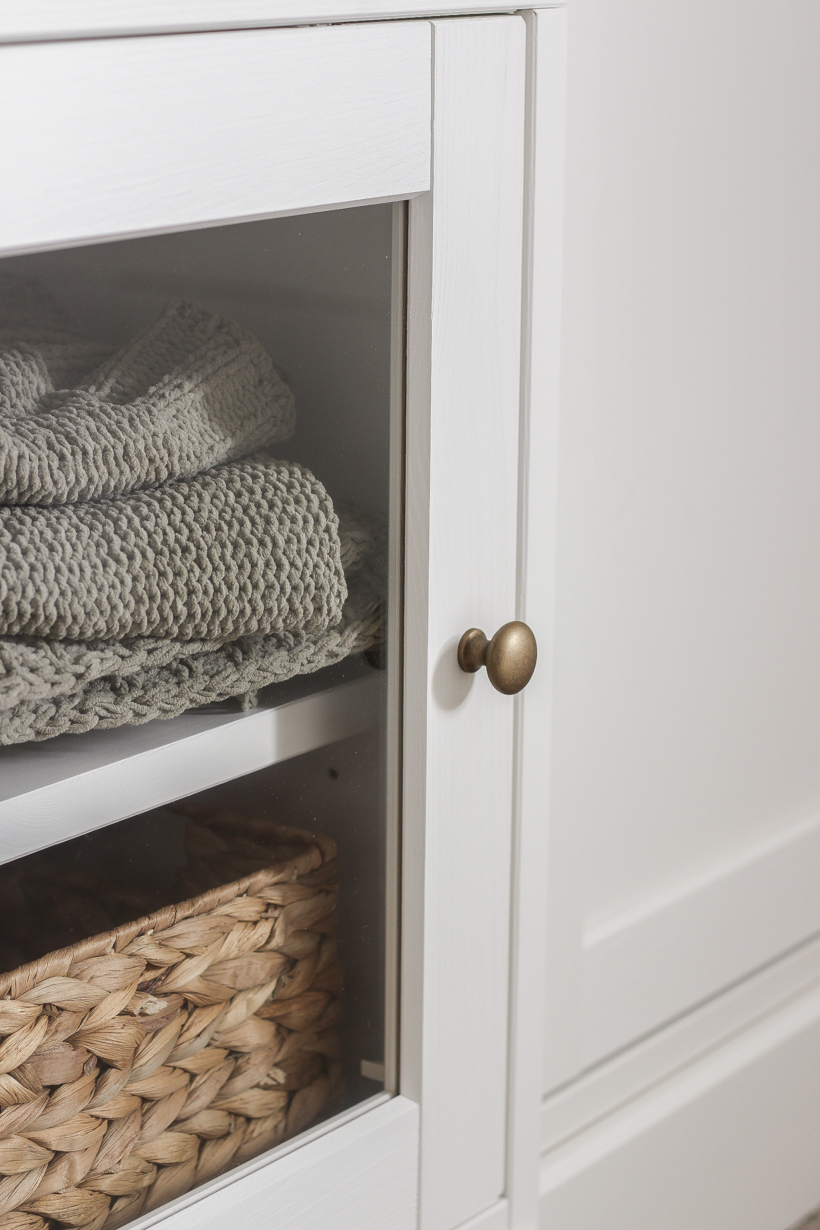
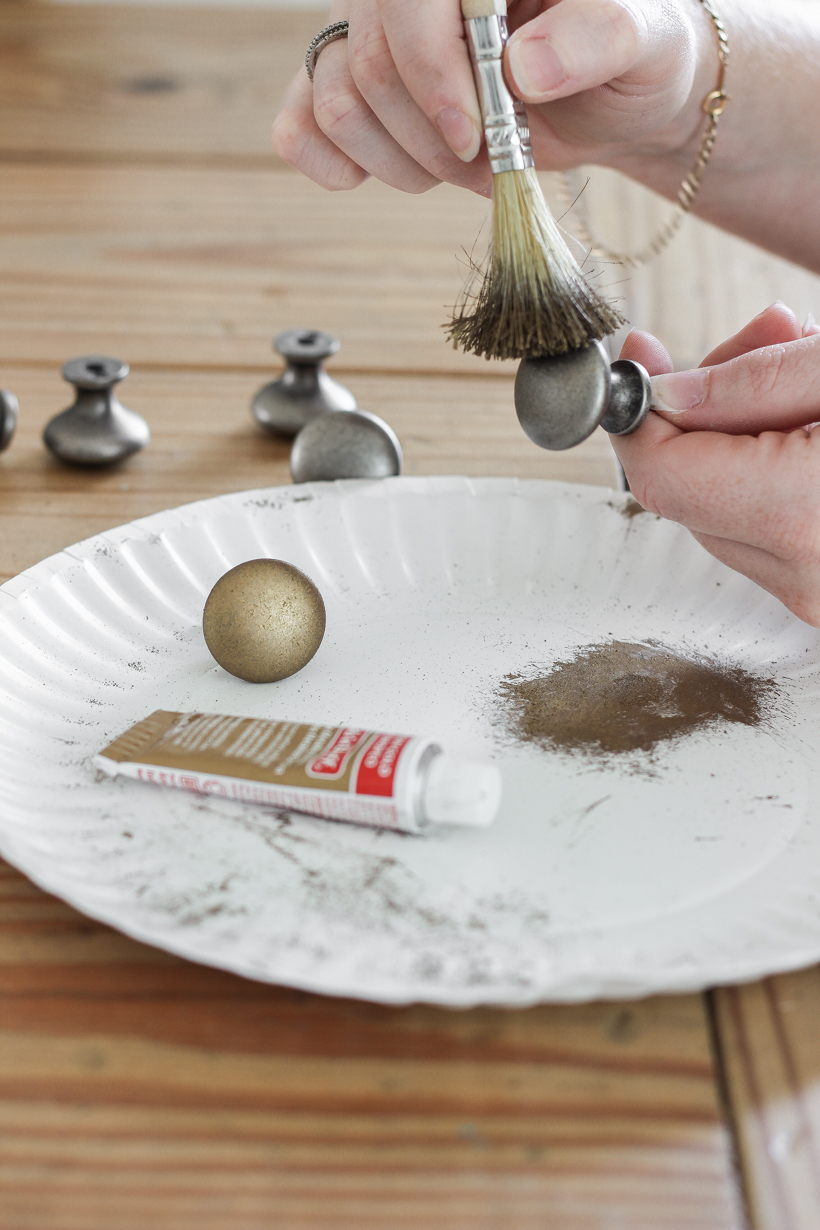
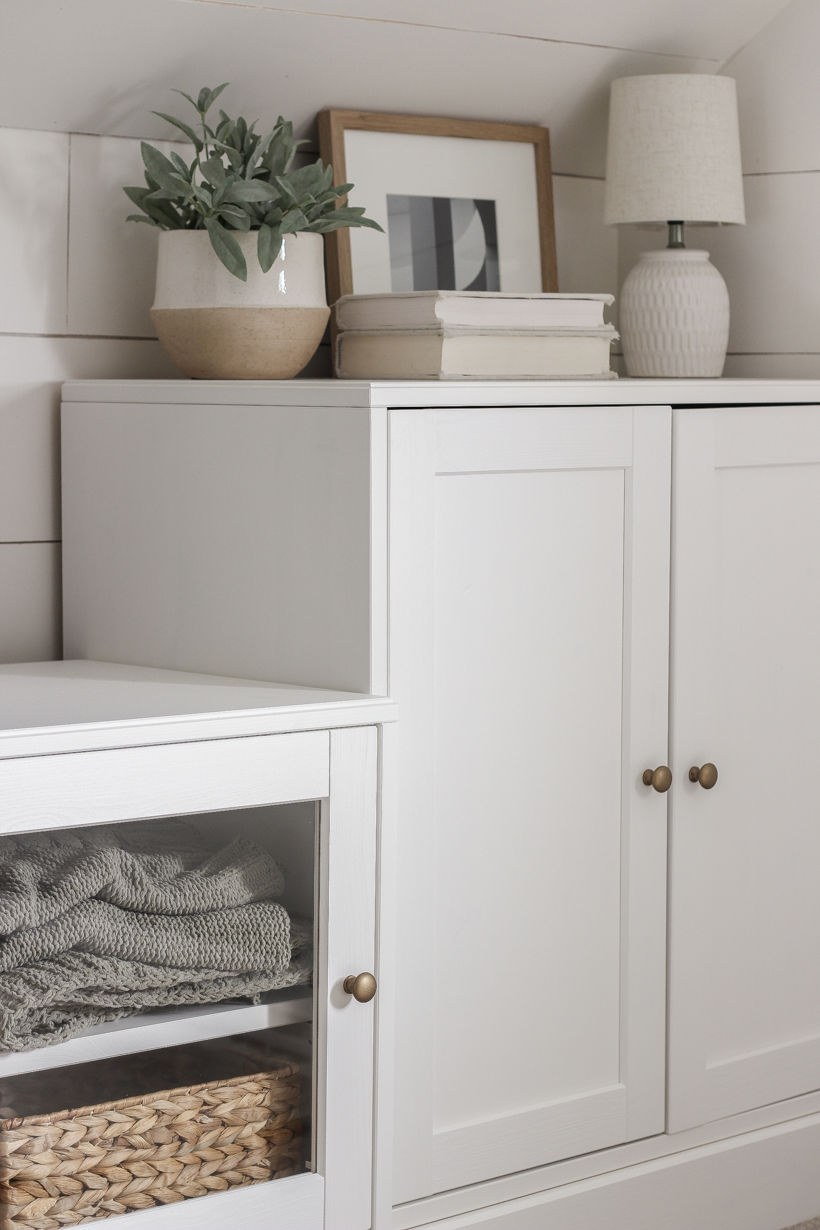
I also had knobs on a new IKEA piece of furniture that I wanted to be gold as well, so I removed them from the cabinet doors and gave them a Rub ‘n Buff treatment as well.
T I P : when you are painting or applying any finish to knobs like this, put the screw into the hole that you would use when installing it on the piece of furniture to use as a handle so you don’t get your fingers all messy and get fingerprints on the knob!
The product dried quickly, and I put everything back in my bedroom. Here is how they turned out!

Isn’t that pretty?
Did this project make any huge drastic change in my bedroom? No. But am I happier now that the metal finishes in the room are all coordinating, and I think it’s the attention to small details that can make a room feel extra special!
Have you used Rub ‘n Buff before? What did you use it on? What is your favorite color? I’d love to hear your feedback if you try this product!
I hope this simple tutorial was helpful, and I will have more updates on my bedroom soon!
MORE DIY TUTORIALS:
Paper Mache Pressed Flower Art
Distressed Canvas Book Covers
How to Make a Succulent Bowl
How to Paint Wicker
DIY Mantel Tutorial
As always, I sincerely appreciate you shopping through the links I share, which allows me to make a small commission from your purchase while your purchase price stays the same. When you use my affiliate links, I’m better able to create content for this blog as well as support my family, and I thank you from the bottom of my heart for supporting what I do!

I will certainly try this. My kitchen cabinet handles are pewter color, and even if I paid a good price for them, some of the color has come off with use. It’s interesting to notice that the Ikea knobs in my bathroom have never discolored, even if they were much cheaper in price. Anyways, I was hesitant to take all my kitchen knobs out and spray paint them, because as you mentioned, it would be quite a hassle. This method with rubnbuff sounds much easier. Thank you for this suggestion.
Makes me happy to see a another generation using old techniques and materials, Rub n Buff, Hyper Tufa…. bleaching wood and baskets….a lot of things I did or used years ago is having another moment. I love the versatility of Rub n Buff, it’s my go to for restoring vintage frames that need missing pieces molded and re- finished to look original, a little goes a long way and it can be used all over an antique frame to blend in the new pieces with original molding. It’s magic in a tube! Wonderful post
This is a great produt. When I was looking for a round wall clock, I found one that was the right size but it was black and I wanted a galvanized look. Rub N Buff worked great to get the look I wanted.