
In partnership with Minwax // I think I finally found… actually, finally BUILT the perfect coffee table for our living room. But let me backup and start from the beginning! I’ve been wanting to build a big storage trunk for the end of my bed, so I got some plans together and started building this beauty. By the time I got done putting it all together I realized that this trunk has SO many good uses and could be the perfect piece of furniture for tons of different spaces in your house. Need storage for extra pillows or out of season clothing in your bedroom? Here you go, friends. Looking for the perfect storage bench to hold tons of shoes AND double as a big bench in your entryway or mudroom? This is it! Love the look of antique trunks as a coffee table in your living room? This is exactly the project tutorial you need. Want a cozy window seat that doubles as extra storage? I could keep on going, but you get the picture!
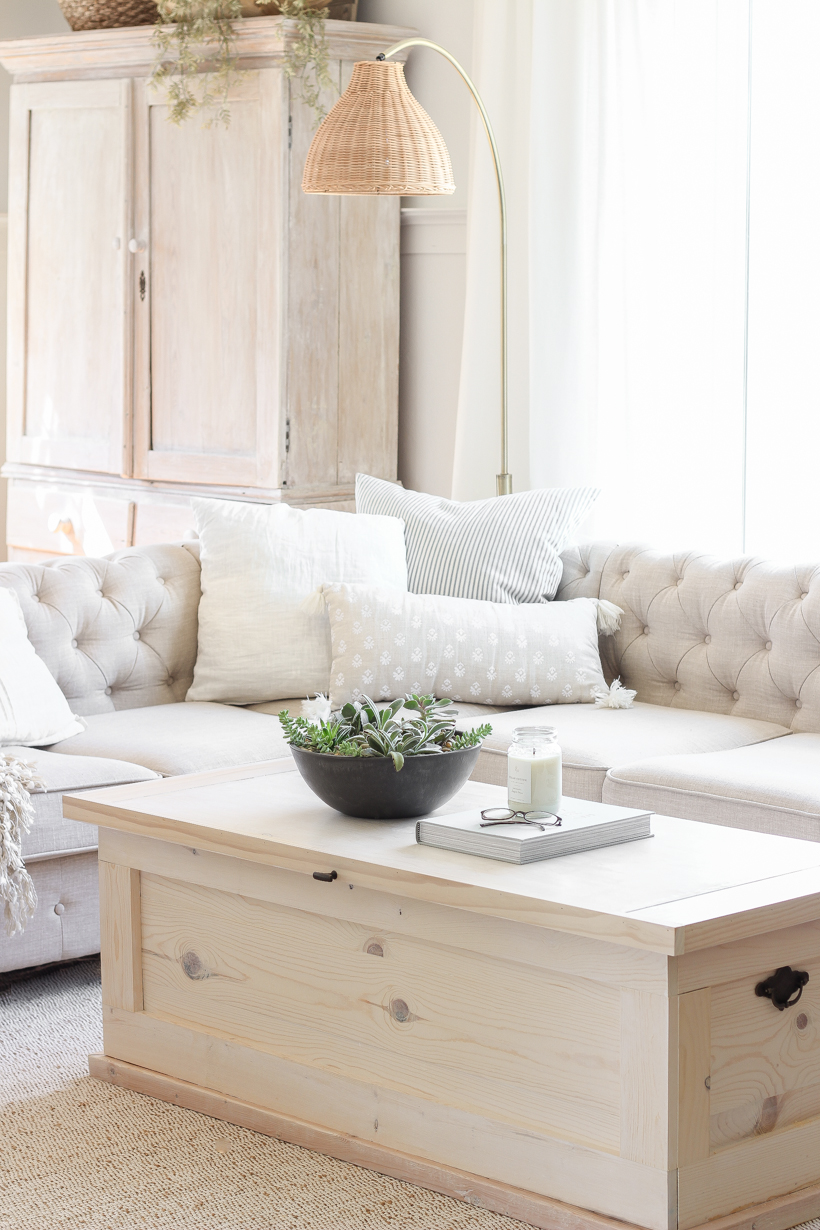
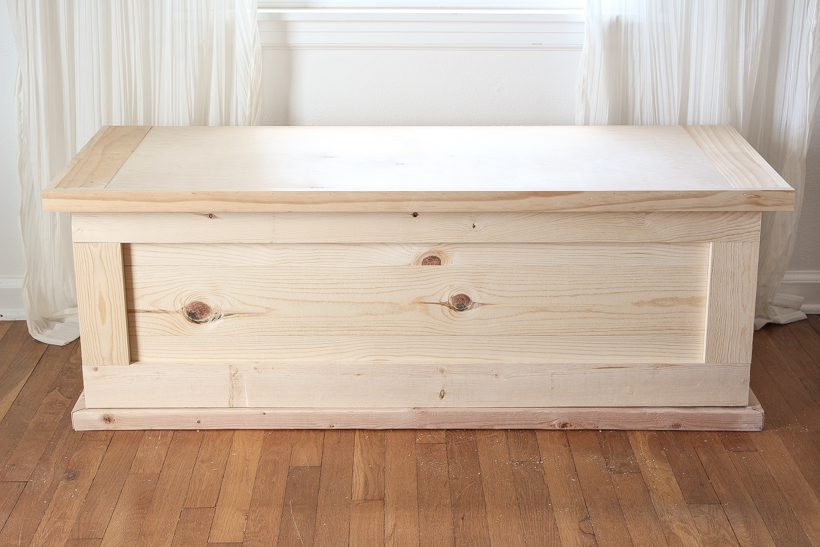
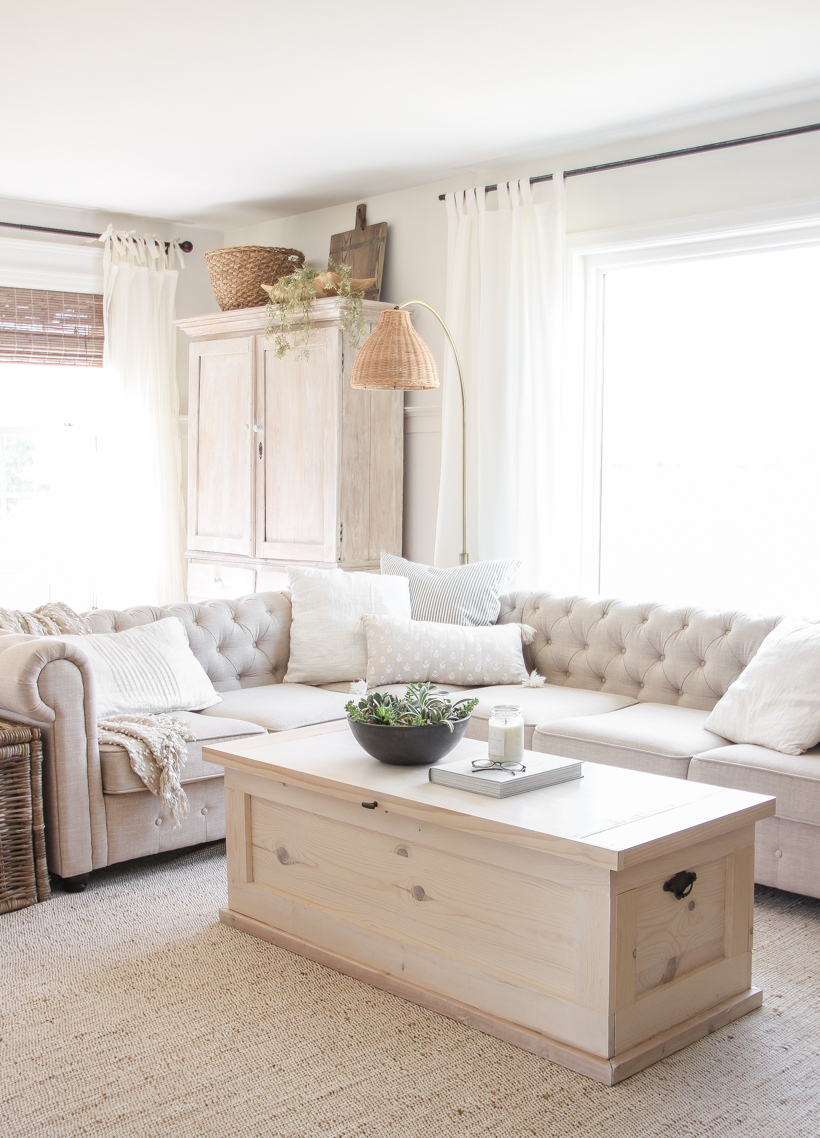
This beautiful storage trunk is one of the larger projects I’ve done in awhile, but it was actually really simple to assemble and I know this is a piece that will be with us for a long time to come. I cannot wait to dive in and finally share this project with you because I am SO pleased with how it turned out, and I honestly can’t decide whether I want to move it upstairs to my bedroom like I had originally planned or keep it down here in the living room. I absolutely love the light, bright look in here, but the wood grain peeking through the white stain gives it just enough texture to keep it from blending in with the rest of the light, neutral items in the room. Maybe I’ll style it in both spaces and take a vote on which way you like better!
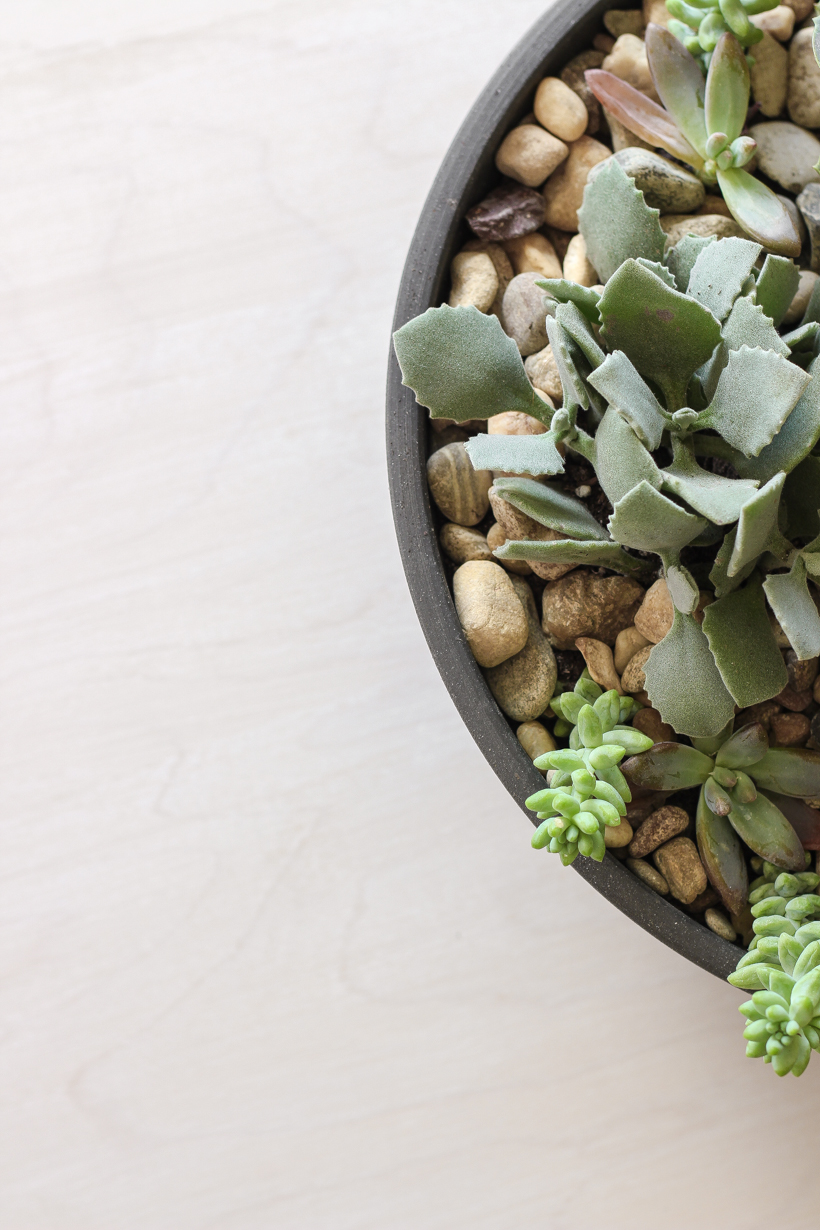
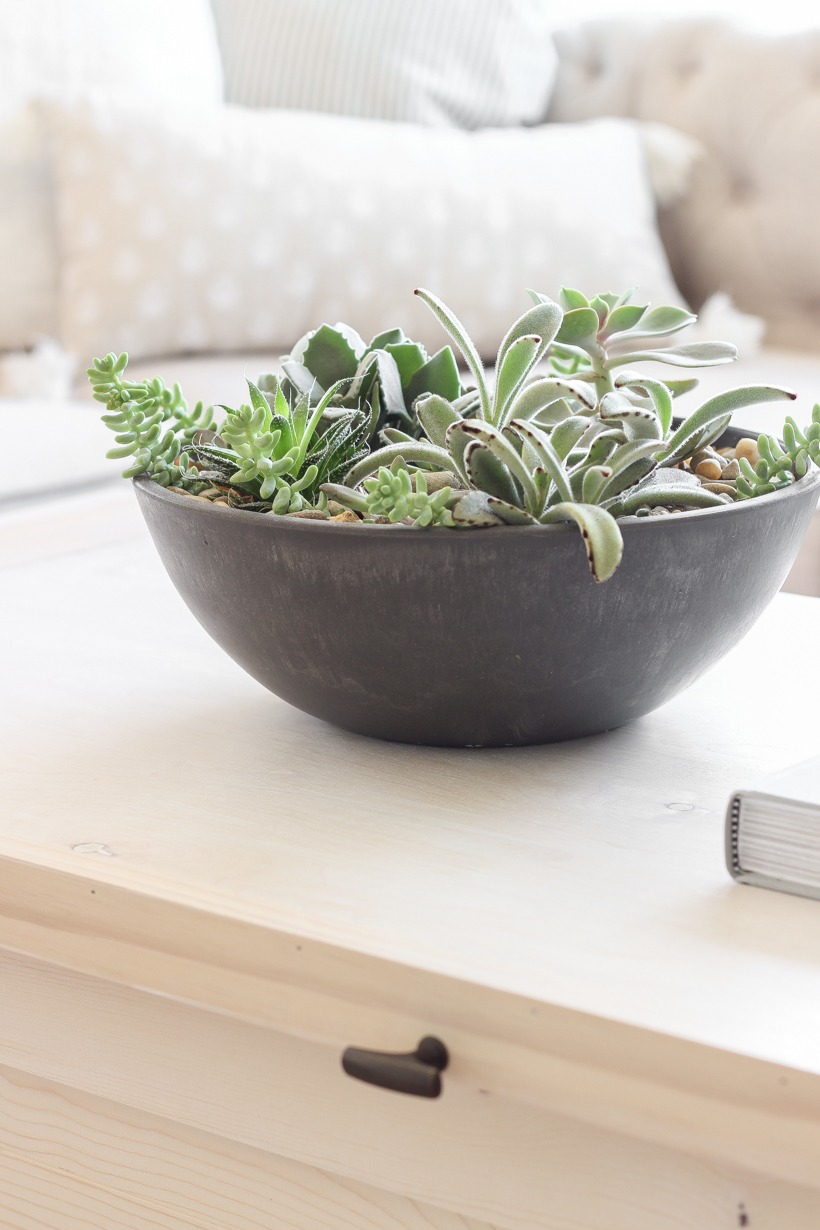
P.S. Want to know how I made this succulent bowl? I have a tutorial here!


DIY Storage Trunk
finished dimensions: 53 1/2″ length x 21 3/4″ width x 18 3/4″ height
project cost: around $83 in lumber and screws + $23 for the hardware and hinges
SUPPLIES:
tape measure
saw
drill
brad nail gun
Kreg Jig pocket hole system
wood glue
1 1/4″ wood screws
1 1/4″ Kreg Jig pocket hole screws
2 1/2″ Kreg Jig pocket hole screws
1 1/4″ brad nails
30″ continuous hinge
lid support hinge (optional)
handles/pulls for sides and lid of trunk (optional)
sander
finish of choice – I used:
Minwax Water Based Pre-Stain Wood Conditioner
Minwax Water Based Wood Stain mixed in: Pure White
Minwax Water Based Polycrylic
CUT LIST:
6 – 1 x 6 cut to 47″ (front + back panel)
6 – 1 x 6 cut to 18 1/2″ (side panel)
3 – 1 x 6 cut to 47″ (base panel)
2 – 2 x 4 cut to 52″ (long base frame)
2 – 2 x 4 cut to 21 1/2″ (short base frame)
4 – 1 x 4 cut to 18 1/2″ (short top + bottom trim)
4 – 1 x 4 cut to 50″ (long top + bottom trim)
4 – 1 x 4 cut to 9 1/2″ (corner trim)
4 – 1 x 3 cut to 9 1/2″ (corner trim)
1 – 3/4″ sheet 2′ x 4′ plywood cut to 21″ x 45″ (lid)
2 – 1 x 4 cut to 21″ (lid)
2 – 1 x 2 cut to 21″ (short lid trim)
1 – 1 x 2 cut to 53 1/2″ (long lid trim)
STEP 1
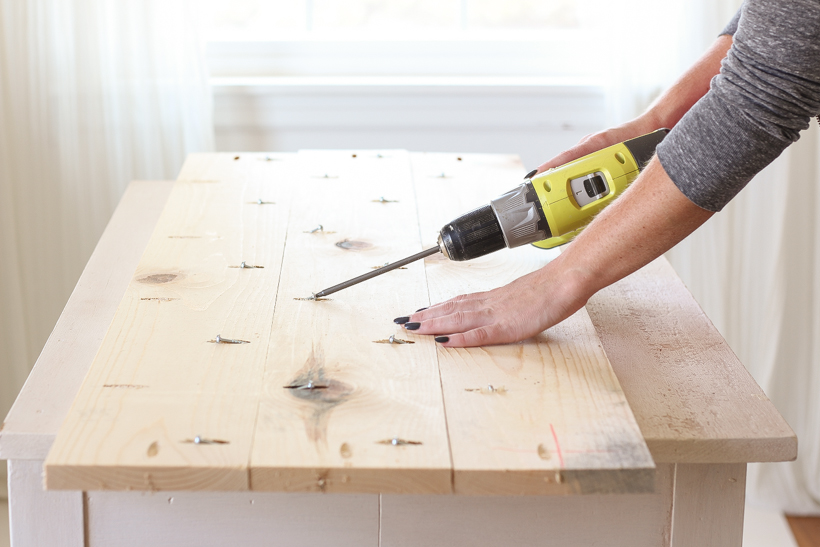
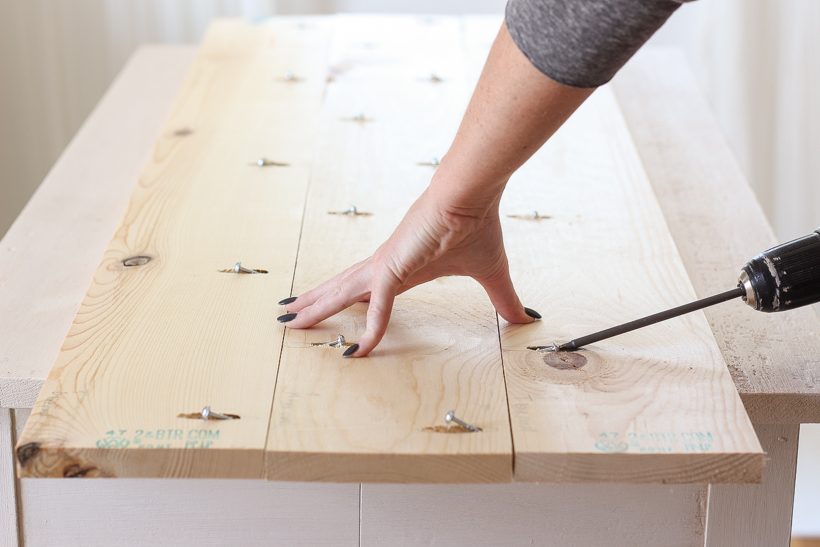
To build the front panel, lay three of the 47″ 1 x 6 boards next to each other on a flat surface and mark the placement of 28 pocket holes as shown in the diagram below. Note that the top board will not have pocket holes along the top.
Tip: Label each board as top, bottom, or middle before you move them so you will be able to easily identify later which boards belong where. It is also helpful to draw an arrow on each board pointing up so you know which direction the boards should face (this affects where the pocket holes are).

Use a pocket hole jig to drill 3/4″ pocket holes where you marked each board. Attach the boards using 22 – 1 1/4″ pocket hole screws. The very bottom of the panel and the sides should not have any screws yet. Repeat all of Step 1 to create the back panel.
STEP 2
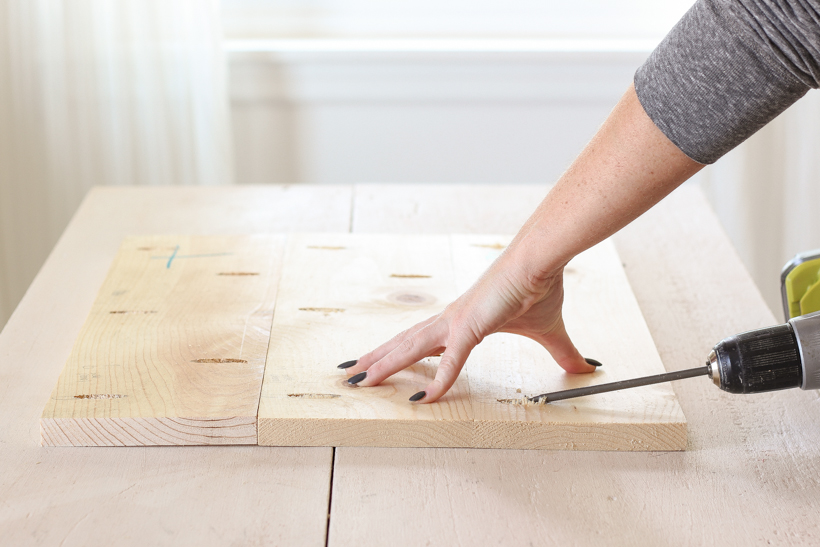
To build the side panel, lay three of the 18 1/2″ 1 x 6 boards next to each other on a flat surface and mark the placement of 13 pocket holes as shown in the diagram below. Note that the top board will not have pocket holes along the top.
Tip: Label each board as top, bottom, or middle before you move them so you will be able to easily identify later which boards belong where. It is also helpful to draw an arrow on each board pointing up so you know which direction the boards should face (this affects where the pocket holes are).

Use a pocket hole jig to drill 3/4″ pocket holes where you marked each board. Attach the boards using 13 – 1 1/4″ pocket hole screws, filling all the holes you just created. Repeat all of Step 2 to create a second side panel.
STEP 3
To build the base panel, lay the three 47″ 1 x 6 boards next to each other on a flat surface and mark the placement of 18 pocket holes as shown in the diagram below.

Use a pocket hole jig to drill 3/4″ pocket holes where you marked each board. Attach the boards using 18 – 1 1/4″ pocket hole screws, filling all the holes you just created.
STEP 4
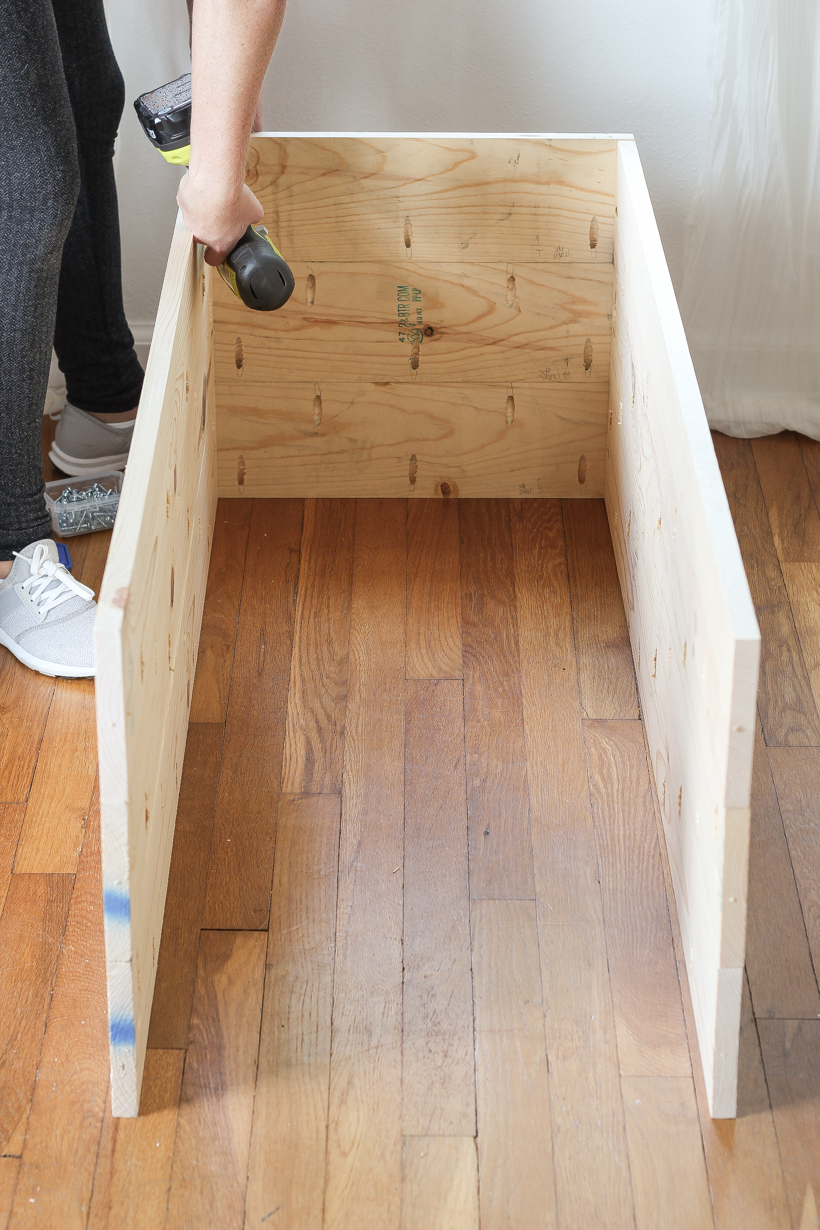
Attach the side panels to the front and back panels using the holes you drilled on each board of the front and back panels and 12 – 1 1/4″ pocket hole screws.
Note: As you build the box, none of the panels should have pocket holes along the top, and all of them should have pocket holes along the bottom.
STEP 5
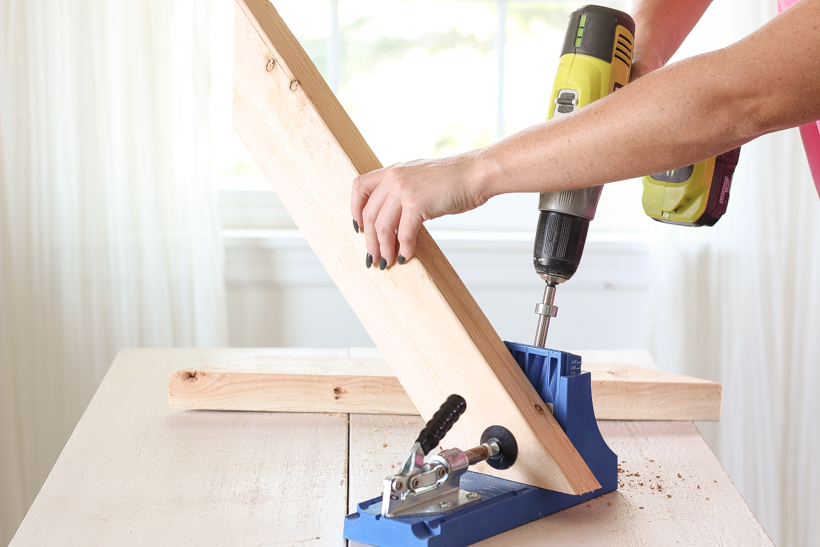
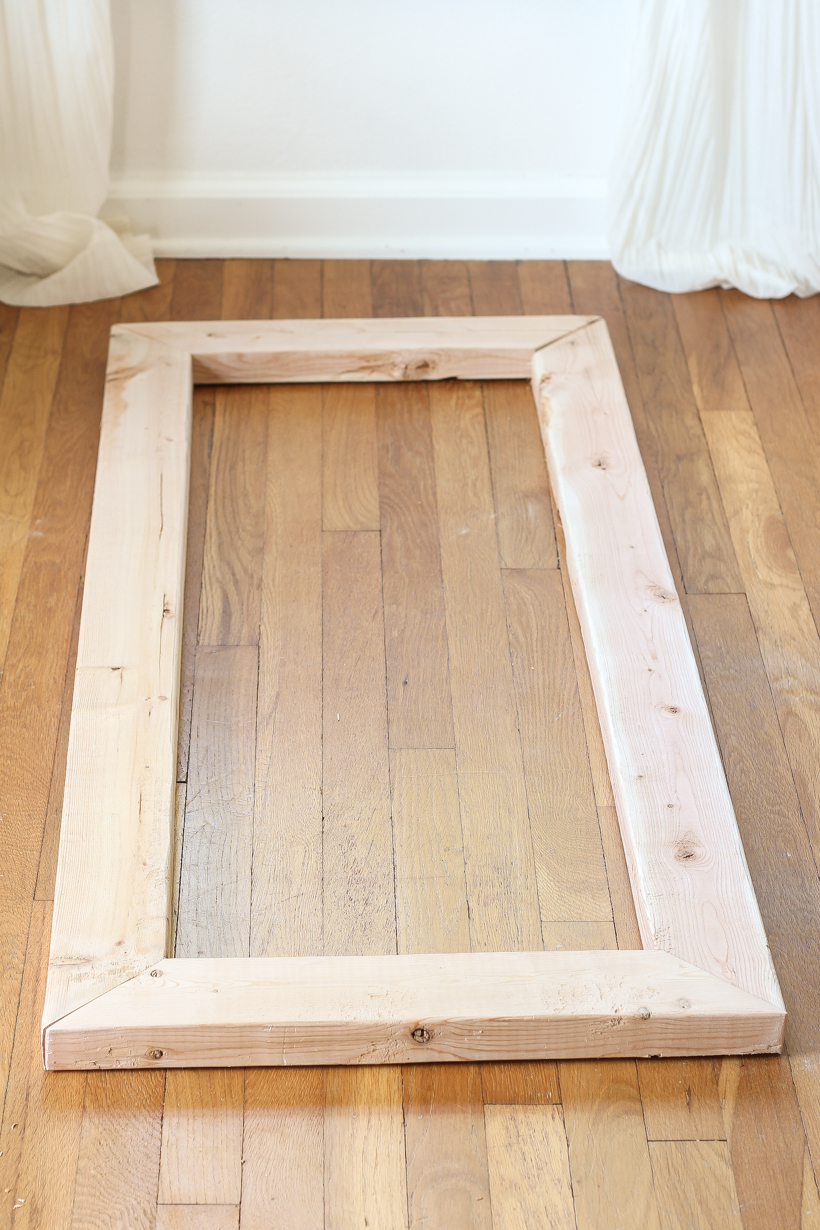
Cut a 45º angle on both ends of each base frame board using a saw to create a frame for the base of your trunk. Drill 2 – 1 1/2″ pocket holes diagonally in both ends of the shorter 21 1/2″ boards using your pocket hole jig.
Note: Because you are switching from 3/4″ thick material (1 x’s) to 1 1/2″ thick material (2 x 4’s), make sure you adjust the jig to 1 1/2″ as well as the drill bit to 1 1/2″ before drilling your holes. (In the photo below I had not changed the jig or drill bit yet, so disregard that!)
Lay the frame boards together on a flat surface and make sure the base is square. Attach the boards using 8 – 2 1/2″ pocket hole screws, then flip the base over so the holes are on bottom.
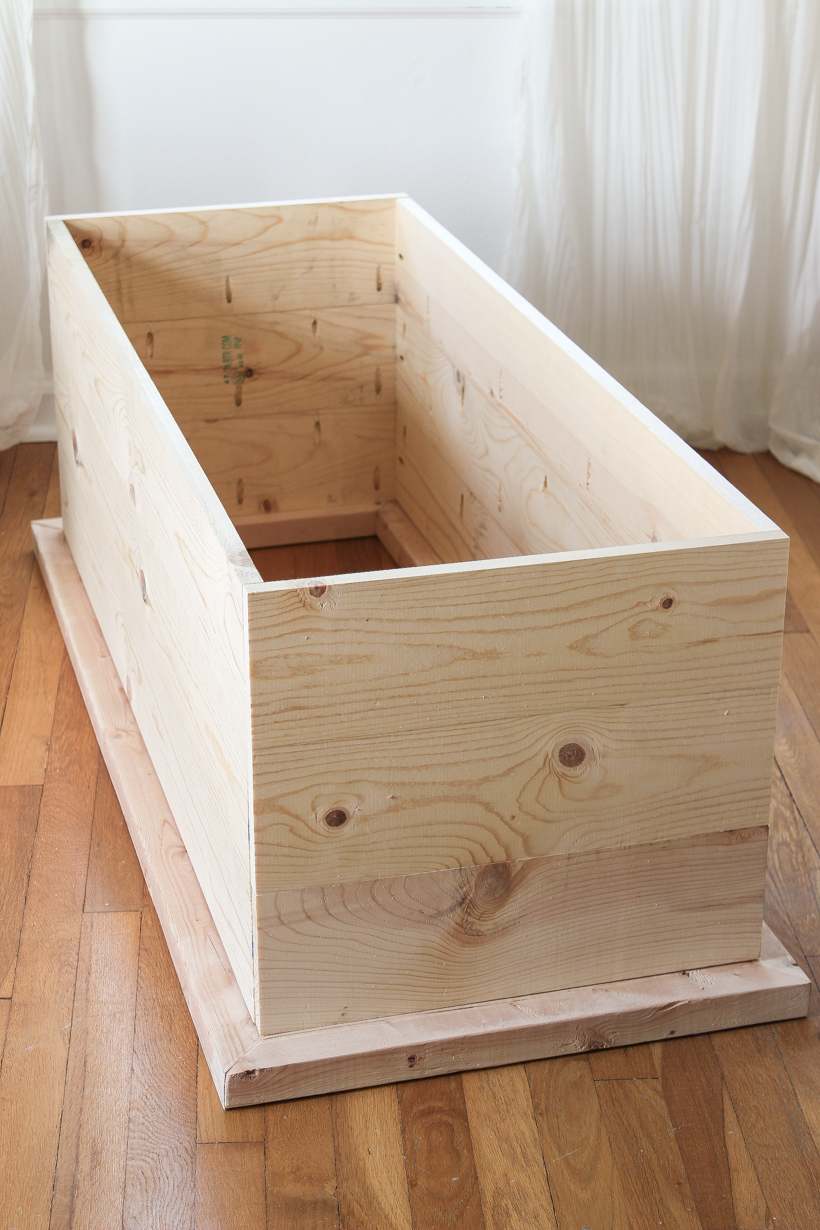
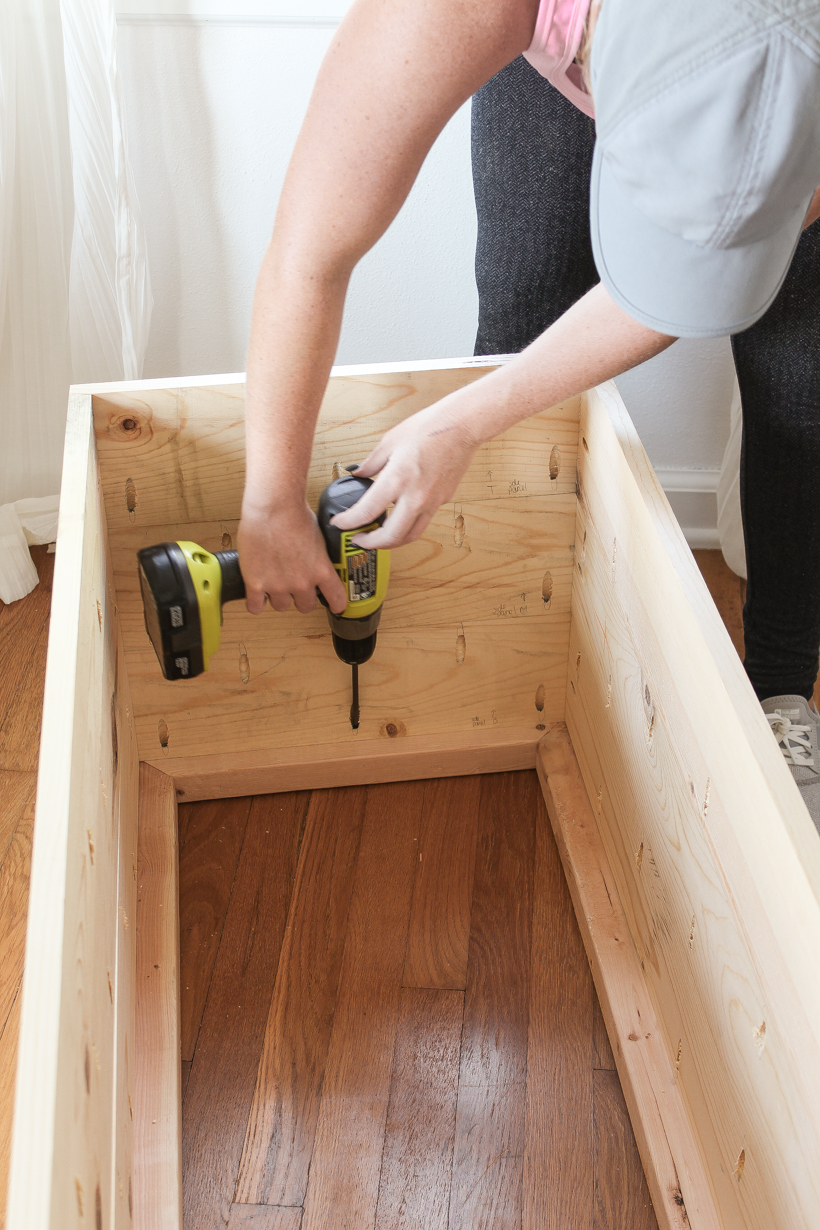
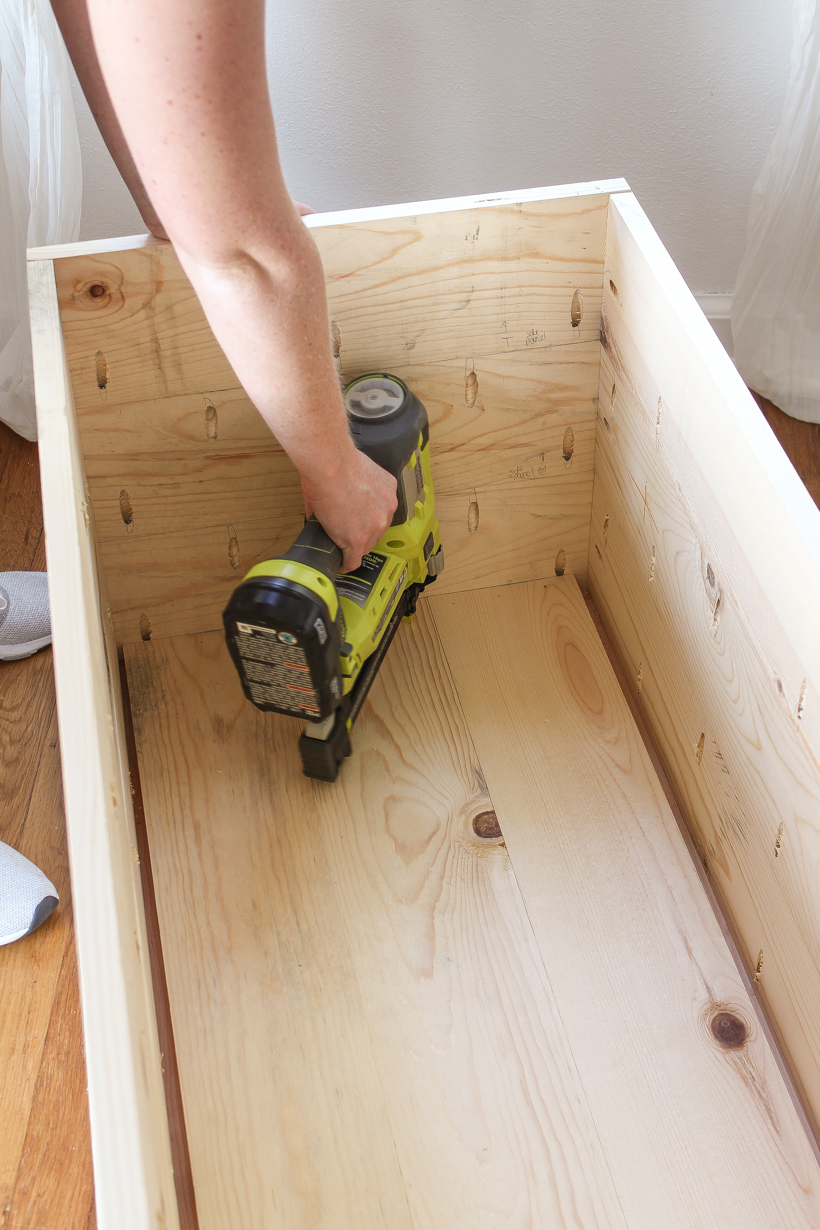
STEP 6
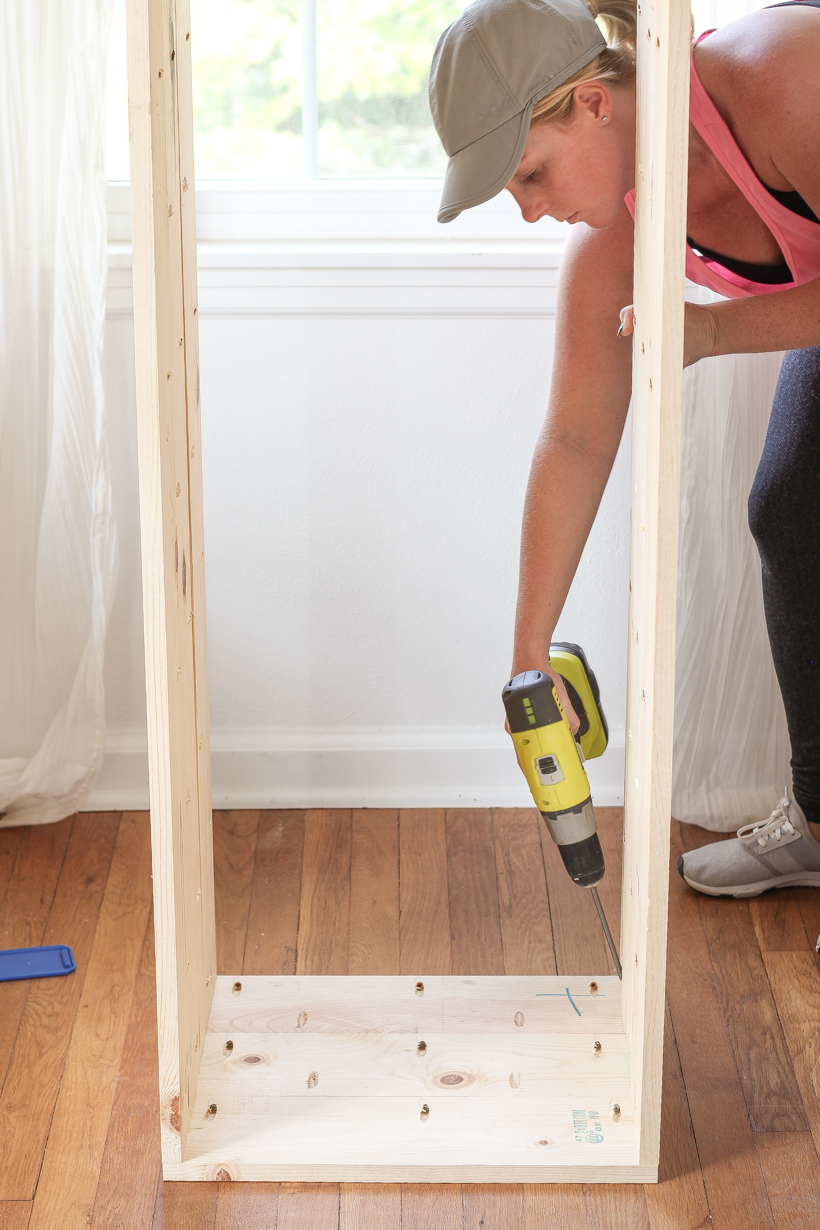
Set the box you built in Step 4 on top of the base frame, making sure it is centered. Attach the box to the base using 14 – 1 1/4″ screws in the holes along the bottom of each panel.
STEP 7
Set the base panel you built in Step 3 inside the trunk. It should be snug on the ends and rest on the base frame.
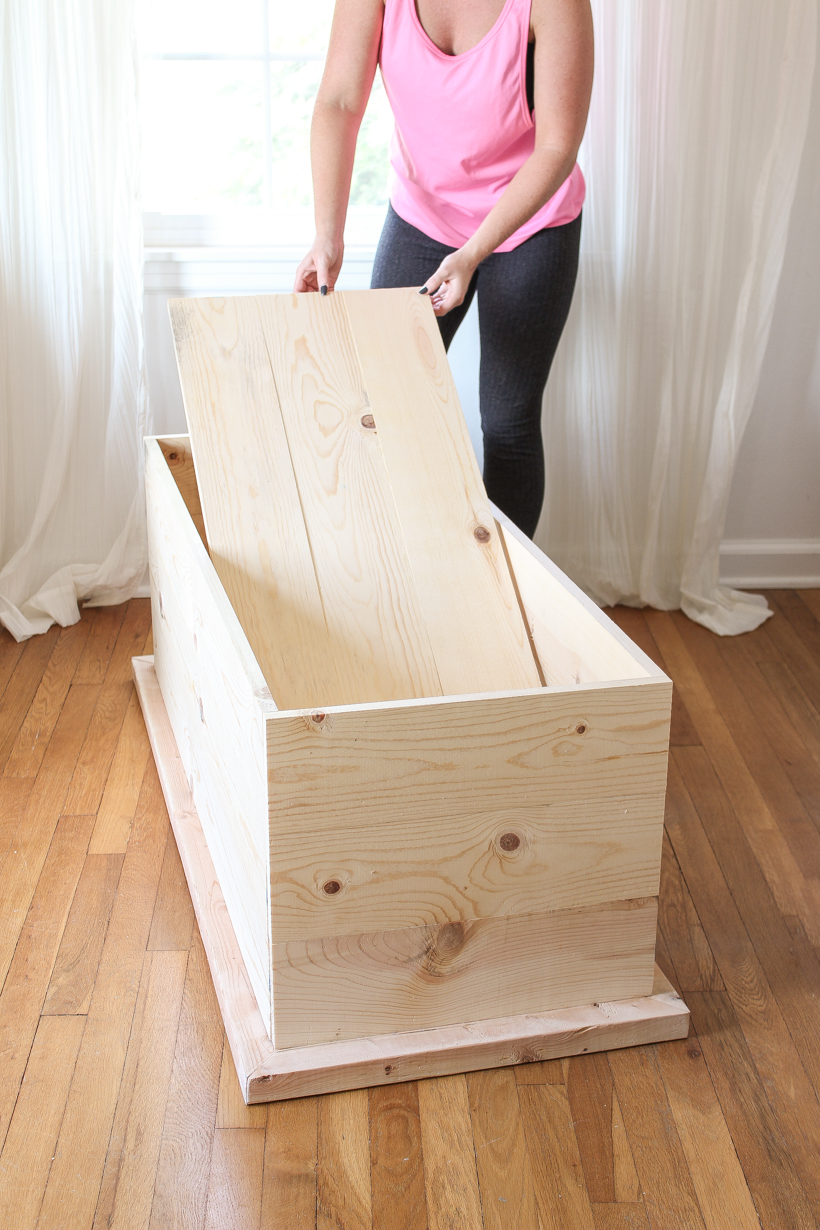
The base panel should be snug enough not to move around, but you can use wood glue and brad nails to secure the panel to the base frame if desired.
STEP 8
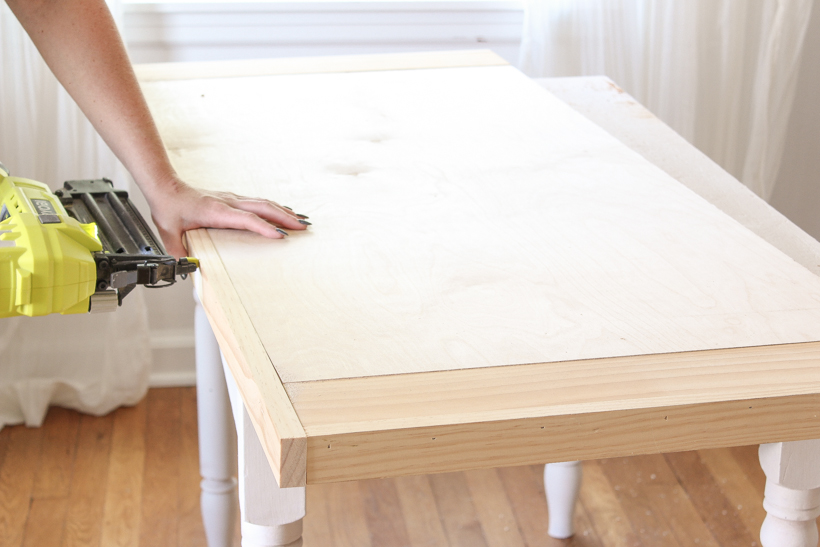
Attach the short trim to the sides along the top and bottom of the trunk using wood glue and 1 1/4″ brad nails inserted from the inside to hide the nails. For added stability, add a 1 1/4″ wood screw to either end of the trim inserted from the inside also.
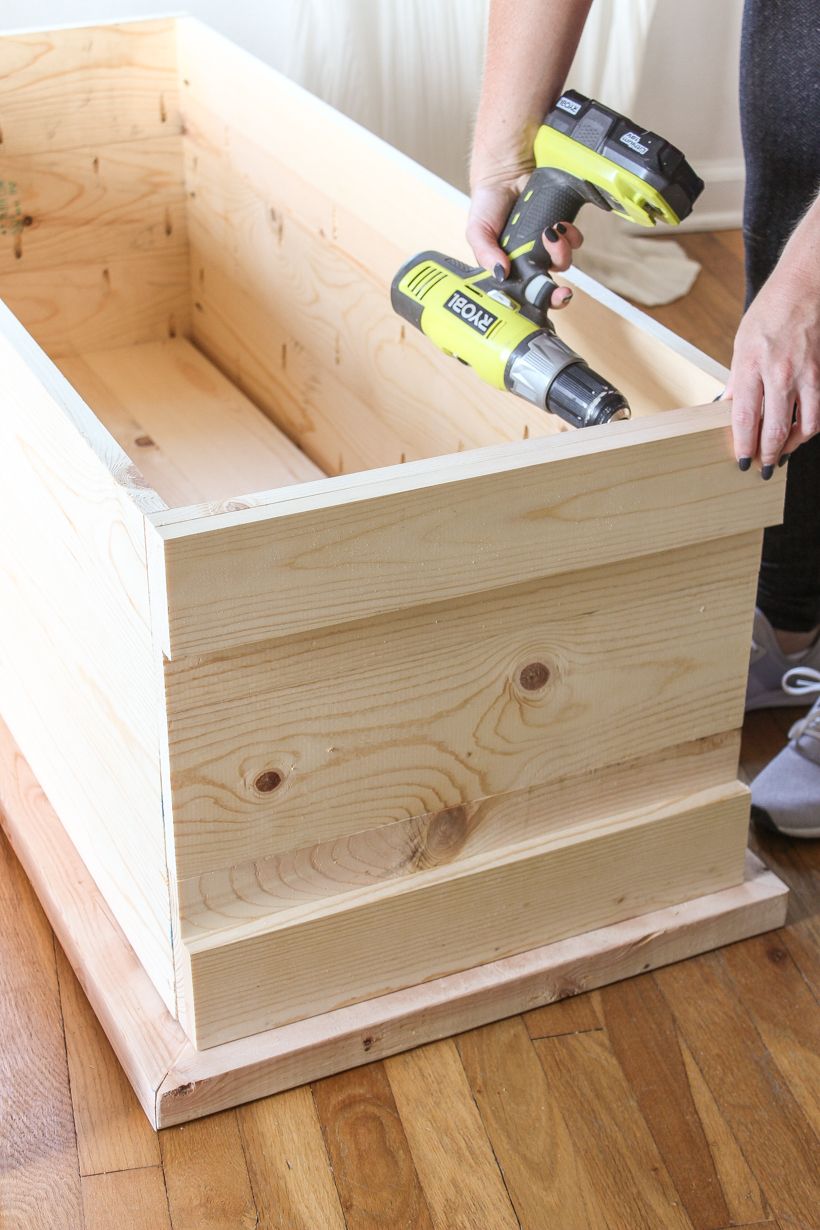
Then attach the long trim to the front and back along the top and bottom of the trunk using wood glue and 1 1/4″ brad nails inserted from the inside to hide the nails. For added stability, add a 1 1/4″ wood screw to either end of the trim inserted from the inside also.
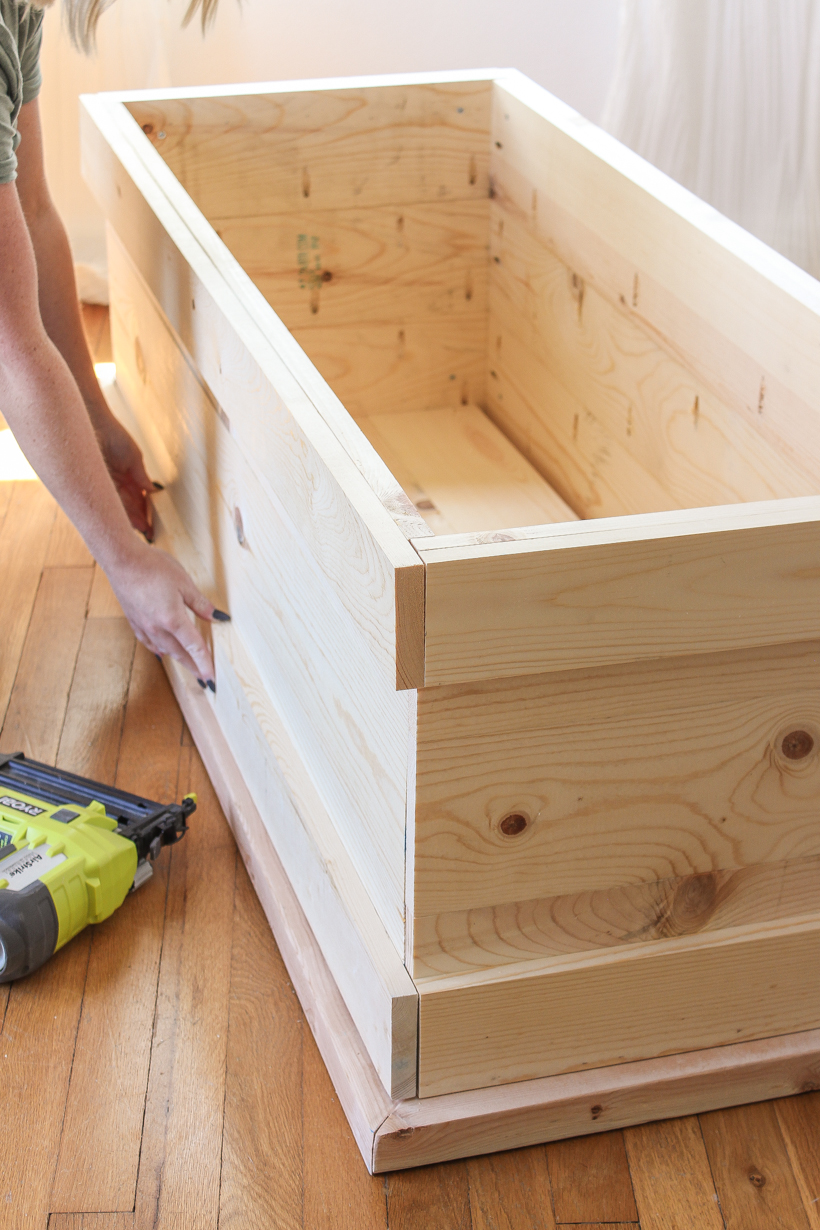
STEP 9
Attach the corner trim to each corner of the trunk in the same manner as the previous step, with wood glue, 1 1/4″ brad nails, and 1 1/4″ wood screws for added stability. Attach the 1 x 3 piece of trim first on the sides of the trunk and flush with the edge of the side panel. Then attach the 1 x 4 piece of trim facing the front and back with the edge flush with the outside of the 1 x 3, as shown in the photo below.

STEP 10
Lay the plywood and 2 – 21″ 1 x 4’s for the lid on a flat surface and mark the placement of 10 pocket holes as shown in the diagram below.

Use a pocket hole jig to drill 3/4″ pocket holes where you marked each piece of the lid. Attach them together using 10 – 1 1/4″ pocket hole screws and wood glue.

STEP 11
Flip the lid over so the holes are facing down, and attach the 1 x 2 lid trim, starting with the short pieces on the sides, using wood glue and 1 1/4″ brad nails. The edges of the trim should be flush with the edges of the lid.
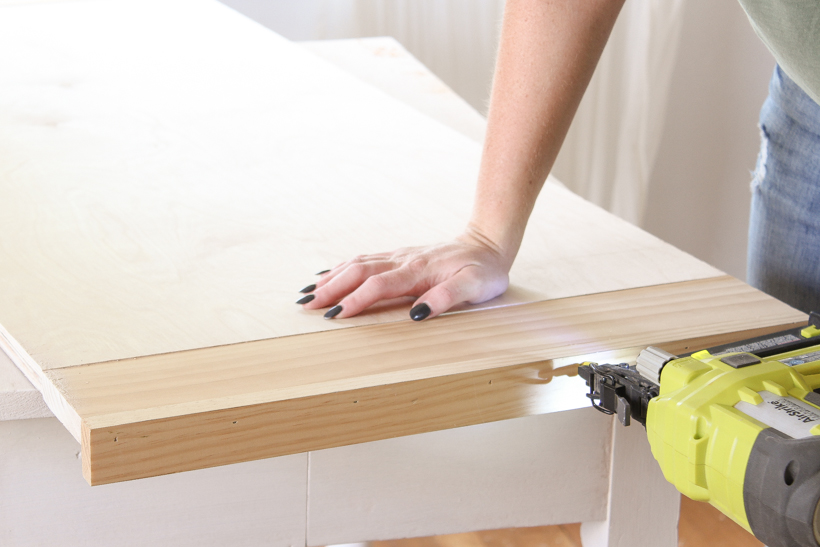
Then attach the longer trim piece on just one side of the lid using wood glue and 1 1/4″ brad nails. The edges of the longer trim should be flush with the outside of the shorter trim.
STEP 12
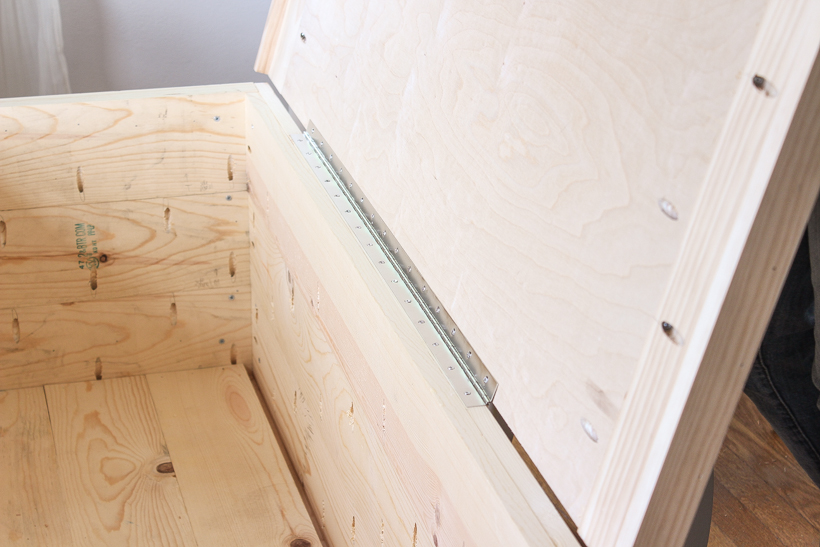
Flip the lid back over so the underside is facing up, and attach a 30″ continuous hinge on the long side without the piece of 1 x 2 trim.

Then attach the other side of the hinge to the back of the trunk.

STEP 13
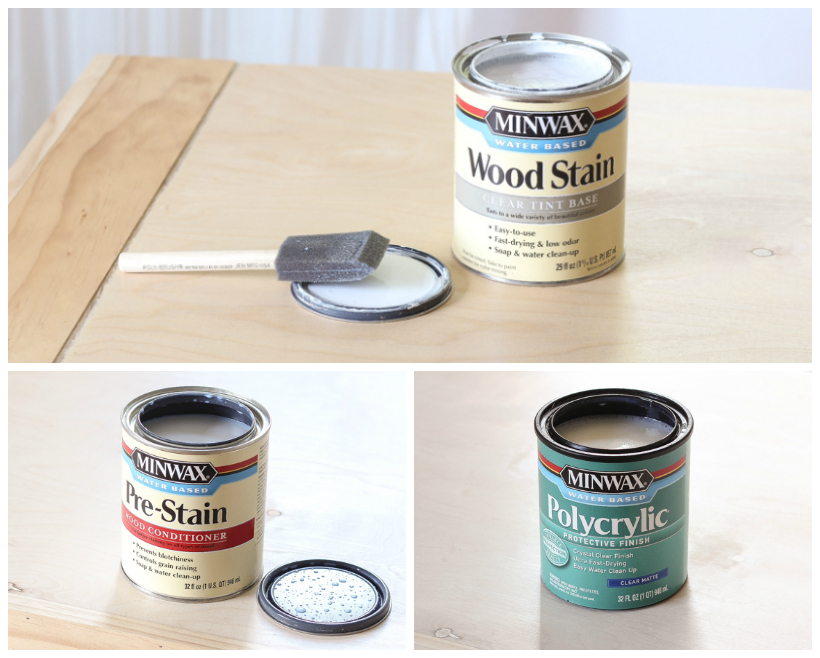
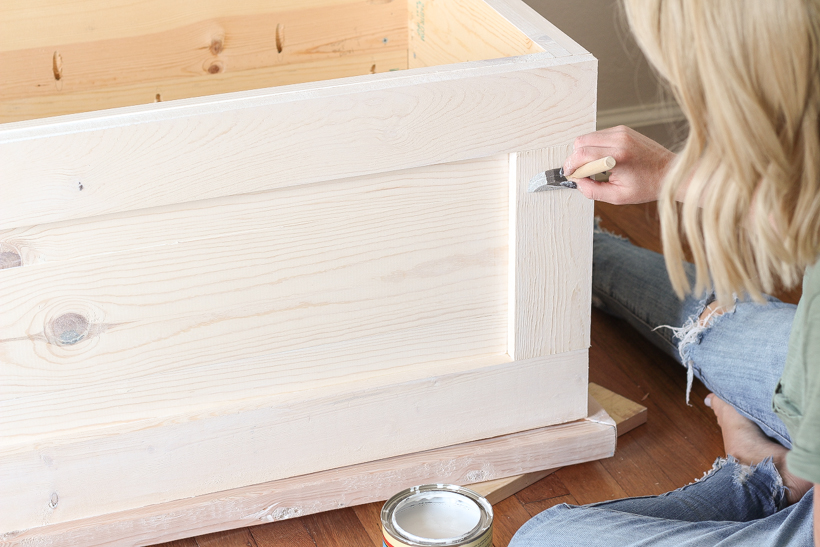
To finish the trunk, apply Minwax Pre-Stain Wood Conditioner to the entire piece (I left the inside of the trunk natural, but did stain the inside of the lid), and allow it to penetrate for just 1-5 minutes before removing any excess that has not soaked into the wood with a clean rag. The conditioner helps the stain soak into the wood more evenly and prevents any blotchiness or streaking.
Next apply Minwax Water Based Wood Stain (I used the color Pure White – same as I used on our coffee table) on all of the wood you conditioned using a foam brush, and allow it to penetrate the wood no longer than 3 minutes. It is very fast-drying, so work in small sections! Wipe the wood with a clean cloth to remove any stain that has not soaked into the wood. Allow the stain to dry 24 hours before applying a protective finish.
After the stain has dried 24 hours, apply a thin coat of Minwax Water Based Polycrylic (I used the clear matte finish) using a brush. Allow to dry at least 2 hours, then sand with a very fine 220 grit sandpaper and remove all dust. Apply a second and third coat, drying and sanding in between each layer. The wood will need 3 hours to dry before handling and 24 hours before it will be fully cured.
If you’ve ever used a polyurethane on top of white paint and saw the yellow stains that appeared once the poly dried, you know how important it is to make sure you’re using the right topcoat. Because I went with a light white stain, I made sure to use Minwax Polycrylic that has a crystal clear finish when dry, and I love it!
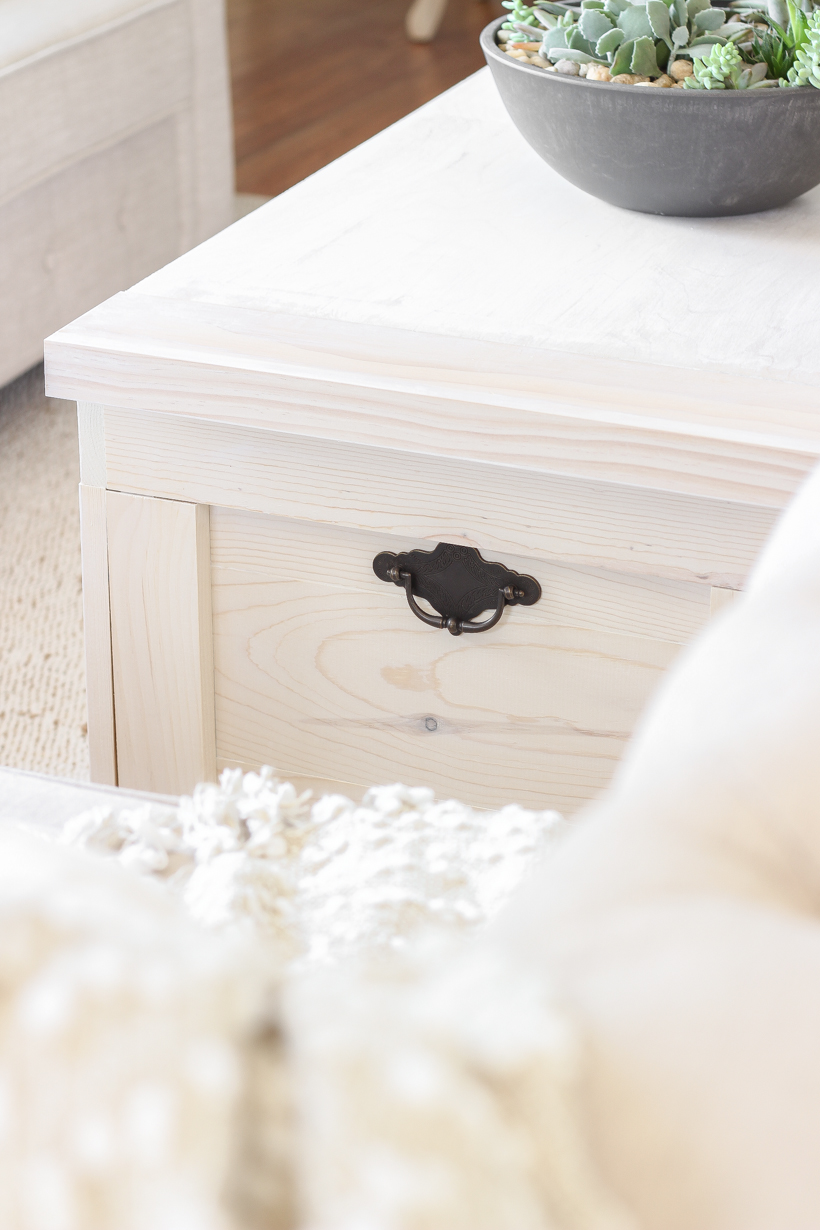
Complete the trunk by adding any hardware you desire on the sides and a lid support for safety on the inside.
Note: I was originally inspired by Nick + Alicia’s blanket storage chest, but created my plan without the need to rip down any boards on a table saw since I don’t own one. It saves you quite a bit of time and extra steps without having to rip and trim some of the boards and plywood down.
If you’re still with me at the end of this post, you’re awesome! I know this was a big post with lots of photos, but I wanted to make sure to show you each step along the way because I know this is a project many of you are going to want to recreate. I can’t wait to see this beautiful handmade trunk in different spaces in your homes! Thank you so much for stopping by today to check out my newest project, and I appreciate you so very much! xoxo Liz
I partnered with Minwax on this post, but as always the thoughts and opinions shared are 100% my own. Thank you for supporting our blog and brand partners!

Beautiful. I just used Keegan jig for first time so easy-BUT a learning curve. Looking forward to this in future!!
This is beautiful. I am not that talented to make it myself. It adds lots of storage and beauty to your living room.
Absolutely gorgeous! I can’t wait to make it!
Came across this a few months ago and fell in love. I asked my husband to build me one and it turned out perfectly. I need to know where you got the handles?
Hi Sandy! I got all the hardware from Menard’s, but I assume any hardware store might have something similar. If not check online!
What happened to that beautiful wicker storage trunk you had for a coffee table? I LOVED that so much I went out and purchase my own!
It is actually still in the living room, just used as a side table now for blanket storage! It was just hard to set drinks on top of it since it was wicker, otherwise I loved it as the coffee table. 🙂
This is beautiful and perfect for the room.
You do incredible work…. Your instructions are so easy to read and you do step-by-step to make it so easy. Thank you for sharing love this piece ?
Girl, where is your “I am Fearless” sign? Congratulations, that job is well done. You would have made a tremendous pioneer.
Did you have this all pre cut or did you cut the wood yourself?
I cut all the wood myself. I have a miter saw in my garage that I use for projects like this!
Really pretty. I love the lighter colored wood but also liked the wicker trunk. Great job putting it together.
May I ask where you purchased your sectional sofa. I love the style and color.
Thank you! I got this sectional from Wayfair and LOVE it!