• Home
  • MEET LIZ
  • contact
  • Blog
  • JOIN OUR COMMUNITY

Love Grows Wild

  • Home
  • SHOP MY POSTS
  • Our Home
    • bathroom
    • dining room
    • entryway
    • exterior
    • kids bedroom
    • kitchen
    • living room
    • master bedroom
    • office
    • playroom
  • Project Gallery
    • diy decor
    • decorating advice + inspiration
    • furniture makeover
    • woodworking
    • crafts
  • Seasonal
    • spring
    • summer
    • fall
    • winter
  • Recipes
    • appetizers/snacks
    • beverages
    • breakfast
    • dessert
    • meal ideas
    • side dishes
  • SHOP
    • Grow + Gather
    • Shop My Posts
    • My Amazon Store
    • My Book
Decorating and Home, Tutorials

DIY Entryway Bench with Storage Tutorial

April 16, 2019

Pin
Share
Tweet
Email
Print
Home and lifestyle blogger Liz Fourez shows how to make a simple bench with storage that would be perfect for an entryway or at the foot of a bed. Follow her easy step-by-step photo tutorial to create this beautiful DIY bench!

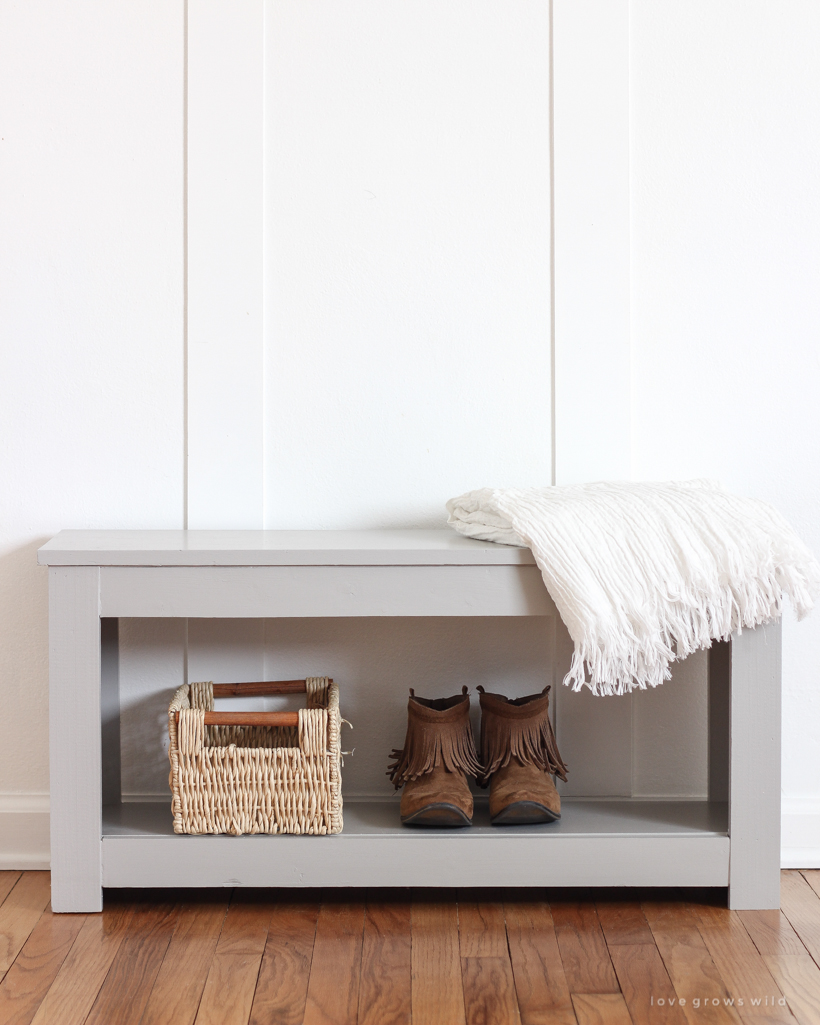
I recently did a big re-stock at my shop, Love Grows Wild Market, and built several pieces of furniture to sell. One piece I loved was the mantel I shared here a few weeks ago, and this cute, little bench was a close second. I wanted to make a bench that could also be used for extra storage, and I could definitely see this piece in an entryway to keep shoes neat and tidy or with baskets on the shelf for some hidden storage. It would be perfect at the foot of a bed or even set under a window with a cushion on top for a window seat!

Today I’m sharing the tutorial for how I created this DIY Entryway Bench with Storage, so let’s dive in and get building!

Home and lifestyle blogger Liz Fourez shows how to make a simple bench with storage that would be perfect for an entryway or at the foot of a bed. Follow her easy step-by-step photo tutorial to create this beautiful DIY bench!

This project was relatively quick and simple to make, and of course you can paint or stain the bench however you like to match your home. It would also be very easy to make the bench longer if you needed the extra length. I started with Ana White’s bench tutorial and modified it a bit to make some of the trim pieces more sturdy. I hope you enjoy the tutorial!

DIY ENTRYWAY BENCH WITH STORAGE

As always, I sincerely appreciate you shopping through the links I share, which allows me to make a small commission from your purchase while your purchase price stays the same. When you use my affiliate links, I’m better able to create content for this blog as well as support my family, and I thank you from the bottom of my heart for supporting what I do!

SUPPLIES:

tape measure
saw
drill
brad nail gun
Kreg Jig pocket hole system
wood glue

1 ¼” pocket hole screws
2” brad nails
1 1/4″ brad nails

wood filler
sander
stain/paint finish of choice

CUT LIST:

2 – 1×10 cut to 34 1/2” (top + bottom shelf)
2 – 1×10 cut to  17 1/4″ (sides)
4 – 1×3 cut to 17 1/4″ (legs)
4 – 1×3 cut to 31″ (shelf trim)
1 – 1×12 cut to 37″ (top)

STEP 1

Drill three 3/4″ pocket holes in both ends of the two shelf boards.

Then drill pocket holes spaced about 6″ apart along both long sides of the two shelf boards as well. Note: These will be used in Step 5 to attach the shelf trim.
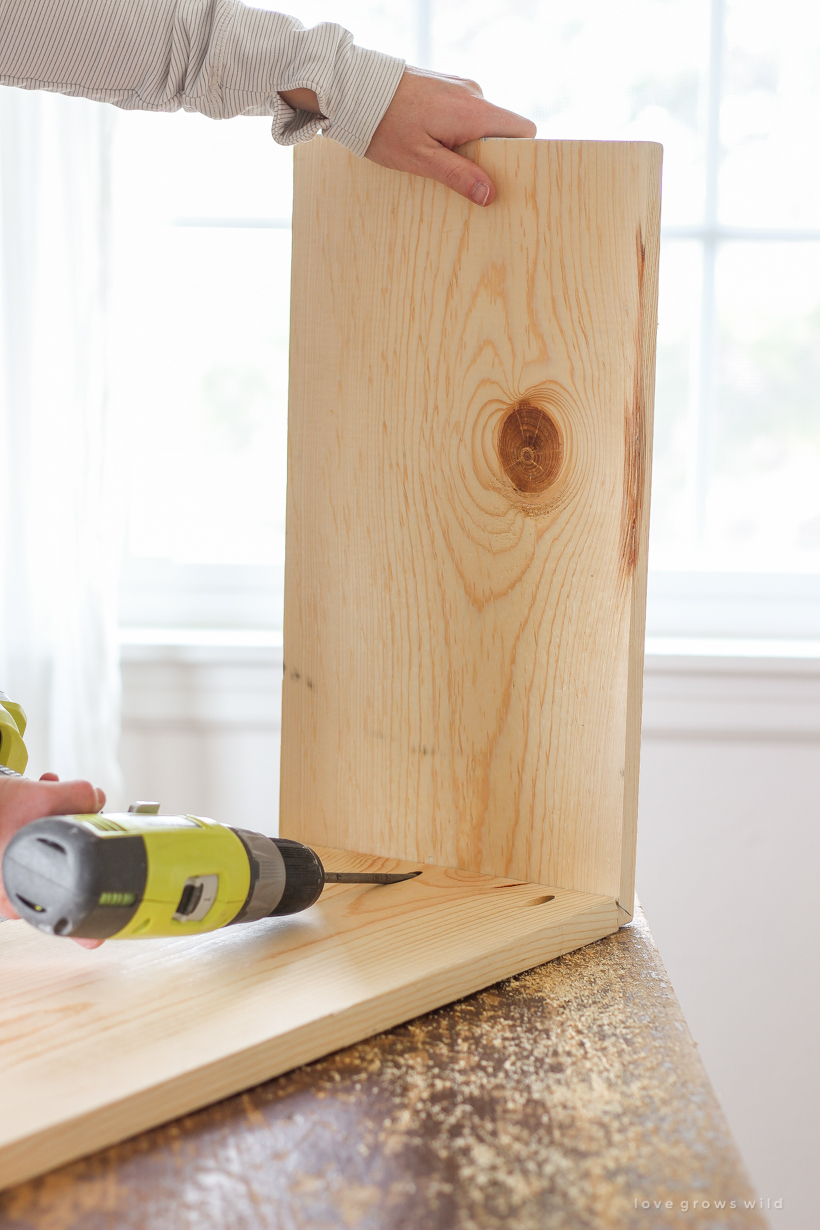
Home and lifestyle blogger Liz Fourez shows how to make a simple bench with storage that would be perfect for an entryway or at the foot of a bed. Follow her easy step-by-step photo tutorial to create this beautiful DIY bench!

STEP 2

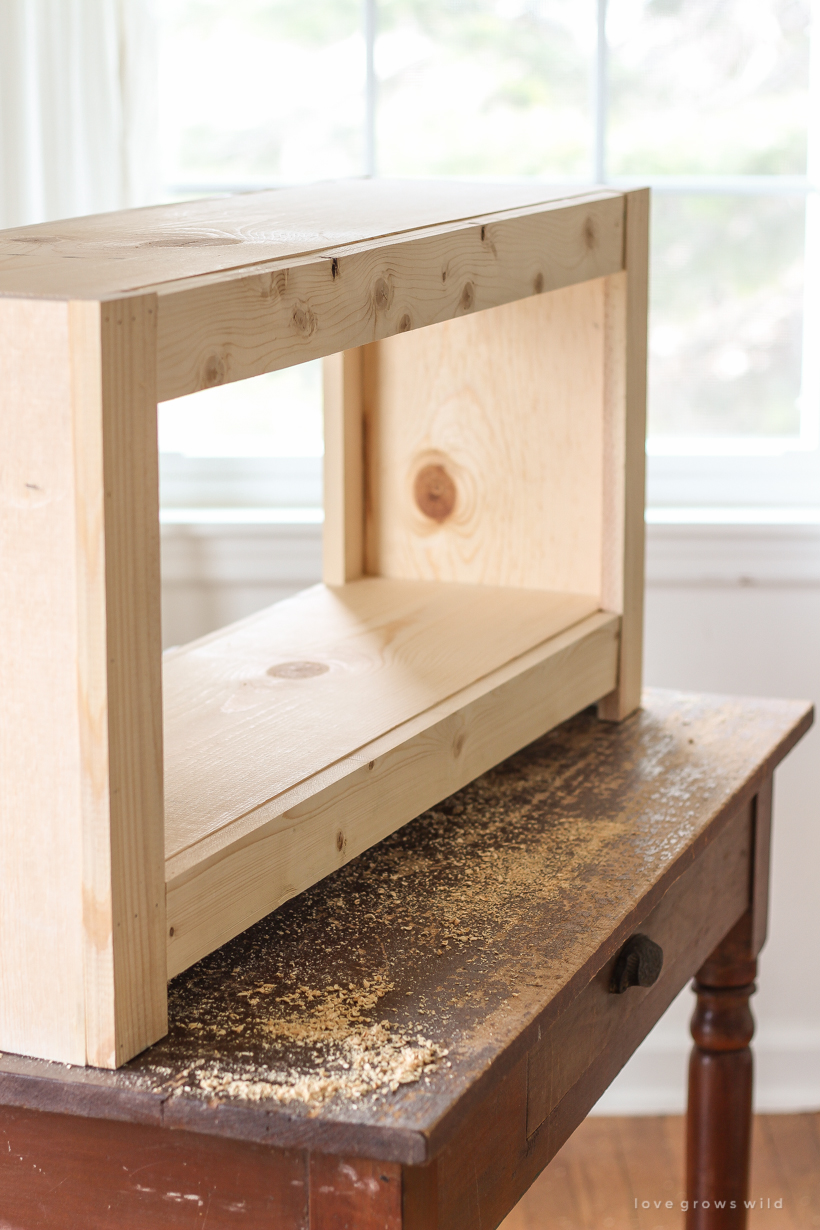
Use wood glue and 1 1/4″ pocket hole screws to attach the top shelf board to the sides.

Note: The screws should be hidden on the underside of the shelf when the bench is sitting upright.

Home and lifestyle blogger Liz Fourez shows how to make a simple bench with storage that would be perfect for an entryway or at the foot of a bed. Follow her easy step-by-step photo tutorial to create this beautiful DIY bench!

STEP 3

Then make a pencil mark on both side boards 3″ from the bottom. This is where the bottom shelf gets attached. Use wood glue and 1 1/4″ pocket hole screws to attach the bottom shelf board to the sides. Again, the screws should be hidden under the bottom shelf board.
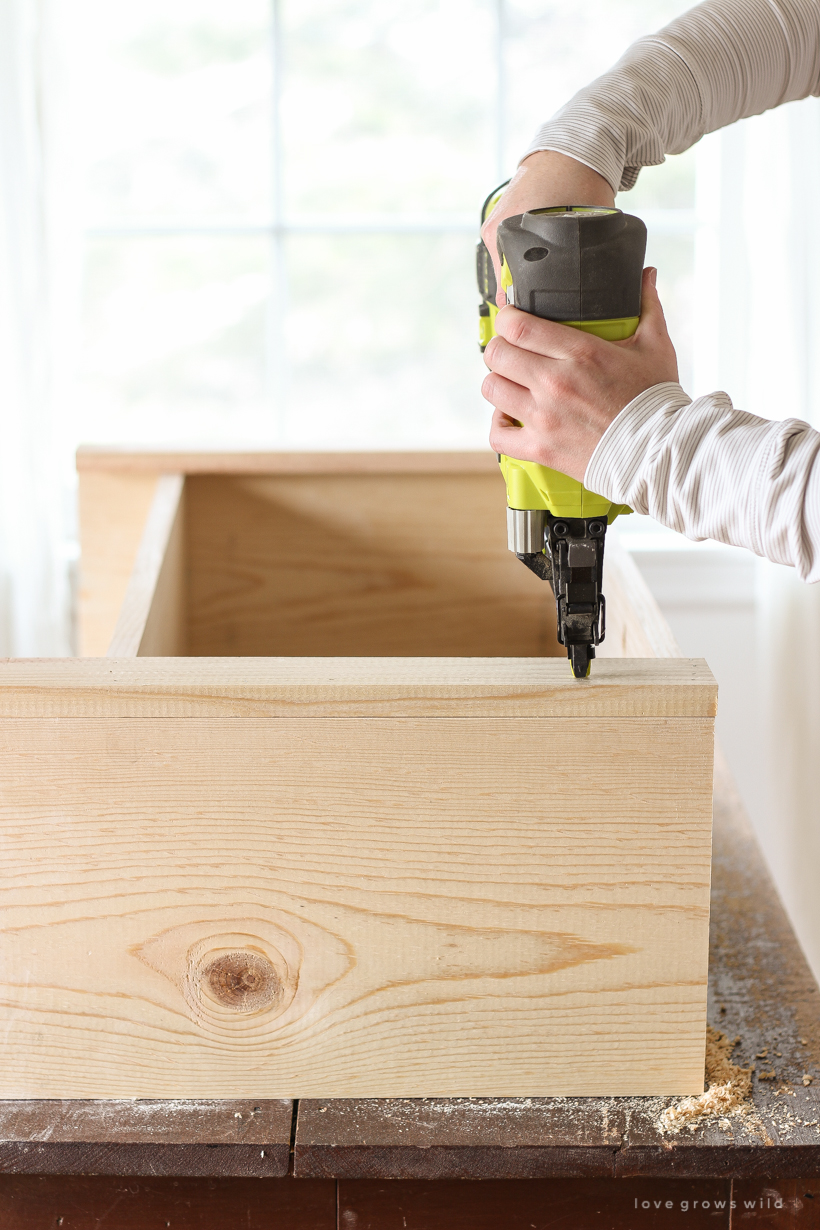
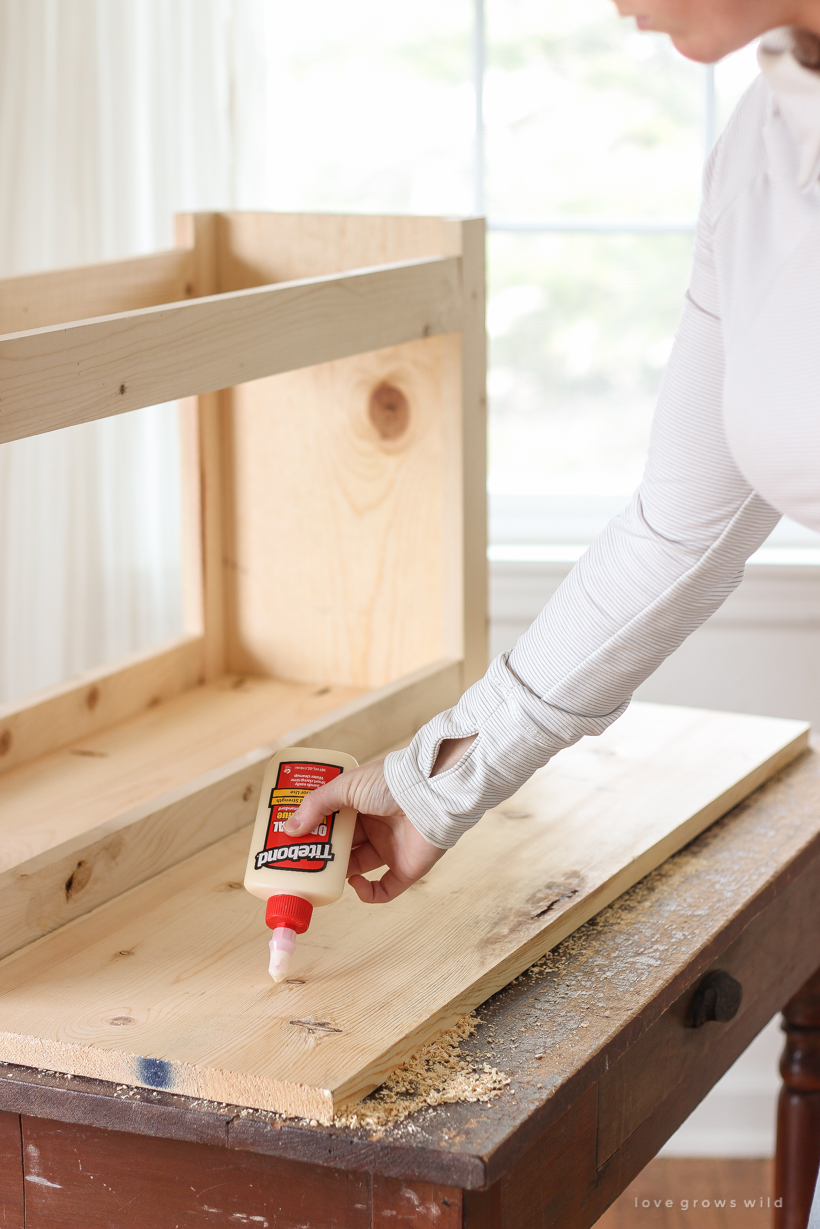
Home and lifestyle blogger Liz Fourez shows how to make a simple bench with storage that would be perfect for an entryway or at the foot of a bed. Follow her easy step-by-step photo tutorial to create this beautiful DIY bench!

STEP 4

Attach the legs to the bench using wood glue and 2″ brad nails, keeping the outside edges of the legs and sides flush. The legs help reinforce the sides of the bench, so make sure to add nails in both the sides and where it covers the shelves.

Note: I found this step to be the trickiest, keeping the nails perfectly straight and not poking through the side boards. Just take your time and extra care to line up the nails before putting them in the wood. If you accidentally bust through the sides with the end of the nail, gently hammer the nail back into the wood (or at least flush) and cover the hole with wood filler, then sand smooth.
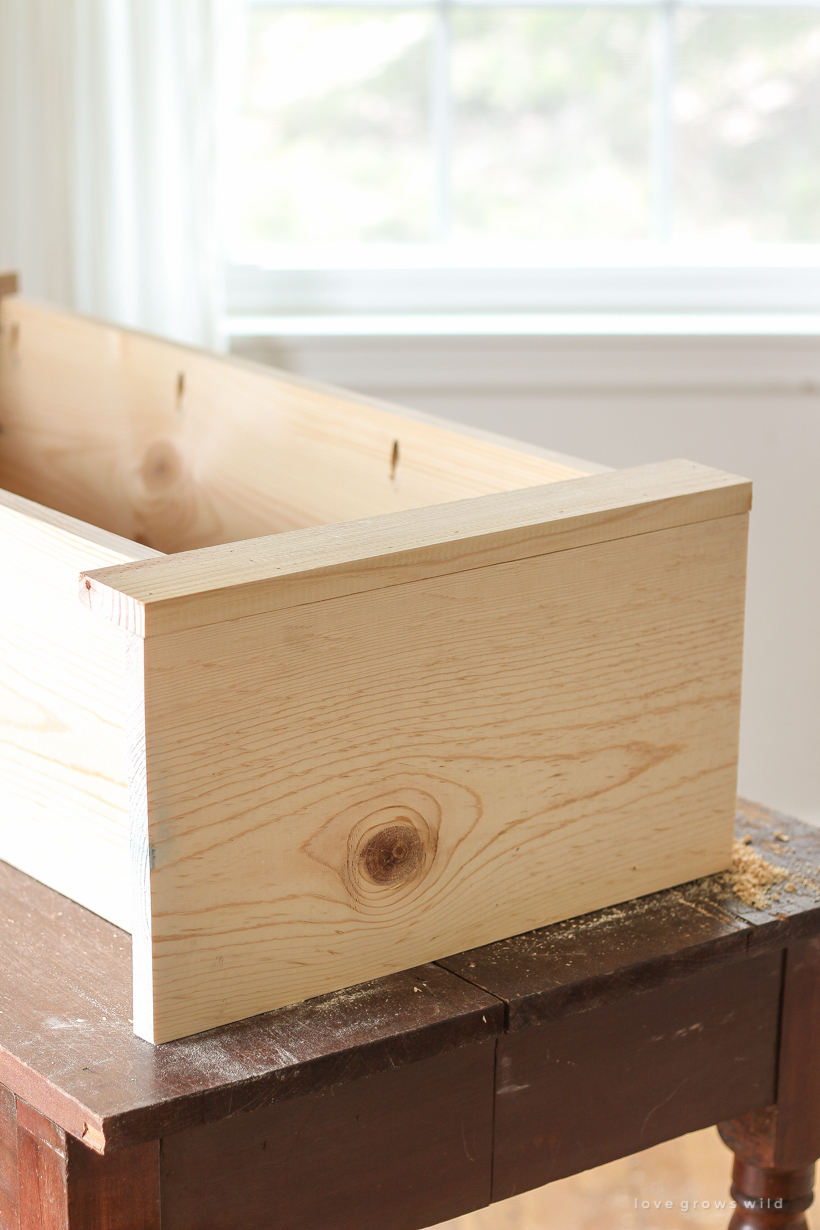
Home and lifestyle blogger Liz Fourez shows how to make a simple bench with storage that would be perfect for an entryway or at the foot of a bed. Follow her easy step-by-step photo tutorial to create this beautiful DIY bench! Home and lifestyle blogger Liz Fourez shows how to make a simple bench with storage that would be perfect for an entryway or at the foot of a bed. Follow her easy step-by-step photo tutorial to create this beautiful DIY bench!

STEP 5

Use wood glue and 1 1/4″ pocket hole screws to attach the shelf trim to the shelves on the front and back of the bench using the pocket holes you made in Step 1. Flip the bench upside down to make it easier to attach these pieces. The top edge of the shelf trim should be flush with the top of the shelf.

Home and lifestyle blogger Liz Fourez shows how to make a simple bench with storage that would be perfect for an entryway or at the foot of a bed. Follow her easy step-by-step photo tutorial to create this beautiful DIY bench!

STEP 6

Attach the top 1×12 board to the top shelf using wood glue and 1 1/4″ brad nails, leaving a 1/2″ overhang on both ends and 1/4″ overhang on both sides (in other words, center the top board on the bench). Insert the nails through the bottom of the top shelf so the nails will be hidden.

Home and lifestyle blogger Liz Fourez shows how to make a simple bench with storage that would be perfect for an entryway or at the foot of a bed. Follow her easy step-by-step photo tutorial to create this beautiful DIY bench!

STEP 7

Fill any nail holes with wood filler and once dry, sand smooth. Paint or stain your finished bench as desired and apply a topcoat to protect the finish.

Note: I used a mixture of leftover gray paint samples I had on hand and sealed the piece with my favorite clear matte polyurethane.

——————

Thank you so much for stopping by today to check out this tutorial, and I hope you enjoy re-creating this project in your own home! Remember, you can always find more of my past projects and tutorials in the Project Gallery (found at the top of this page).


LET’S KEEP IN TOUCH!

Subscribe to Blog | Follow on Instagram 
Follow on Pinterest | Follow on Facebook

Pin
Share
Tweet
Email
Print
DIY Decor Woodworking
by Liz Fourez 
1 Comment

About Liz Fourez

View all posts by Liz Fourez

Related Posts

  • Neutral Living RoomTone on Tone Woven Wall Art DIY
  • Are you curtains just a little too short? Home blogger Liz Fourez shares a few ways you can easily add extra length.How to Lengthen Curtains That Are Too Short
  • Interior decorator and home blogger Liz Fourez shares tips for creating a vintage style gallery wall that looks perfectly collected over timeTips for Creating a Vintage Style Gallery Wall
  • Decorating ideas for the sweetest teddy bear themed baby shower with an easy photo backdrop, diy balloon garland, and teddy bear balloon centerpieces. See all the details on lovegrowswild.comTeddy Bear Baby Shower
PREVIOUS: Spring Vegetable Fettuccine Alfredo
NEXT: Dressed for Comfort Clothing

Comments

  1. Silke says: April 18, 2019 at 1:01 am

    Aaaaahw, I love your ideas. Thank you for inspiring me! If you like hop on my blog and see my DIY ideas. Thanks, Silke

    Reply

Leave Your Comments Cancel reply

Your email address will not be published. Required fields are marked *

Liz Fourez started Love Grows Wild in 2012 with a passion for interior design and homemaking and a dream to help others create a home they love.  From simple project tutorials, to holiday and entertaining ideas, to her journey renovating a 1940’s farmhouse, Liz demonstrates how to create a beautiful and inviting home with a handmade touch. She turned her signature cozy, neutral style into a best-selling book in 2016 and continues to inspire readers with her captivating photography and easy decorating ideas. Read more about Liz > > > >

LOOKING FOR SOMETHING?

FOLLOW ALONG

  • contact
  • MEET LIZ
  • advertise
  • privacy policy/disclosure
  • Blog

Copyright © 2023 · Prima Donna theme by Georgia Lou Studios

COPYRIGHT © 2017 · DESIGN + BRAND: BLISS AND TELL BRANDING COMPANY