
A few years ago I decided to be crafty and make my own clay ornaments for our Christmas tree. They turned out even better than I expected they would… a beautiful bright white matte finish, perfectly held shapes once dry, and they have stood the test of time with not a single one broken after several years of unpacking and repacking each Christmas. I finally decided to do a tutorial on them this year after getting a ton of questions, so today that’s what I will be sharing! A simple 3 ingredient “recipe” for making air dry clay that can be used for ornaments, garlands, gift tags, and so much more!
You may have heard of or even tried homemade salt dough recipes before, and while the two mediums are similar, I definitely prefer the air dry clay. The salt dough browns slightly when baked, while the air dry clay stays a bright pure white, and I think the clay also holds the shape of the cookie cutter much sharper and more defined without any shrinkage. But what I love most about this project is how simple and how affordable it is to make. You probably already have these ingredients in your pantry!
AIR DRY CLAY
SUPPLIES:
1 cup cornstarch
2 cups baking soda
1 1/2 cups water
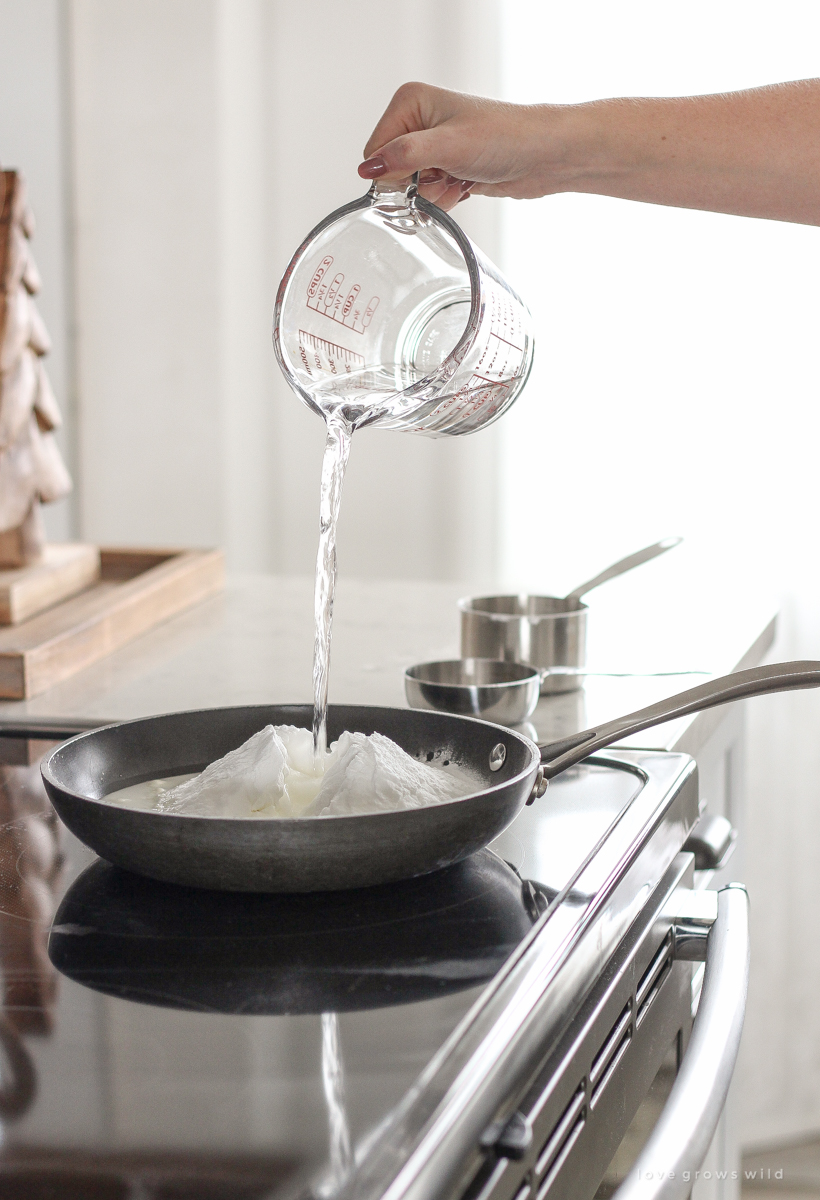
STEP 1
Add all three ingredients in a large pot or pan over medium-low heat and stir until completely smooth.
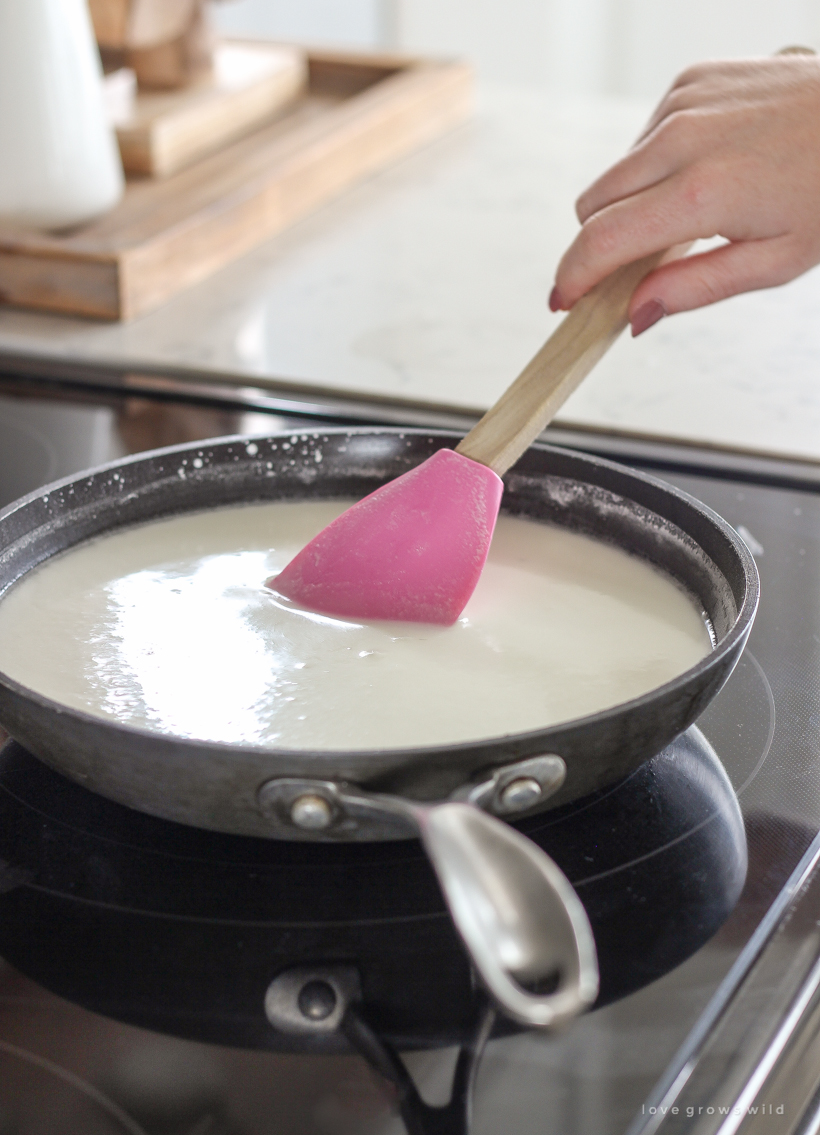
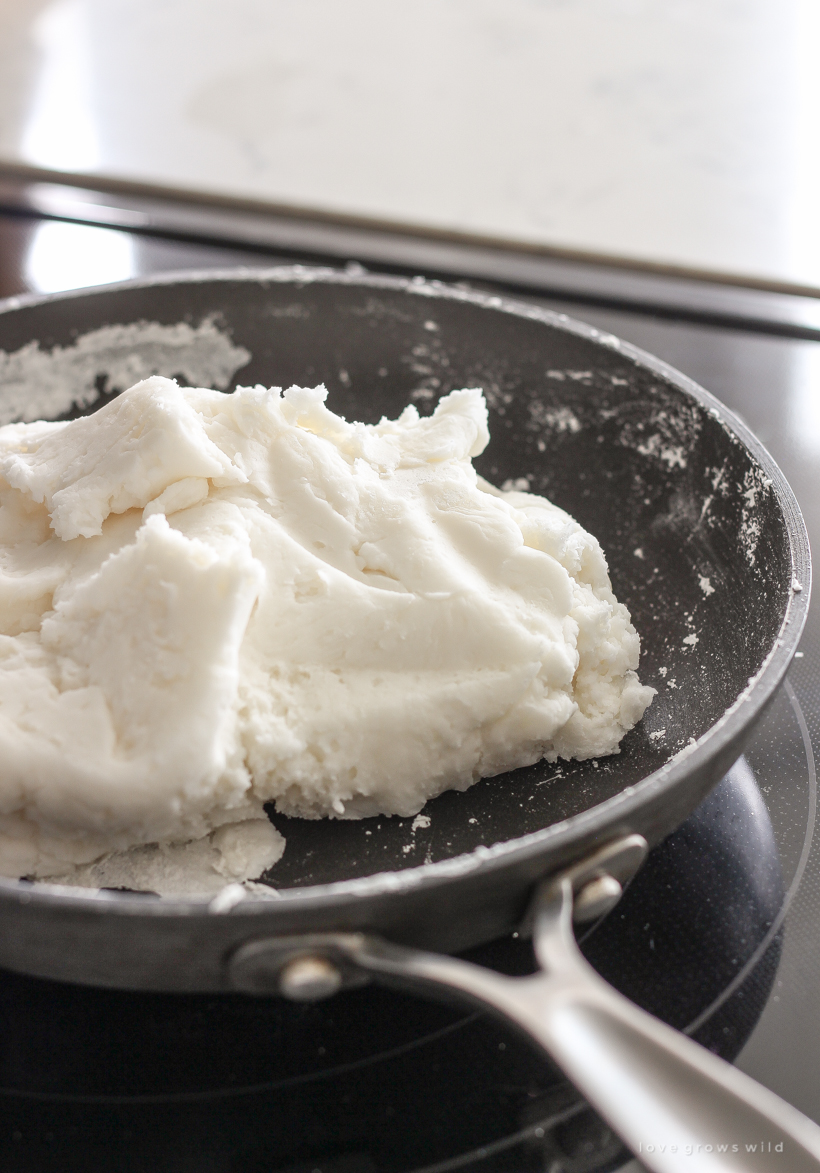
STEP 2
Continue stirring constantly with a rubber spatula, making sure to scrape the bottom of the pan so none of the mixture hardens or burns. Heat the mixture low and slow until it begins to bubble and thicken. Keep moving the liquid around the pan, and don’t worry if it starts to clump as it heats. Once all the moisture has evaporated, the entire mixture should come together in a big ball of “dough” that somewhat resembles a really stiff pile of mashed potatoes. Once all the dough is solid and pulls away from the pan, remove it from the heat.
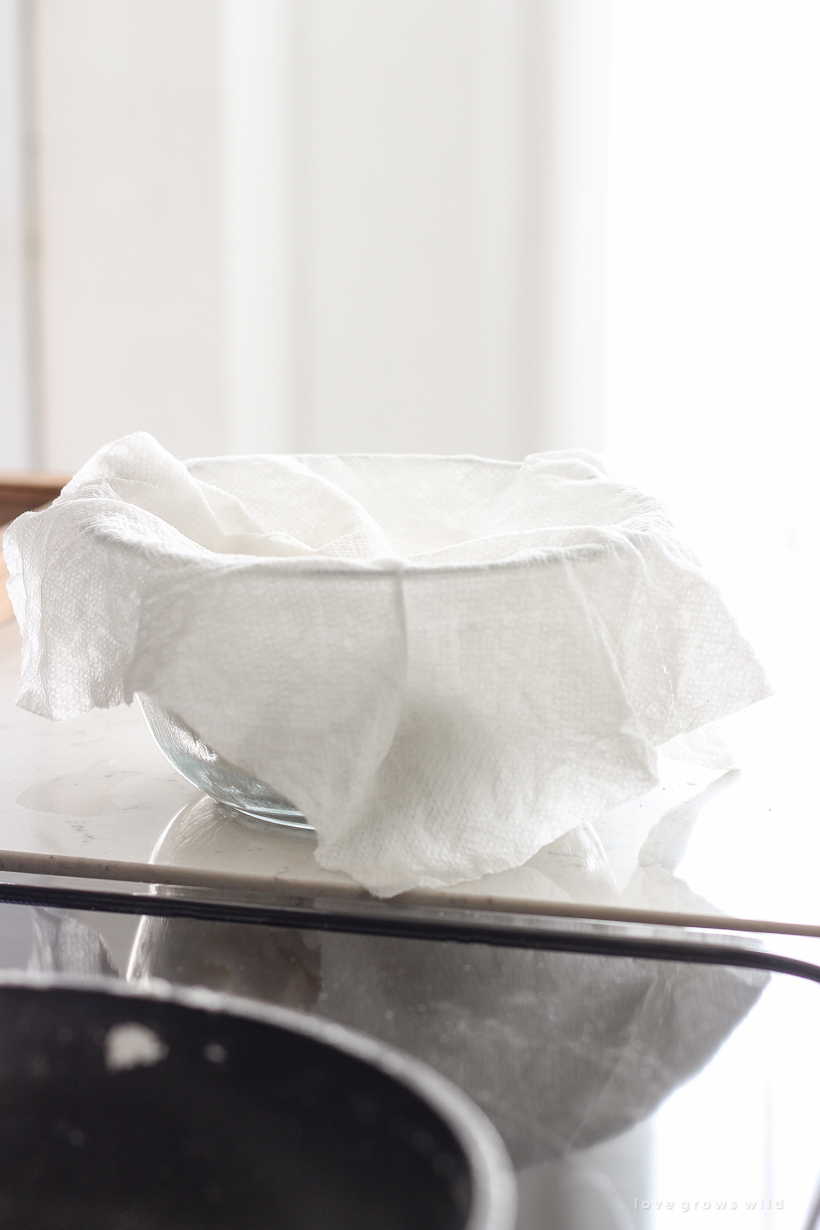
STEP 3
Transfer the dough to a bowl to cool, and cover with a damp paper towel so it doesn’t harden.
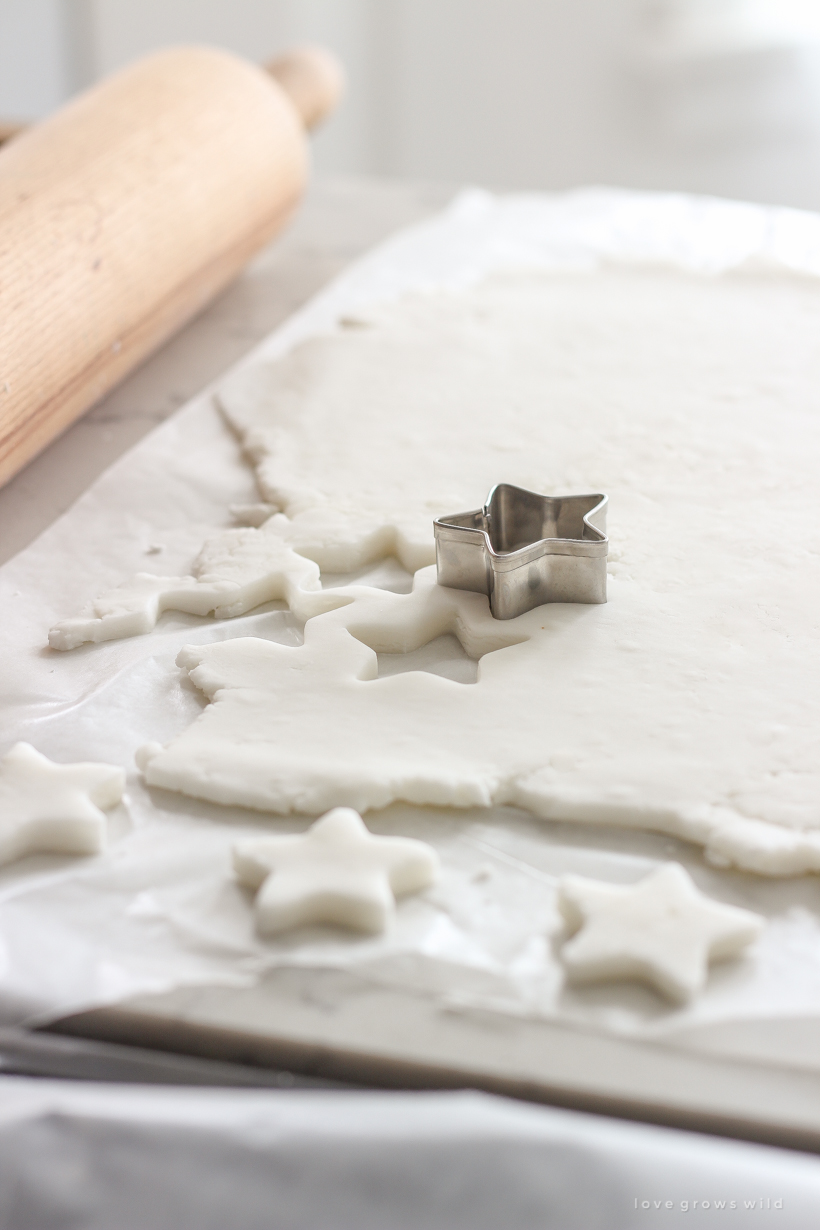
STEP 4
Once the dough is cool, roll it out to about 1/4″ thickness. I find it easiest to roll the dough in between two pieces of wax or parchment paper to avoid it sticking to the rolling pin. Use any size or shape cookie cutter to cut the dough into pieces, and if desired use a straw or skewer to poke a hole in each cut-out so they can be hung later.
Tip: You can also make a design on each clay piece by pressing something with a lot of texture into the clay before it starts drying. For the ornaments I made for my tree, I pressed a sprig of evergreen into the clay, and I bought some lace ribbon that I’d like to press into heart shaped ornaments as well.
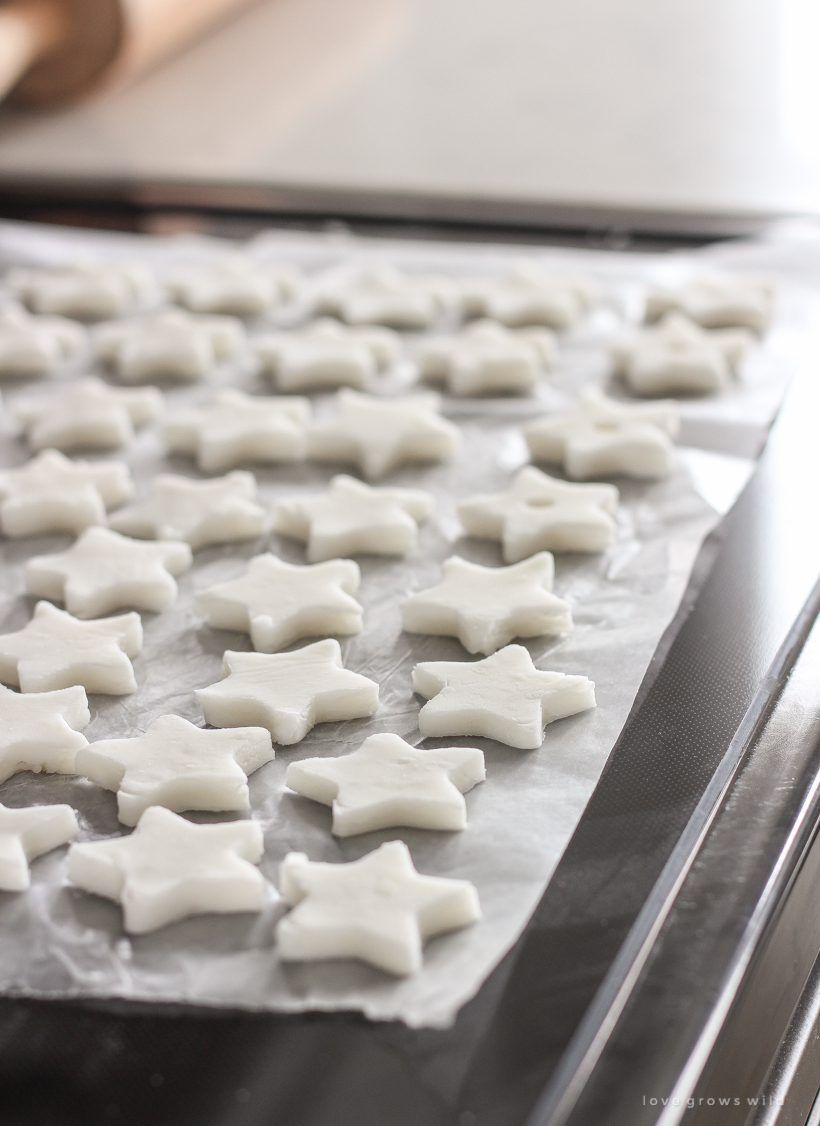
STEP 5
Let the clay air dry for 2-3 days until they are completely hard, flipping them over after the first day to allow them to dry evenly. After that, they are ready to be used!
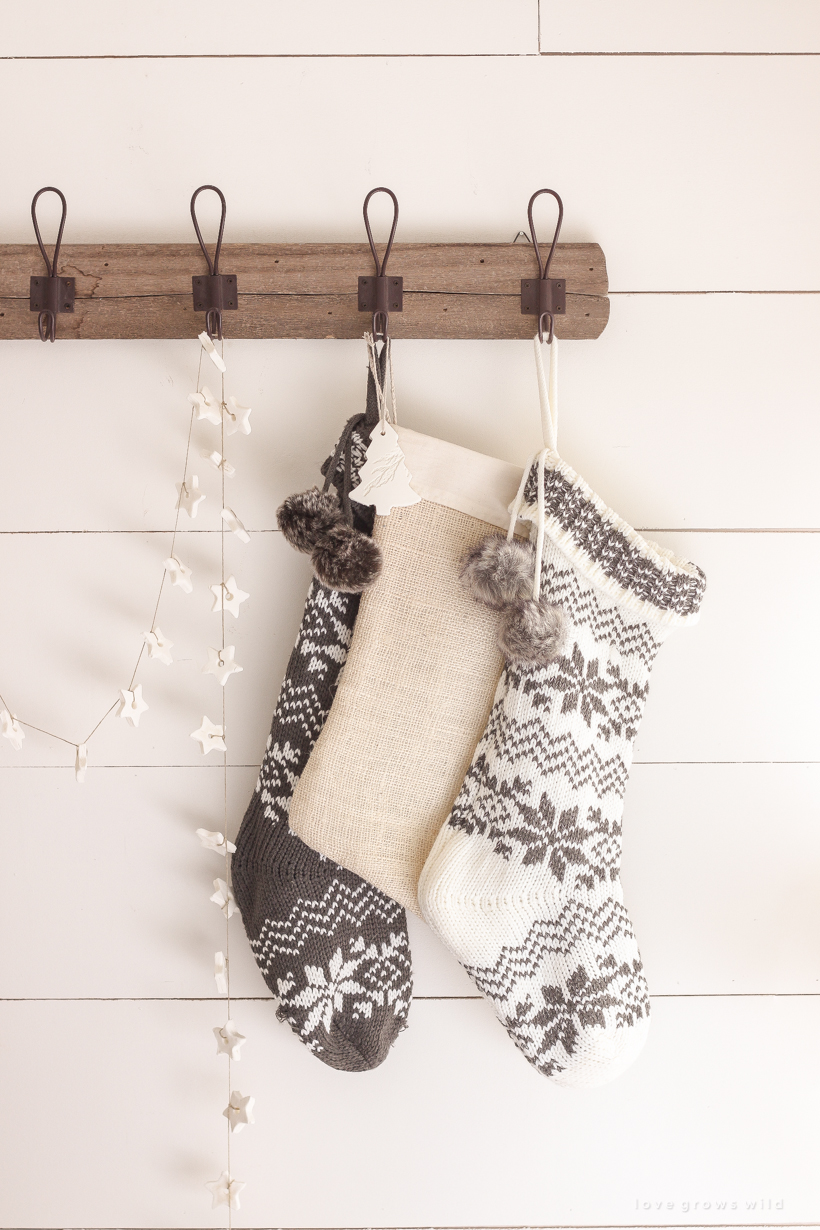
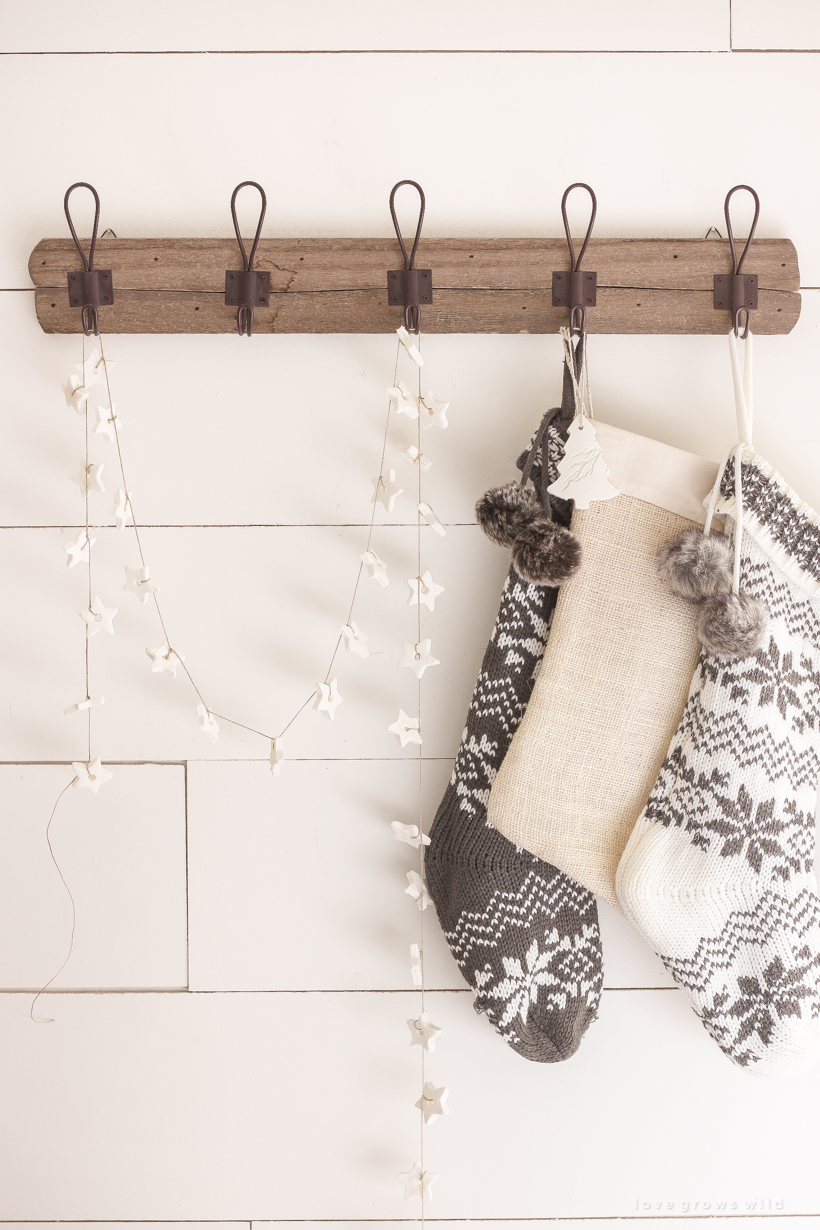
I made the sweetest little garland out of mini clay stars by tying a double knot around each star and leaving about 3″ of space in between each piece.
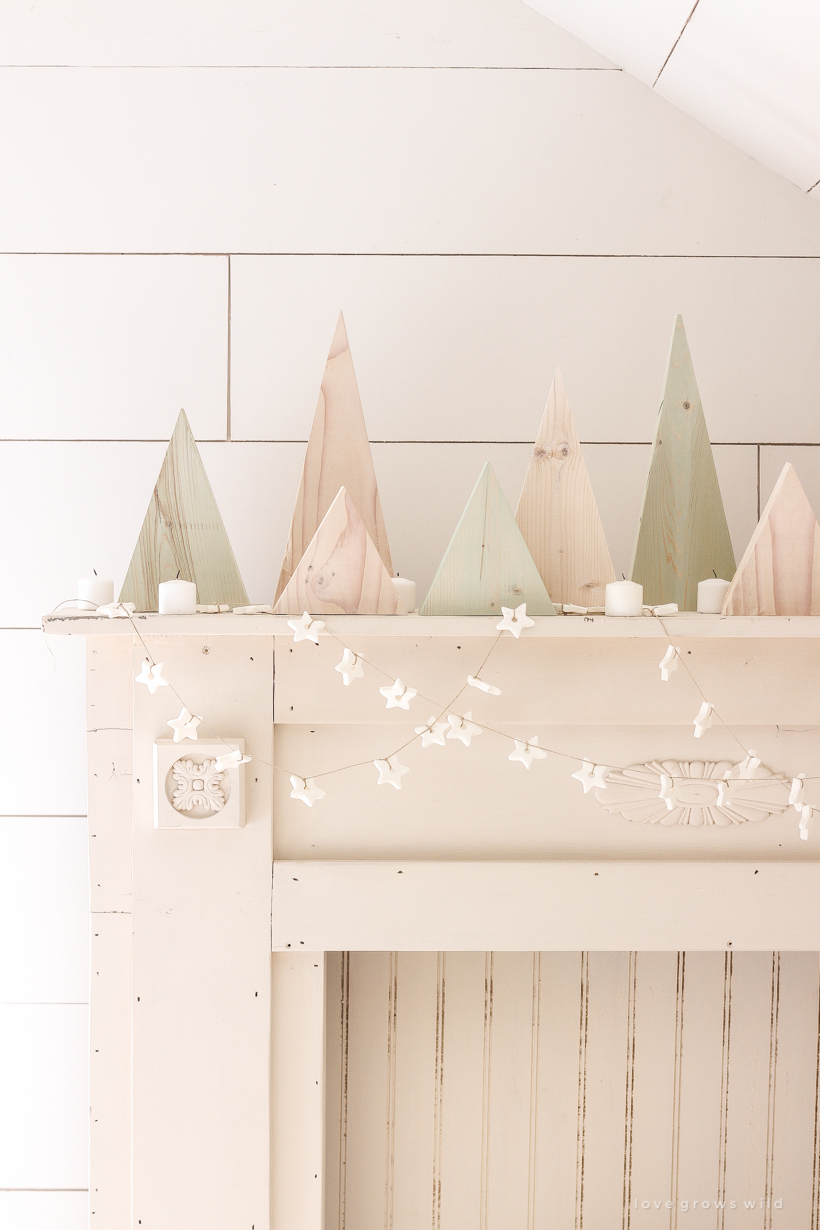
And the tree shaped ornaments I made a few years back are such a special homemade touch that I love adding to our Christmas decor each year. This project is so inexpensive, a lot of fun to make with kids, and would also be a great gift idea if you’re wanting to give something from the heart for not a lot of money. And the possibilities of what you can create are endless!
Thank you so very much for being here, and I hope this tutorial is helpful and inspires you to create something beautiful! From the bottom of my heart, I wish you a very Merry Christmas, sweet friends. xoxo Liz

Can these be painted?
Yes, they can absolutely be painted!
Hi Liz
Love your blog.
Thank you for this recipe. Do you have any idea how long unused clay can be stored? If so, how?
Thanks
Thank you so much, Dawn! I’ve always used mine as soon as it cools, so I’m not positive. But I as long as you keep the cooled dough in an airtight container, you should be able wait a little while before using it. I would maybe recommend wrapping the dough in a damp paper towel inside the container just to be safe!
Thank you so much for sharing how to make the ornament! I will make it tomorrow!!! 🙂
I love these! What kind of string did you use to tie them together. I like how the string doesn’t look bulky. So lovely on your mantel!
Thank you! I used jute string that I found in the jewelry section of Hobby Lobby. I love how thin it is for projects like this!
My 3 grandchildren enjoyed making ornaments using this recipe. It is so simple & easy and that makes it more enjoyable. Thank you for sharing.