
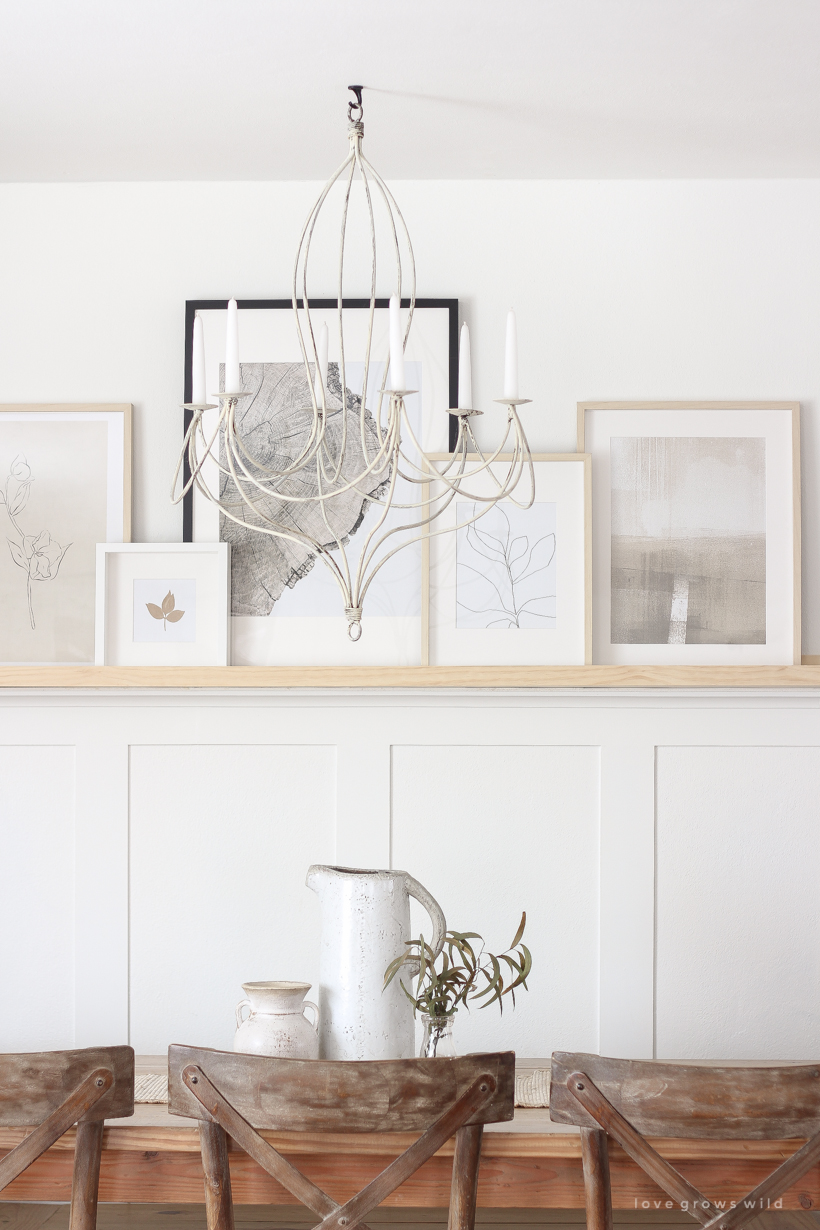
Look at our little farmhouse getting all fancy with new artwork on the wall! Actually, this entire project was super budget-friendly, and I’m going to show you today how I did it!
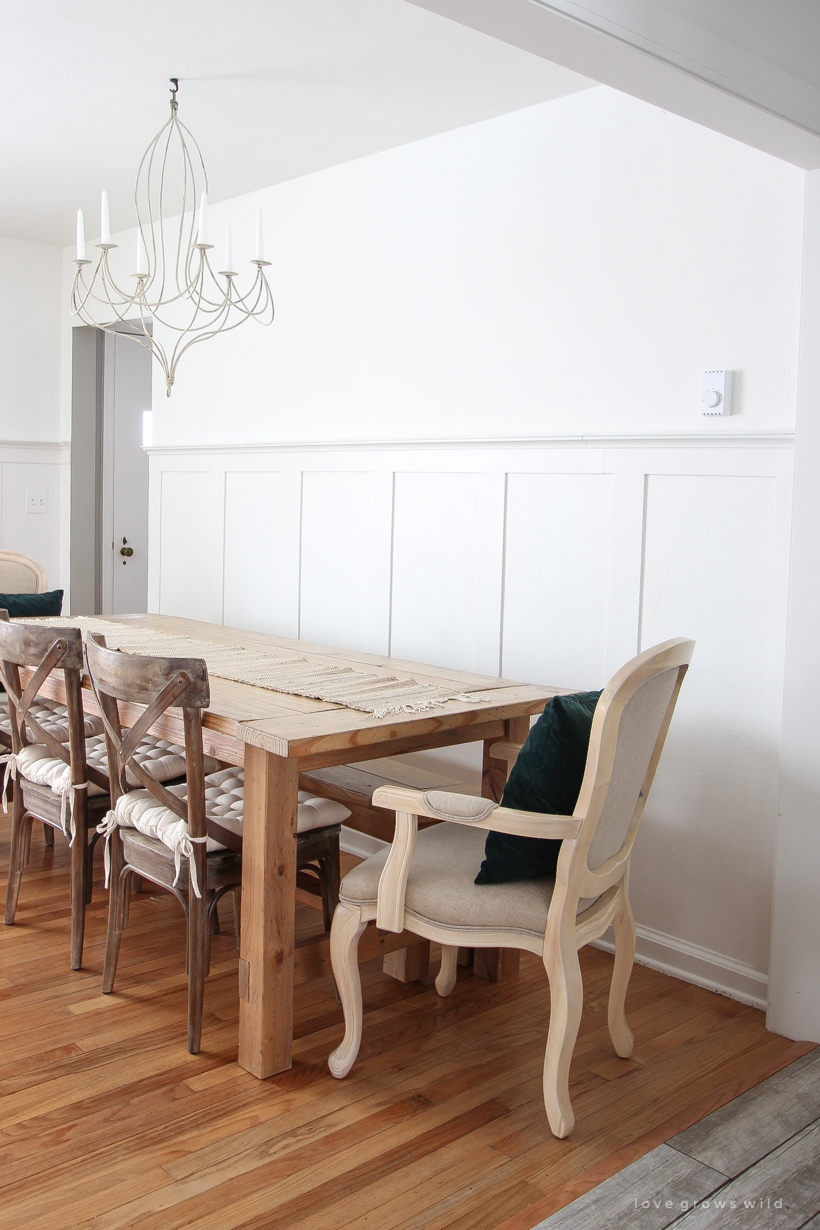
A few weeks ago I talked about some changes I’ve been making in the living and dining room and shared a lighting hack I used for installing a wall sconce without any wiring. I’m so happy with how that turned out! The next big change I wanted to make in this space was adding some personality on the wall behind our dining room table. Both the kitchen and living room are open to the dining room, so this big, blank wall is… or SHOULD be a big focal point in the space. I’ve struggled with what to put here because it’s such a long wall, and I also didn’t want to detract from the gorgeous candle chandelier that hangs above the table. But the space just felt unfinished with so many blank white walls in this area, so I had to come up with something to bring our dining room to life.
My solution: Create a shelf for displaying artwork or photos that can be easily changed and rearranged without adding any holes in the wall!
These walls are made of hard, old plaster (one of the many “perks” that come with a 1940’s farmhouse), and driving a nail through them is next to impossible without crumbling a fair portion of the wall. By installing a shelf where I can just lean frames up against the wall, I’ll be able to easily rearrange the display seasonally or whenever the mood strikes.
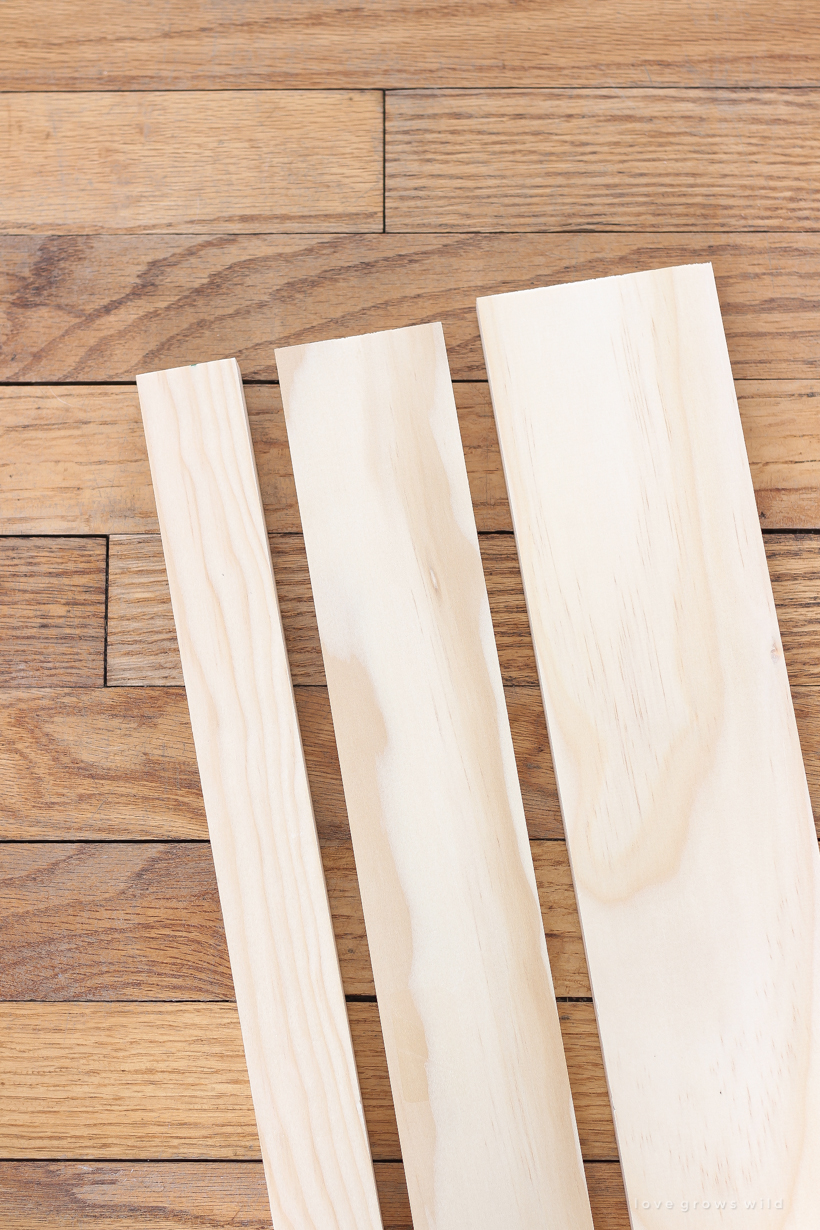
This project I modified from Ana White’s tutorial and was simple, quick and inexpensive, requiring just 3 boards:
1 x 2
1 x 3
1 x 4
Note: I recommend using the highest quality pine lumber for this project. There are usually different grades of pine you’ll find in the lumber aisle – the highest grade (it’s labeled “select” in my store) is more expensive, but will be the straightest and have the fewest knots and warps, which is what you’ll want for this project. Since you only need 3 boards, it’s worth spending the extra money for a better quality and nicer finish.
DIY ART SHELF
As always, I sincerely appreciate you shopping through the links I share, which allows me to make a small commission from your purchase while your purchase price stays the same. When you use my affiliate links, I’m better able to create content for this blog as well as support my family, and I thank you from the bottom of my heart for supporting what I do!
INSTRUCTIONS:
First, cut all 3 boards to your desired length. I bought 6 foot boards and used that as my length, so no cutting was required!
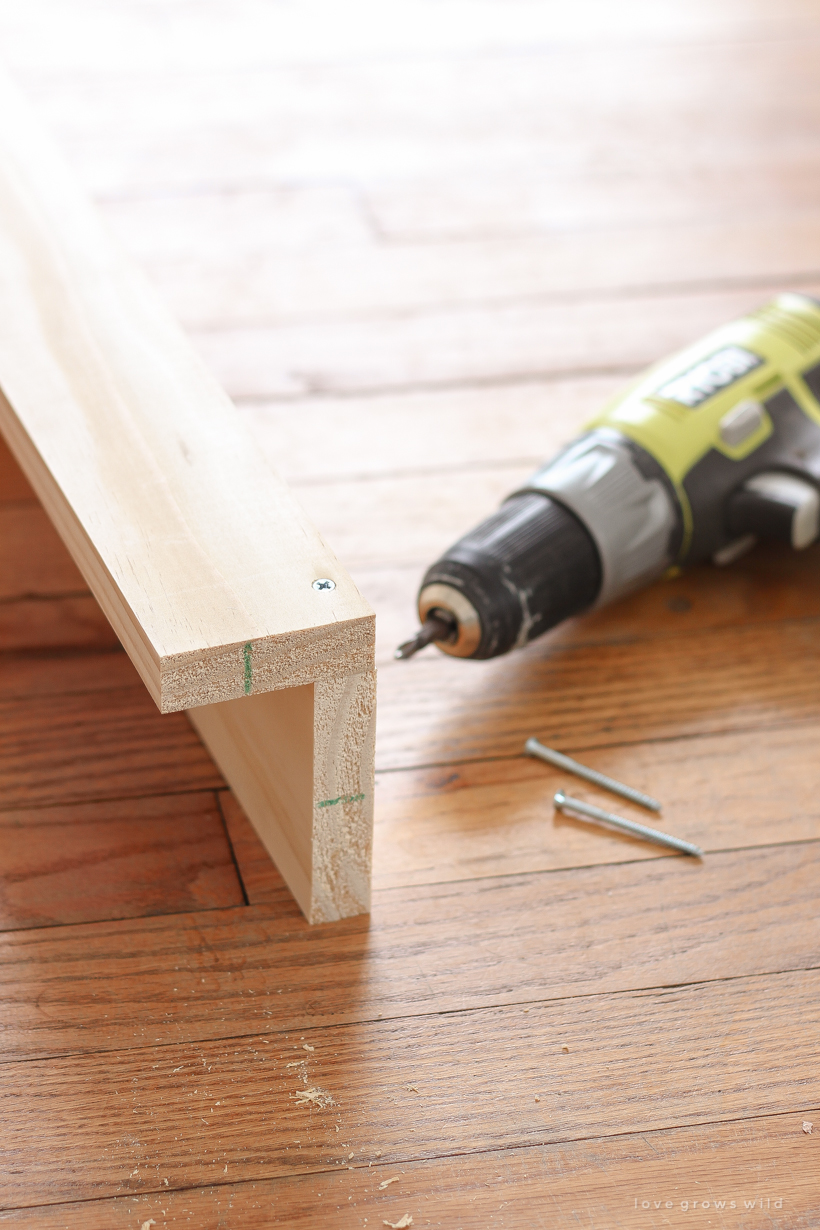
Pre-drill holes through the 1 x 3 (the back of your shelf) into the side of the 1 x 4 (the bottom of your shelf). I recommend using a countersink drill bit for this so the screw will sit flush with the board.
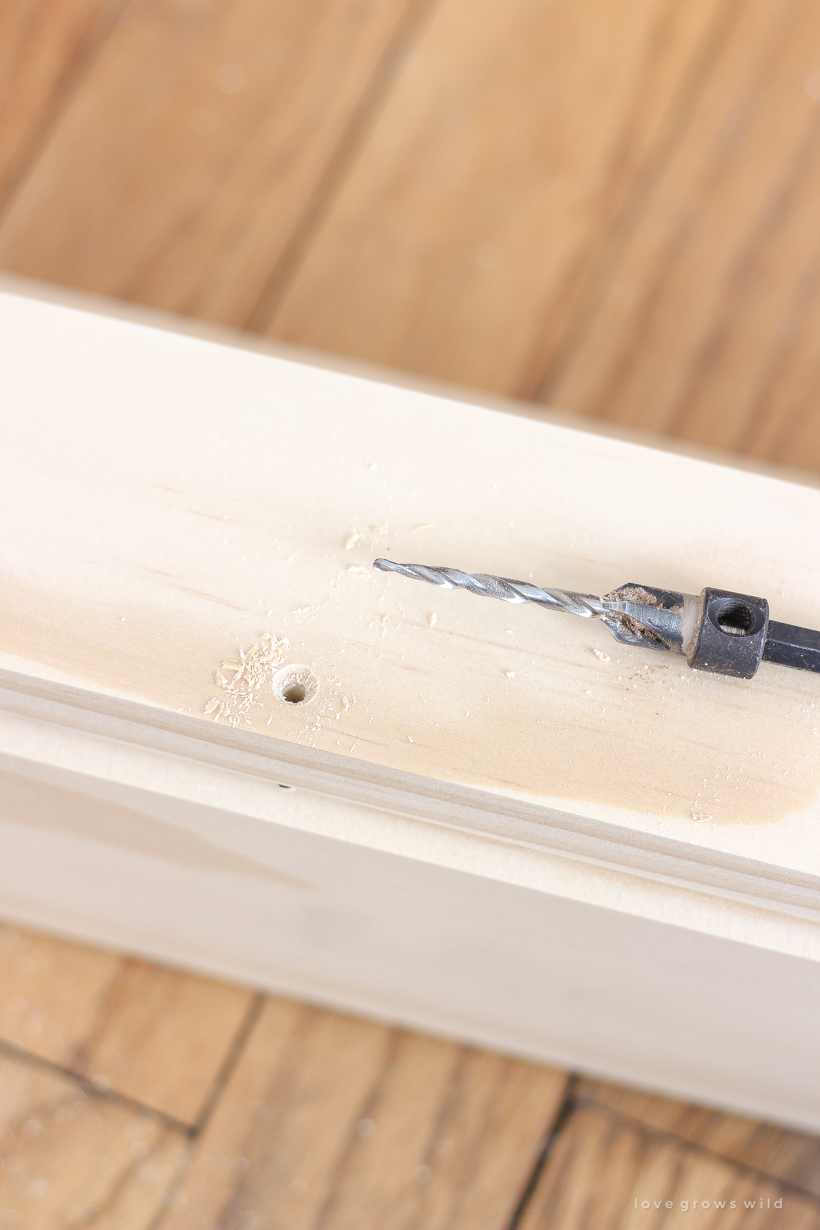
Attach the 1 x 3 to the 1 x 4 using 1 1/2″ screws.
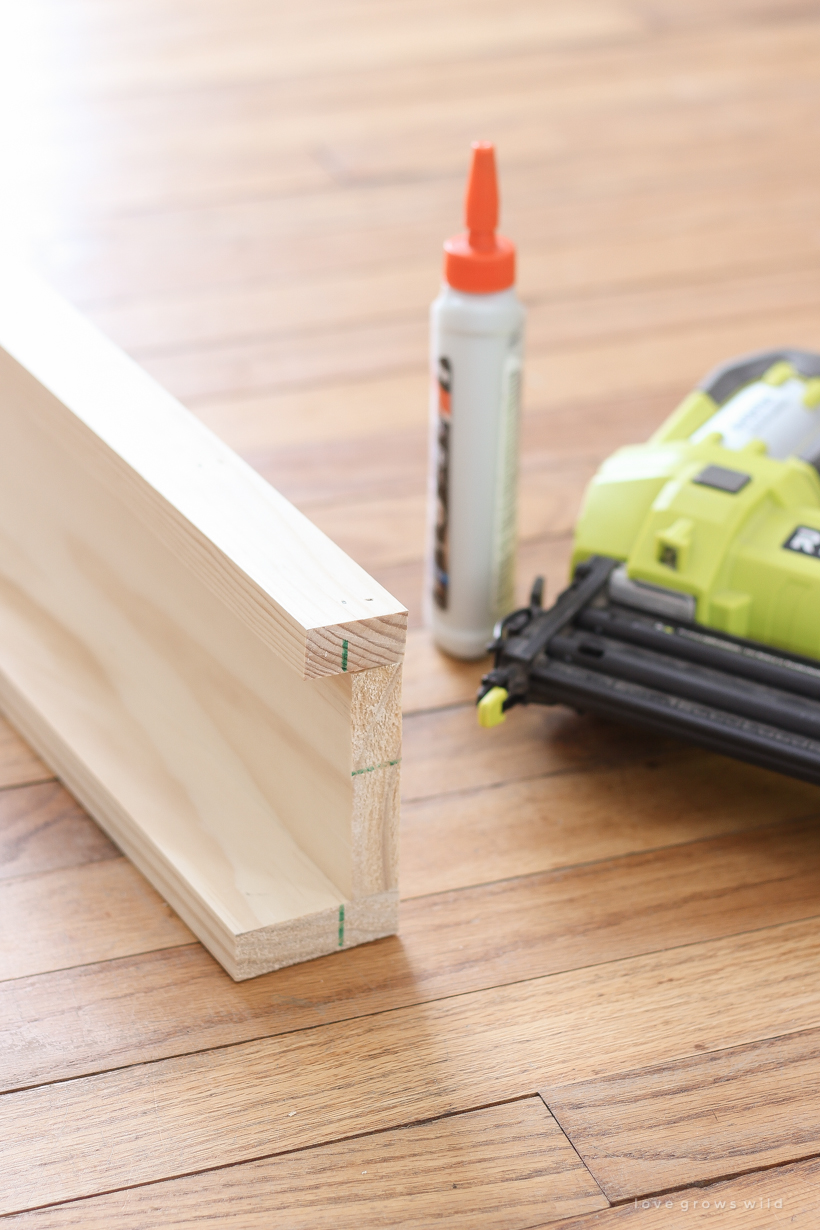
Then attach the 1 x 2 (the front of your shelf) to the 1 x 4 using wood glue and nails. I didn’t want any screws visible on the front of the shelf, so I opted to use my brad nail gun and wood glue instead.
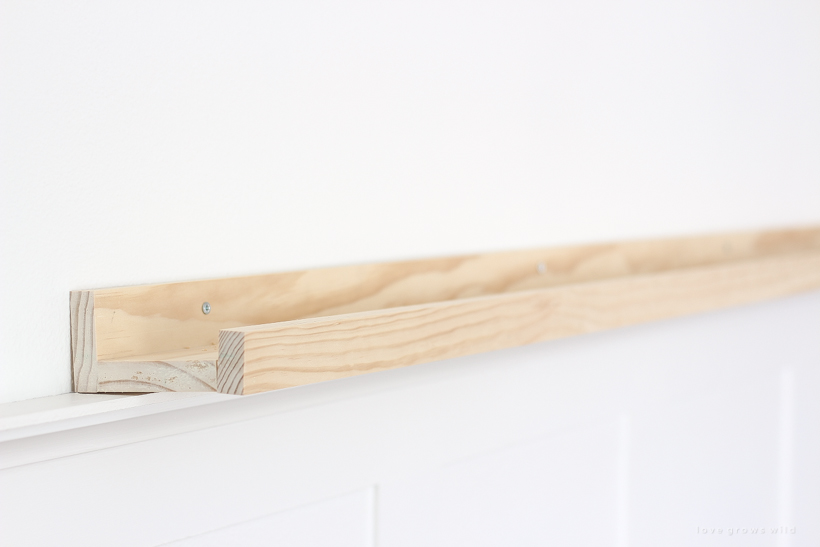
Paint or stain the shelf and allow it to dry completely. I wanted a natural light pine look, so I left the boards as is!
To hang the finished shelf on the wall, decide where you would like it to be hung, check for level, and insert screws through the 1 x 3 into the wall using wall anchors. Be mindful of placing screws where your frames will most likely sit and hide the screws. For example, I chose to place my screws several inches in on the ends of the shelf since I most likely won’t have a frame sitting all the way out on the edge.
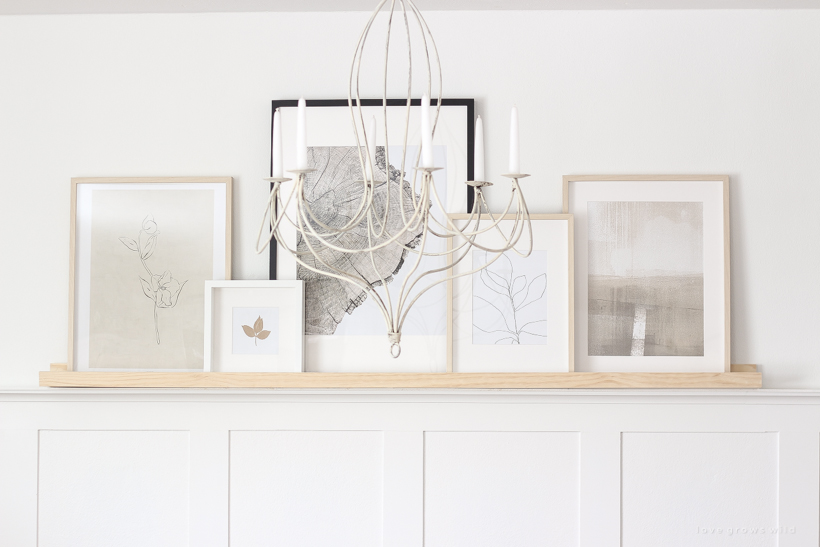
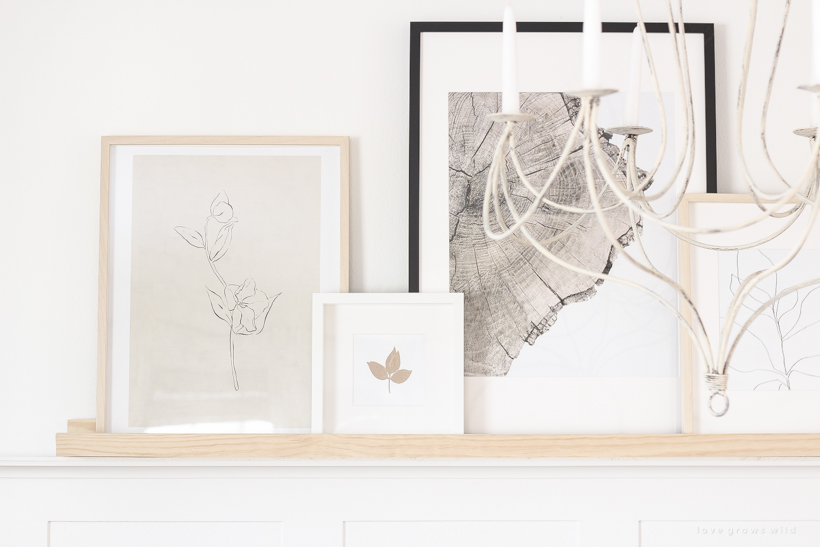
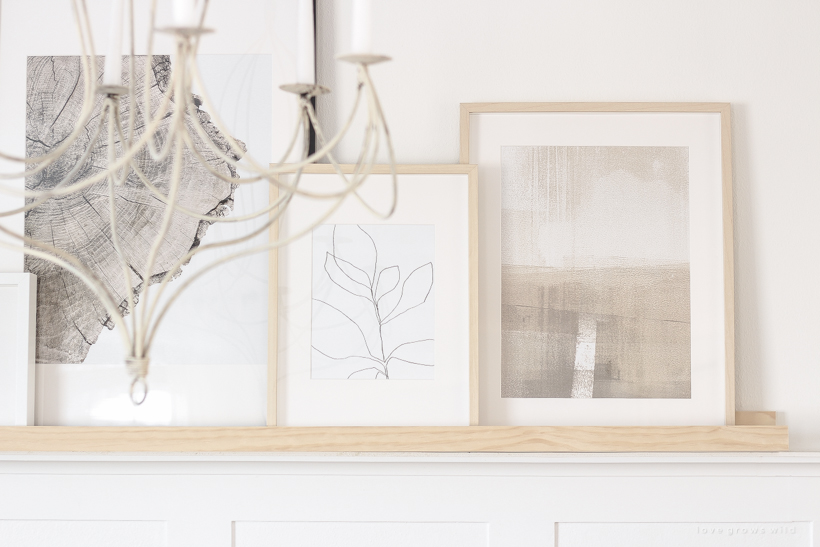
Then add art!

I’m already working on my next blog post that will have sources for all the artwork I added to my shelf and my tips for finding and framing REALLY affordable art, so stay tuned! I wanted to have that information all in one place for you guys. I’m so excited to share this advice with you because buying artwork, especially big pieces, can be crazy expensive, but there are some really great options out there for finding the perfect art for your home on a very small budget!
Update: Find all these art prints here!
I am obsessed with the simple nature vibe of these pieces and the much-needed personality it brought into the dining room. There are endless options for styling a shelf like this, and I can’t wait to play around with it more in the future!
Thank you so much for stopping by today to check out this tutorial, and you can always see more of our past projects and tutorials in the Project Gallery (found at the top of this page)! I’ll be back soon with affordable artwork solutions! xoxo Liz
SHOP THIS POST:
wall color: Du Jour by Valspar
board and batten tutorial: here
farmhouse dining table tutorial: here
cross back chair: World Market
chair cushions: World Market
round back linen chair: World Market
table runner: Pier 1
tall vase: Wayfair
green velvet pillow: h&m
candle chandelier: A Rustic Garden

I have been wondering if these little picture shelves could be a diy and now you have shown me how easily they can, thanks.
I love your DIY art shelf! I think I will try this for my kids’ best artwork. Thanks so much for the idea!
I love this!!
So fresh and pretty
Thank you for this great idea! I’ve been saving some ‘coastal’oil paintings my dad did before he passed away and also have purchased a few prints. I couldn’t decide how to hang them in a long entry hall so they went together and didn’t line up, or look too ‘gallery’. I have an old black IKEA shelf like this that I’m going to paint a light color (white/gray/driftwood?) and hang on my white shiplap and play with the art arrangement. You’ve given me the incentive to go for it and it won’t cost me anything!!!! Thank you for your great ideas and tutorials.
I am assuming that these don’t need any polyurethane or varnishing?
Hi Julie! I didn’t seal mine at all since I left the wood raw, but if you stain or paint the wood I would recommend using some kind of wax or matte poly.
Where did you get your frames? Their neutral vibe goes perfect with the artwork and I like that they aren’t too thick.
most of these came from IKEA! It’s a great place to buy an expensive frames, especially the larger sizes.