

The last couple months I’ve been picturing a big piece of art for our dining room in my mind and just couldn’t shake the idea. I knew exactly what I wanted it to look like… something soft and subtle that resembles a landscape, but very blended and abstract. Lots of texture, a faint hint of color, and a light wood frame around the canvas. For a couple days I started shopping around and sourcing pieces of art I could buy, but I quickly realized that #1 art is expensive and #2 it was going to be nearly impossible to find exactly what I was dreaming up in my head.
It has taken me quite a few years to realize what things are DIY-friendly and totally doable, and what things are best left to the pros and worth the extra money and savings in time. I don’t consider myself an artist even in the slightest, but I had a feeling I could manage to come up with something resembling my idea, especially if it would save me a good amount of money. Art doesn’t have to be perfect anyway, right? Especially if it’s abstract. I picked up a canvas and a few tubes of paint and just went for it. At the most, I would be out $20-$25 and an hour of my time if it didn’t turn out.
I practiced on a few cheap mini canvases first just to get the paint colors right and technique down before I started on the big piece, which was really helpful and took away the anxiety of “messing up”. Then I just dove into the project and kept painting until it felt right.
From a blank canvas to a finished painting, here is how I created beautiful large-scale art for our home on a budget without ever touching a paintbrush. Yes, you read that right… keep reading to see what I used!
Some links in this post are affiliate links, which allows me to make a small commission from your purchase, but your purchase price stays the same. Thank you for helping support our blog and keep it going!
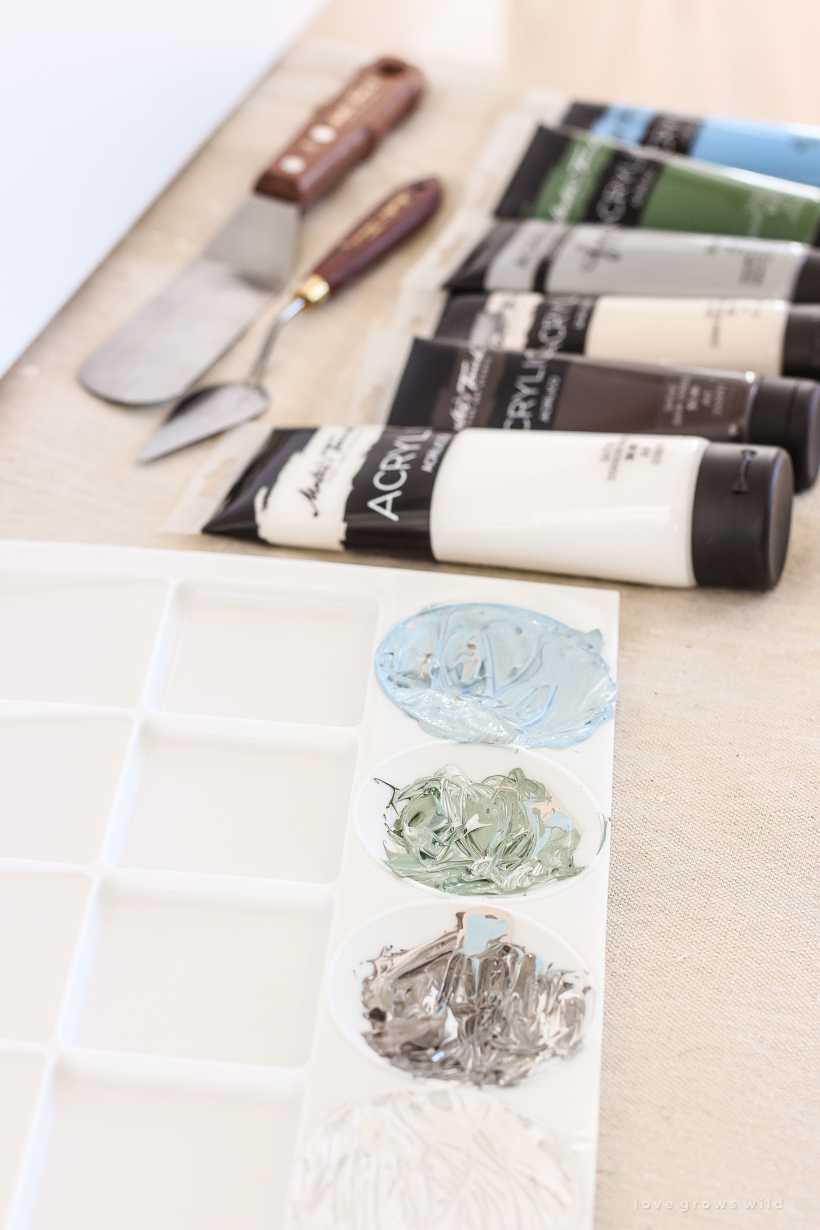
SUPPLIES:
canvas (mine is 40 x 30″)
painting knife
acrylic paint
palette for mixing colors
paint colors I used from Master’s Touch:
– RA104 titanium white
– BA290 dark titanium white
– RA810 silver
– SA540 raw umber
– SA291 pale blue
– SA460 chrome oxide green
INSTRUCTIONS:
Start by applying a layer of white paint all over the canvas using a painting or palette knife. You don’t want the canvas to peek through your painting, so starting with a coat of white paint is important. The technique for using a painting knife is very similar to frosting a cake and allows you to add a lot of texture and movement in the paint. I recommend testing the technique on a small practice canvas first if you feel unsure. You simply smooth and smear the paint on the canvas using the flat part if you want a smooth finish or using the edge if you want lines and ripples in your paint. This first layer is a great opportunity to build up texture on the canvas, so feel free to make it as dimensional as you’d like before adding any other colors.
Add some basic shapes to your canvas for scenery and landscapes such as land, water, trees, mountains, etc. Remember that this will be abstract and you will end up blending a lot of what you’re painting, so don’t worry about everything looking exact. At this point you just want to give some basic outlines to your painting. For a soft, soothing look, add white paint to bright/bold colors to lighten them and gray/brown paint to make them more muted.
By working with paint that is still wet, you’re able to blend the colors and move them around the canvas. Start to soften hard lines by blending color transitions using your knife.
Step back often to get a bigger picture of your progress. This helps you see if you like the direction you’re going and what your painting needs. It also is very helpful if you’re starting to feel frustrated or stuck with where you’re at. Sometimes walking away for a second and looking at the canvas with fresh eyes prevents you from over critiquing your work.
Once you feel like your colors and shapes are near complete and blended the way you want, go back in and add dabs of lighter or darker paint in certain areas to add depth and texture. This keeps your painting from feeling washed out and boring. Adding little bits of white throughout my canvas really brought the muted colors I used to life. Again, the more texture you can add, the better. Once finished, let the canvas dry completely, preferably overnight.
The video below shows how I painted my entire canvas from start to finish.
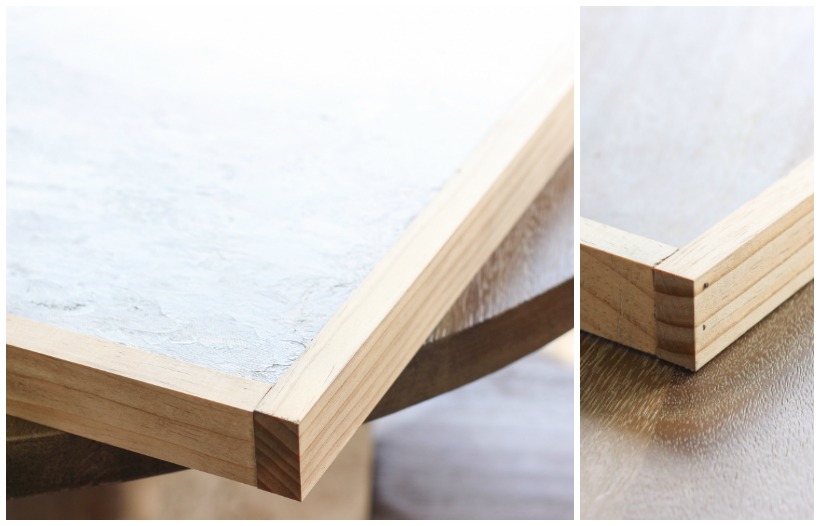
Now let’s build a frame around the canvas…
SUPPLIES:
1 x 2 lumber
saw
brad nail gun
wood glue
tape measure
CUT LIST:
2 – 1 x 2 cut to the length of your canvas (mine was 40″)
2 – 1 x 2 cut to the height of your canvas plus 1 1/2″ (mine was 31 1/2″)
INSTRUCTIONS:
First, stain or paint the wood and let the pieces dry completely. Then lay your canvas down flat and set the 1 x 2’s around the outside of the canvas. The ends of the length pieces should sit just inside the height pieces, creating a flush corner. Attach the 1 x 2’s together using wood glue and brad nails going into each corner. The canvas should fit snugly inside the frame, but you’ll want to add several brad nails going from the 1 x 2 frame into the wood the canvas is stretched on to keep it secure. Just be careful not to poke a nail through the canvas.
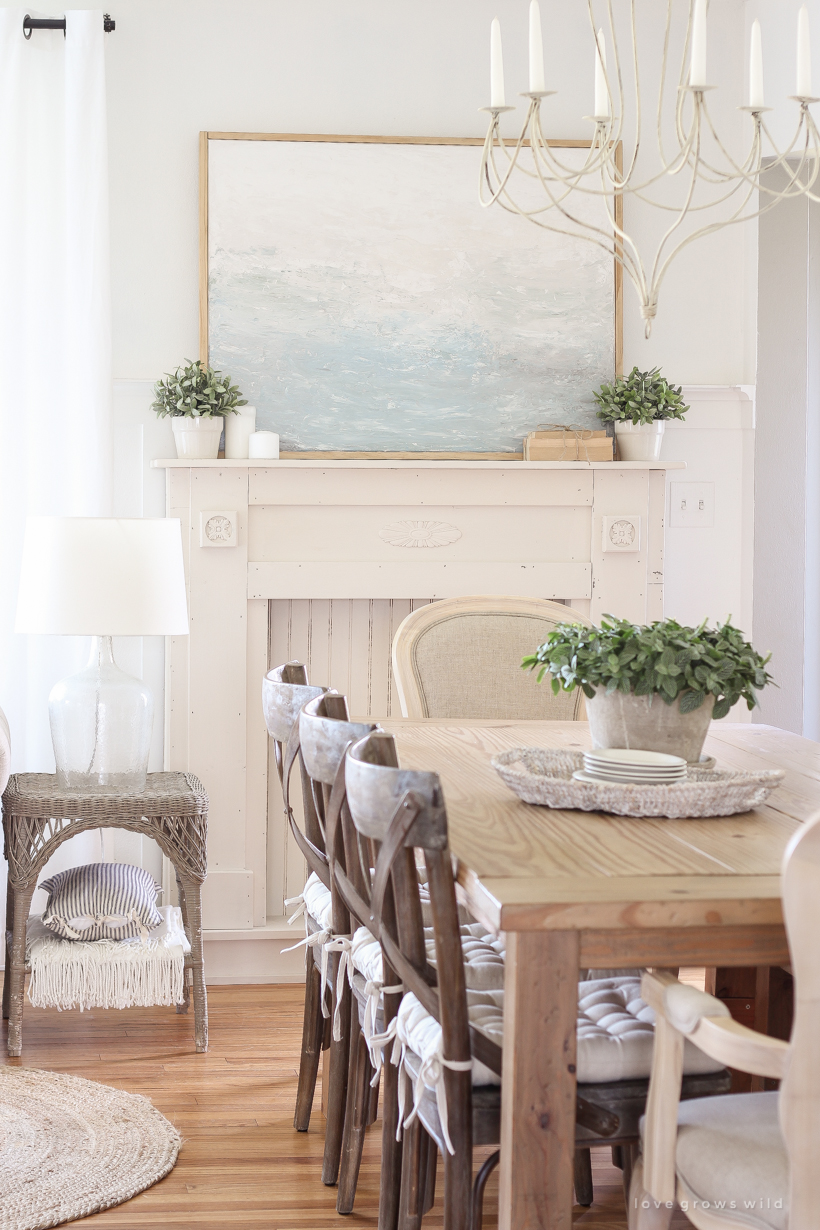
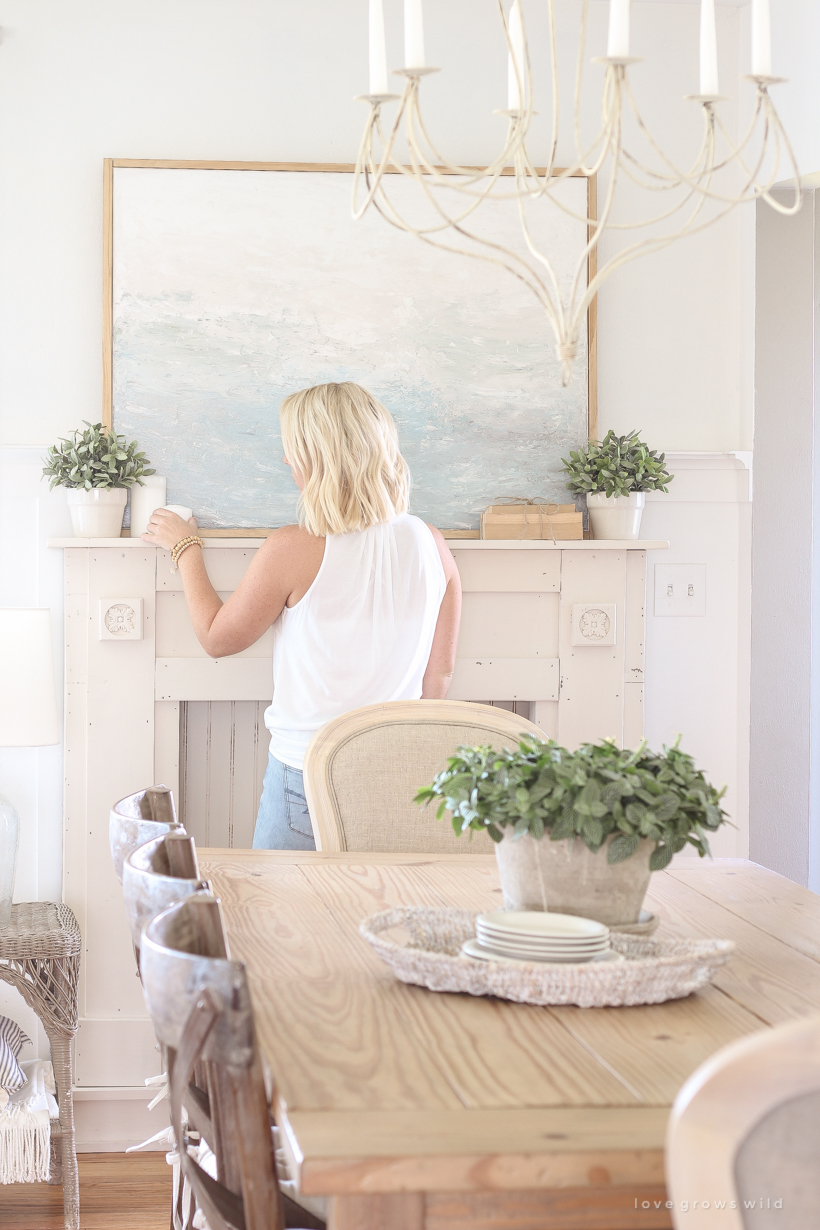
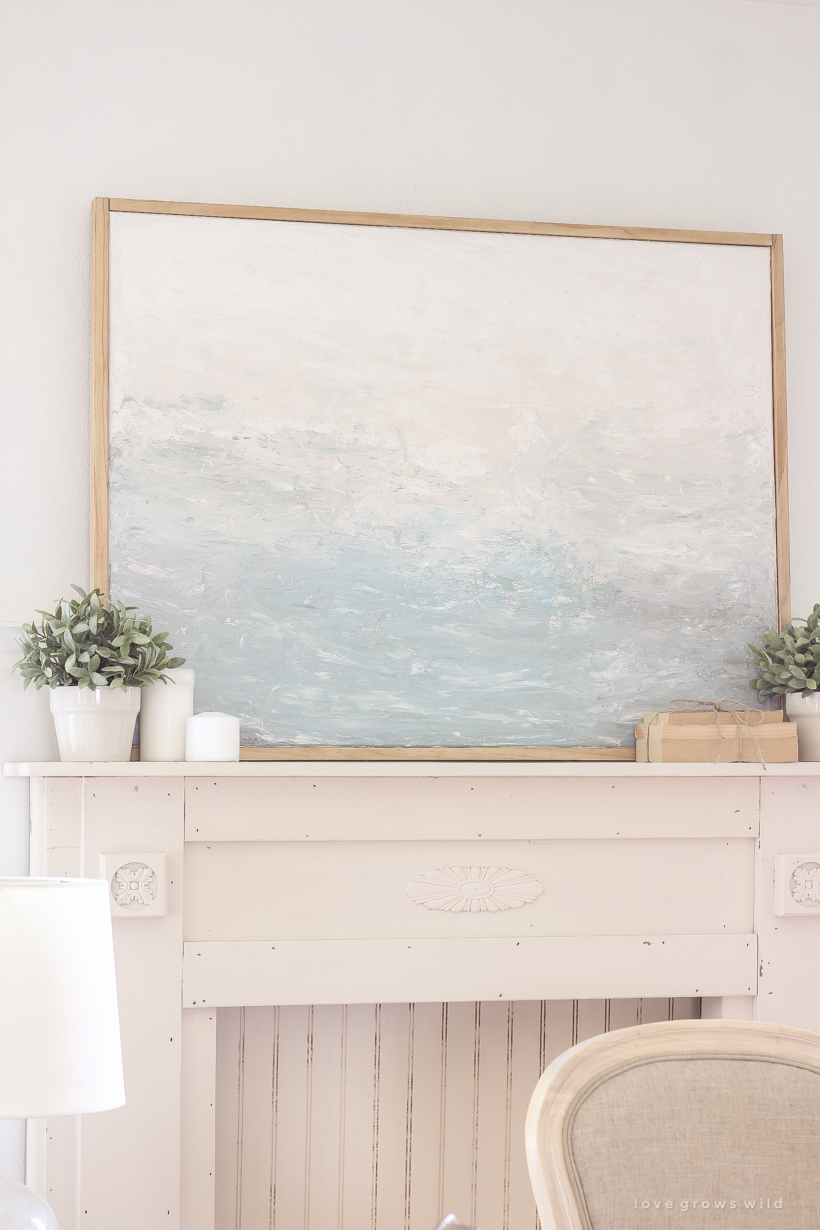
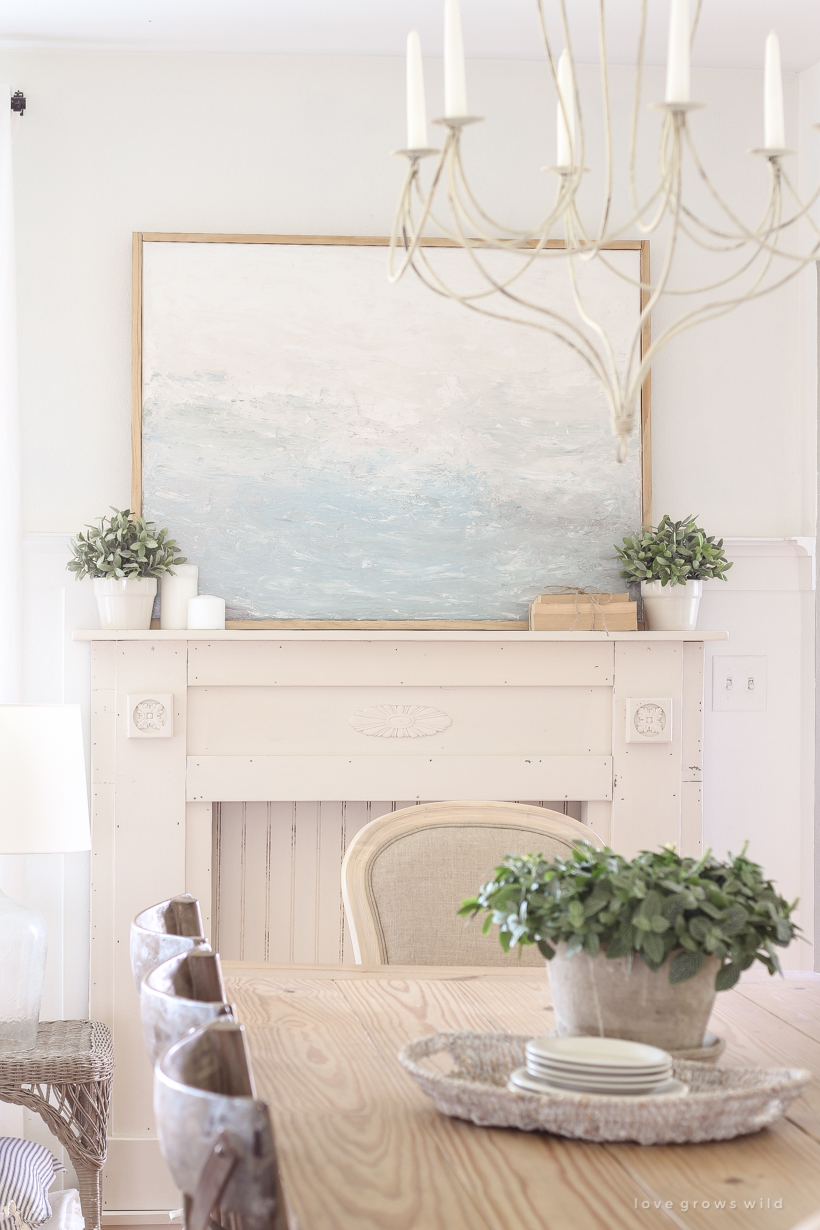
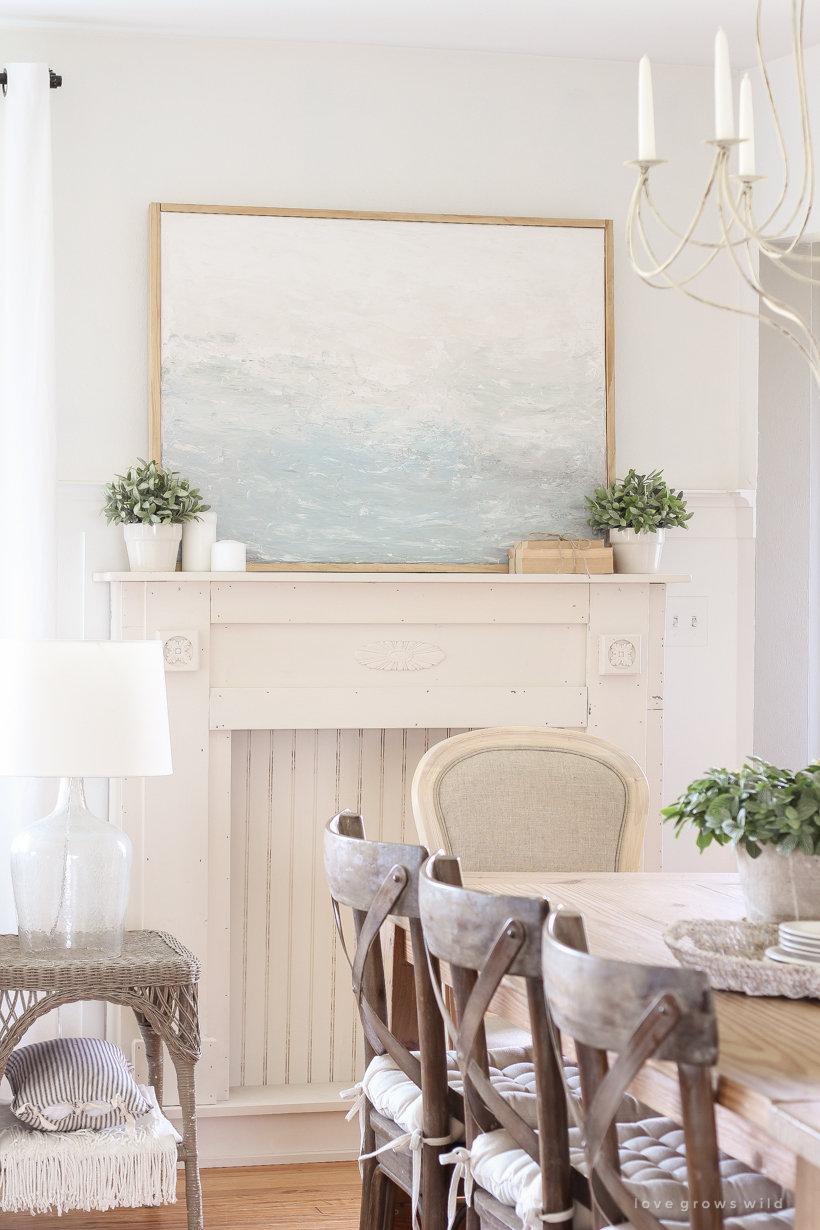
I just adore the soft colors of the sea in our dining room, especially for the last few weeks we are holding on to summer. I originally thought I would hang the painting on the wall above our table, but once I tried it on the mantel, it’s like it was always meant to be there. A little bit of greenery was all the mantel needed to complete the look.
I picked up the little wicker table for just $15 at an antique store this summer, and I thought it totally went with the laid-back coastal vibe we have going on in this space right now. Once I start adding a little bit of fall decor, I’ll have to see if the colors of the painting will blend into the next season or if I will put it away until the holidays are over, but it’s fun to always keep our home feeling fresh and updated. Even if it’s just with a $20 painting that I made myself!
My sincere hope for this post is that you feel encouraged to go outside your comfort zone and create something handmade and unique and special for your home. Try something new, even if you feel like you don’t have the skills or experience to do it just yet. I spent very little on this project and had never before tried creating a landscape painting, even if it is extremely abstract. The beauty of art is that it is very personal, and what better way to decorate your home (even on a budget!) than with something you created with your own two hands? Artist or no artist… YOU can create art like this!
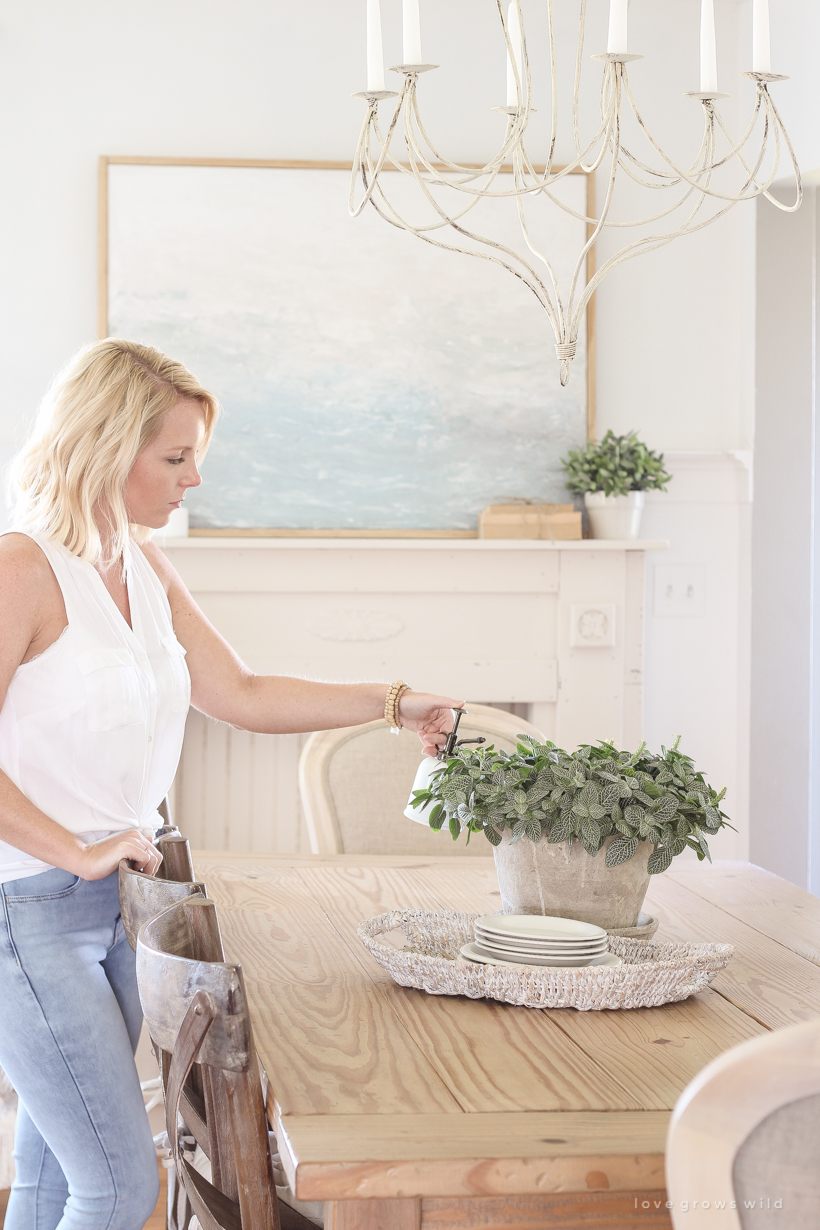
Thank you so much for taking the time to watch my little video and see what I created. Let me know what you think of this tutorial and if you use it to create some art yourself! Have a beautiful, wonderful day, sweet friends!
Sources:
farmhouse table
cross back chairs
tufted chair cushions
candle chandelier
LET’S KEEP IN TOUCH!
Subscribe to Blog | Follow on Instagram
Follow on Pinterest | Follow on Facebook

Love your blog! What did you use on your kitchen table to keep it from yellowing? Thank you!
I used this Varathane product: https://amzn.to/2QmZLhS
It dries crystal clear and doesn’t yellow!
You did a WONDERFUL job!! It’s beautiful!!!
Also, thanks for instructions on how to frame the canvas! I’ve been wanting to do this.
Liz, I just finished reading your book, A Touch of Farmhouse Charm. The projects are so beautifully explained and photographed. As a DIY blogger, I’m always looking for inspiration and you have provided plenty. Love this book and thank you for sharing your passion and beautiful ideas.
This is absolutely beautiful, Liz! My husband I recently moved into a new home and I would love to try something like this to add a more personal touch to our dining room or living room. Thanks for the inspiration! And I do have to ask, when you applied your base layer of white paint, did you use strictly the titanium white color or did you also mix it with the dark titanium white?
Hi Danielle! I just used the titanium color since most, if not all of the background was going to be painted over anyway.