
This project has been a TOTAL lifesaver for me, guys!
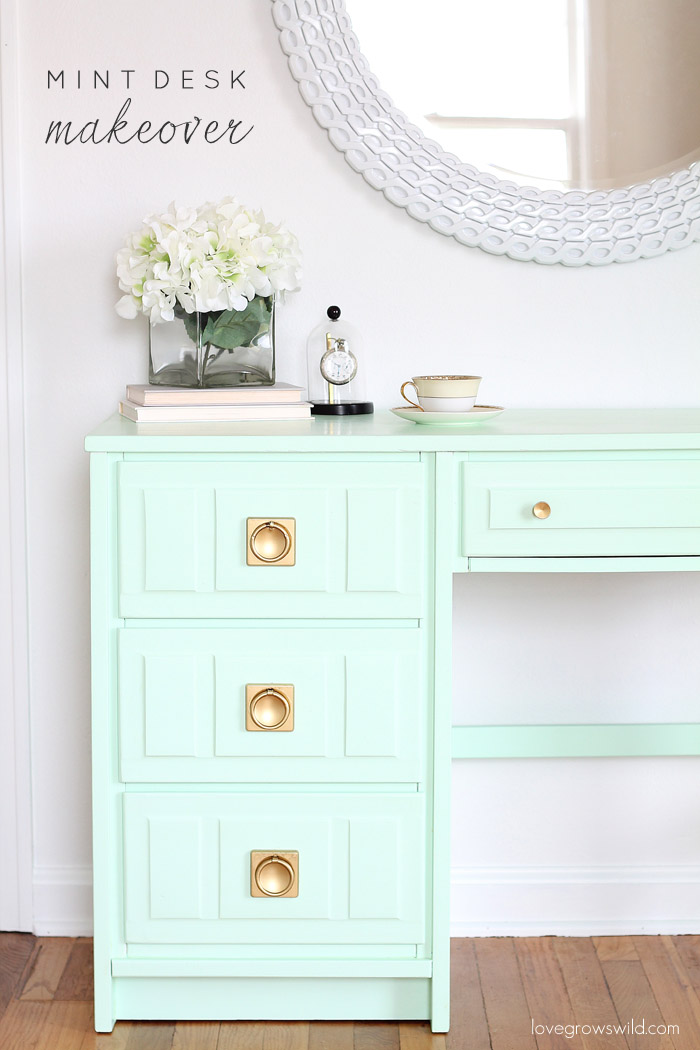
But before we jump into that, let me backtrack a little bit. So last summer I started a giant makeover on my office, and you may have noticed that I never really tied up all the loose ends on that makeover. That happened for a couple reasons: 1) I had one last MASSIVE piece of furniture to paint, and spray paint season unfortunately came to an end. Darn you, winter! I had to patiently wait until the weather was nice enough to bust out the paint sprayer again. And 2) I needed some time to let the design choices soak in a bit. I originally pictured my office with a more modern glam design, but I should have known not to stray too far from my rustic farmhouse roots because this room just never felt right to me.
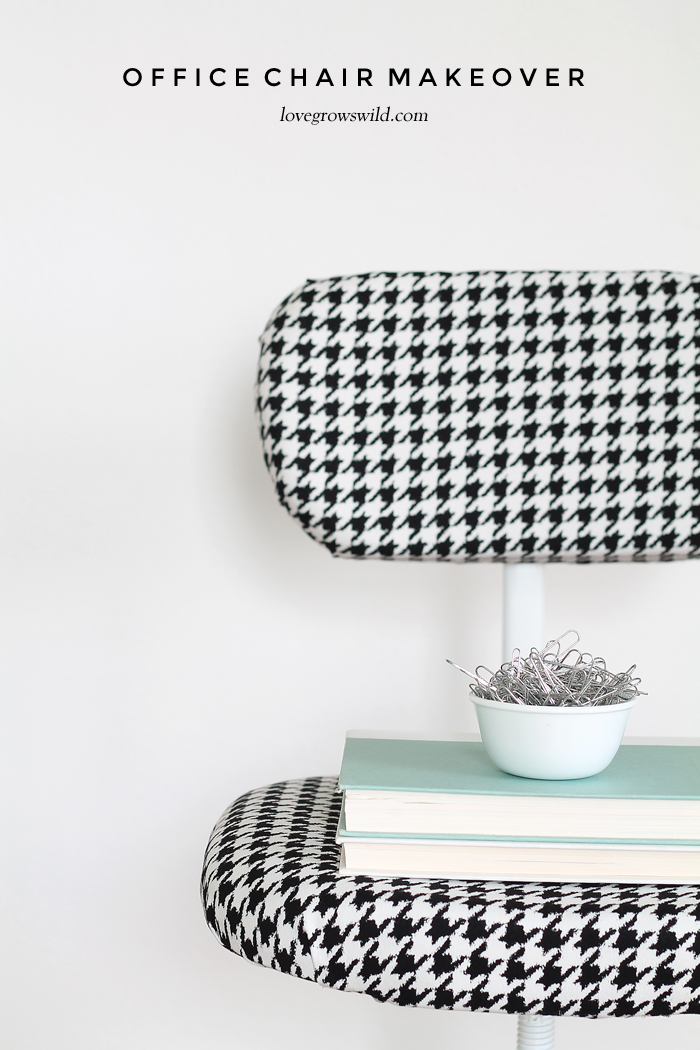
So now that the weather is nice again, and I have a good handle on the design, I’m finally ready to get this room finished! I just ordered some new equipment to start filming video tutorials here in the office, so it’s time to check this bad boy off the list. But first… I need to get organized!

My life seems to get crazier and more hectic as the blog grows and the boys get older, and I have such a hard time keeping everyone’s schedules straight. Two different baseball schedules, preschool, field trips, work trips, work deadlines, doctor’s appointments… is it wrong that all I want for Christmas is an assistant this year?
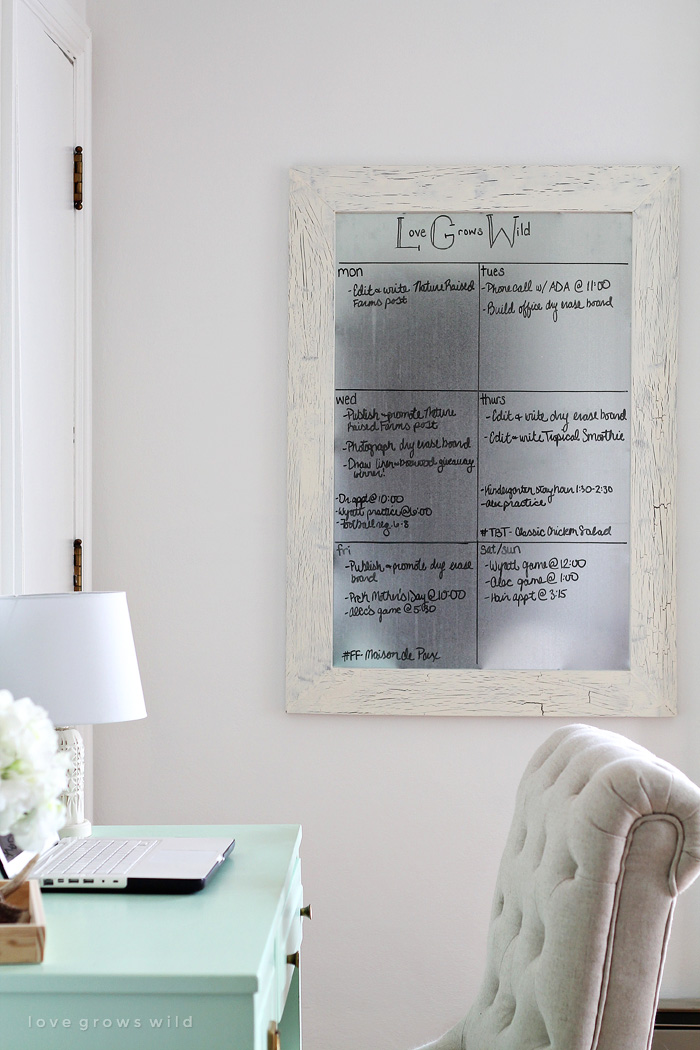
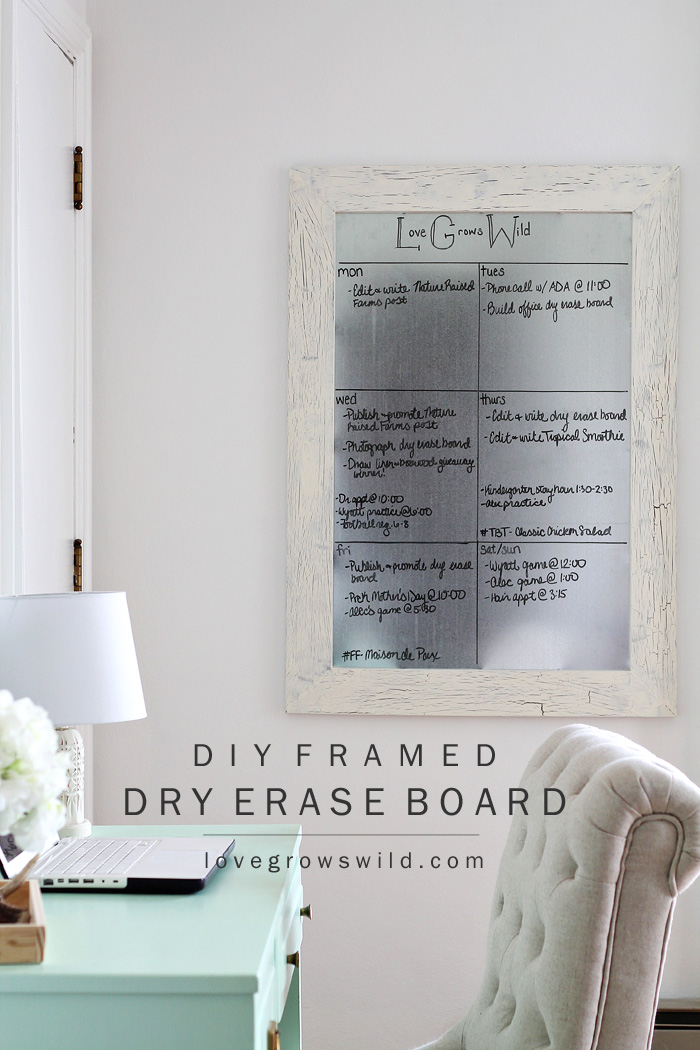
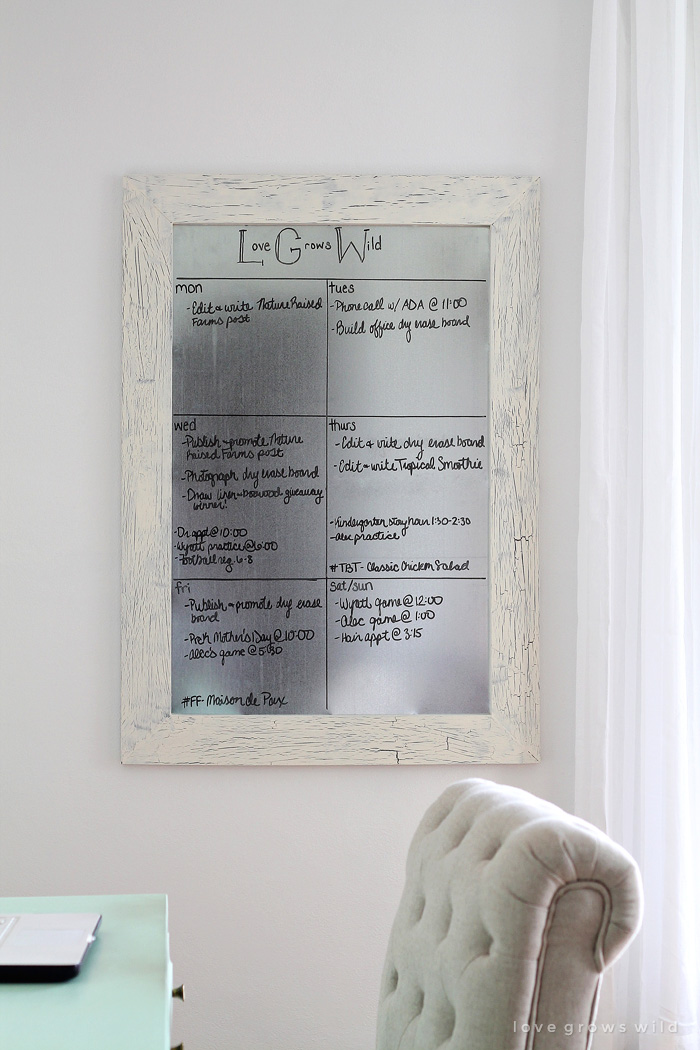
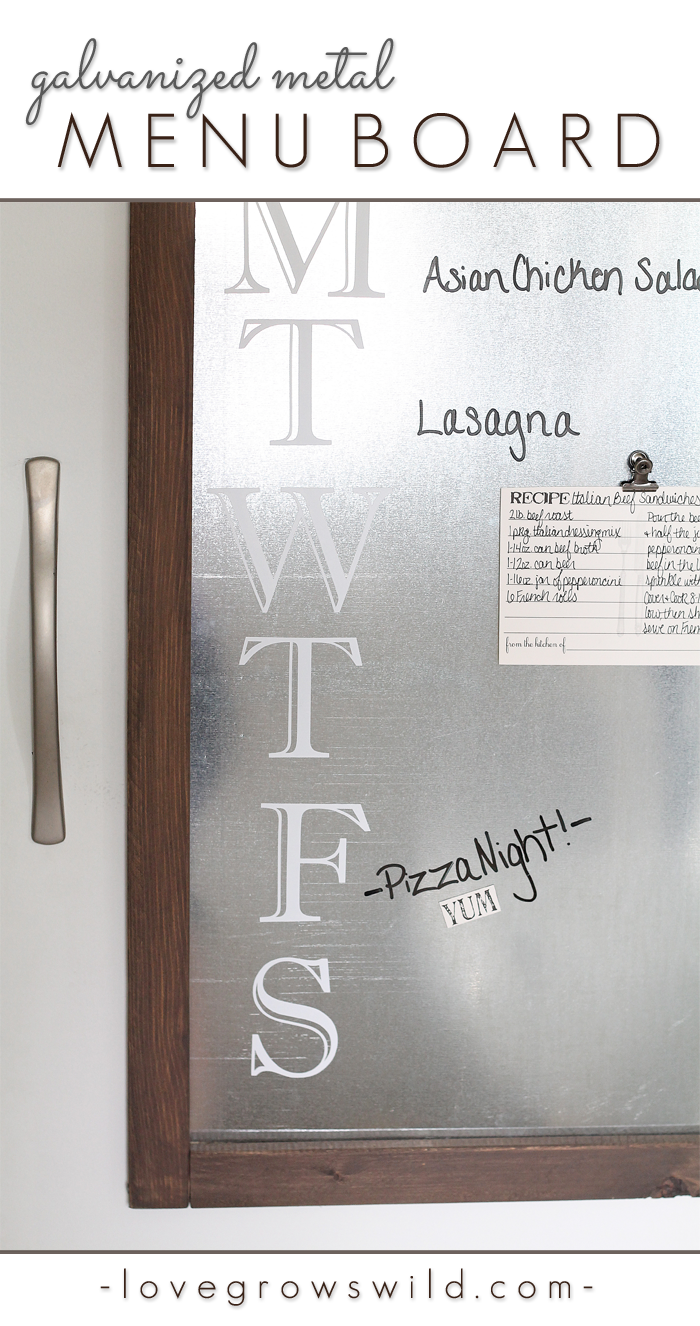
I decided to dedicate a little bit of wall space in my office for some sort of calendar/organizer, and I am in LOVE with how this turned out! The first thought that popped into my head was, CHALKBOARD! But honestly, chalk can be kind of messy, especially with how much I plan on using this piece. You may remember the dry erase menu board I made for my pantry awhile back, and let me tell you… we use this thing ALL the time! So why not use that same idea and turn it into a GIANT dry erase board for my office?
There are affiliate links located within this post… thank you for helping support our blog!
Supplies:
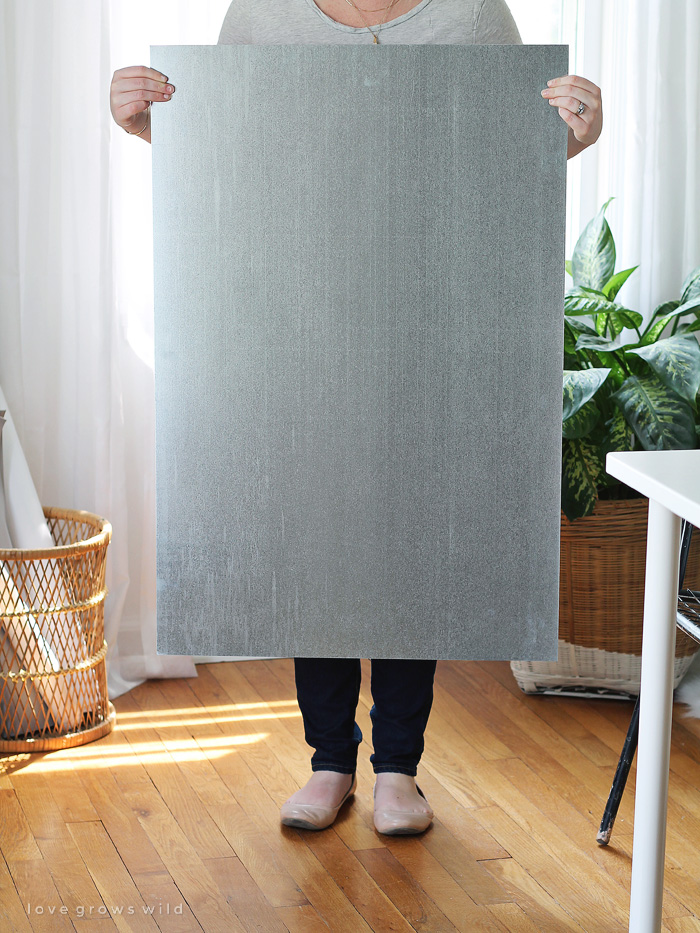
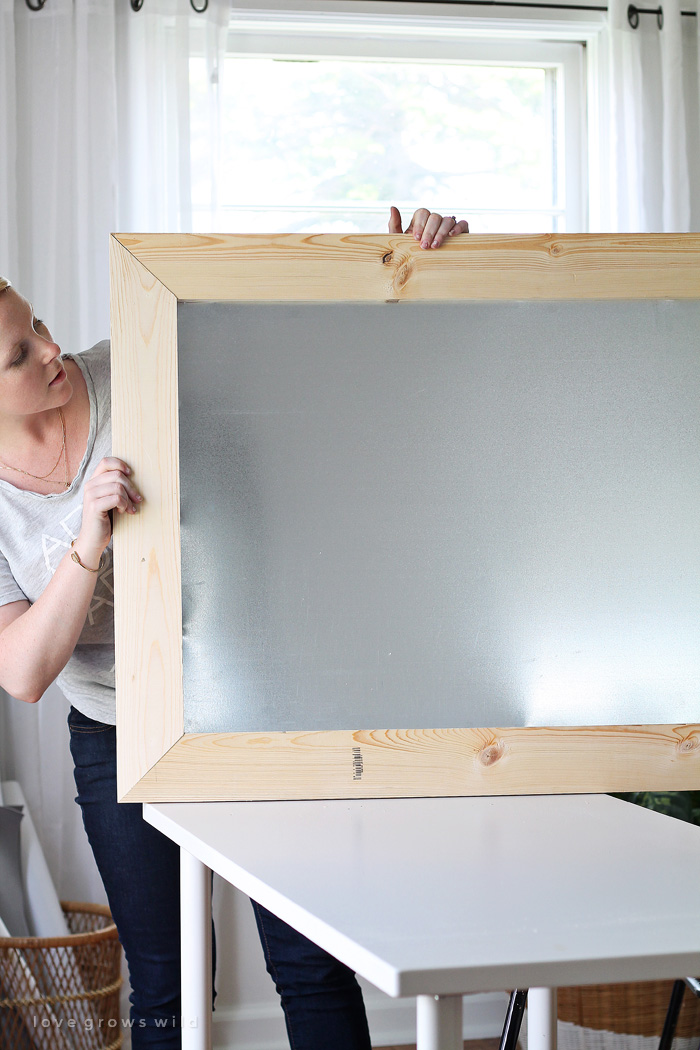
36″ x 24″ piece of flat sheet metal
2 – 1 x 4 boards cut to 42″ long
2 – 1 x 4 boards cut to 30″ long
miter saw
Kreg Jig
tape measure
drill
1 1/4″ Kreg Jig screws
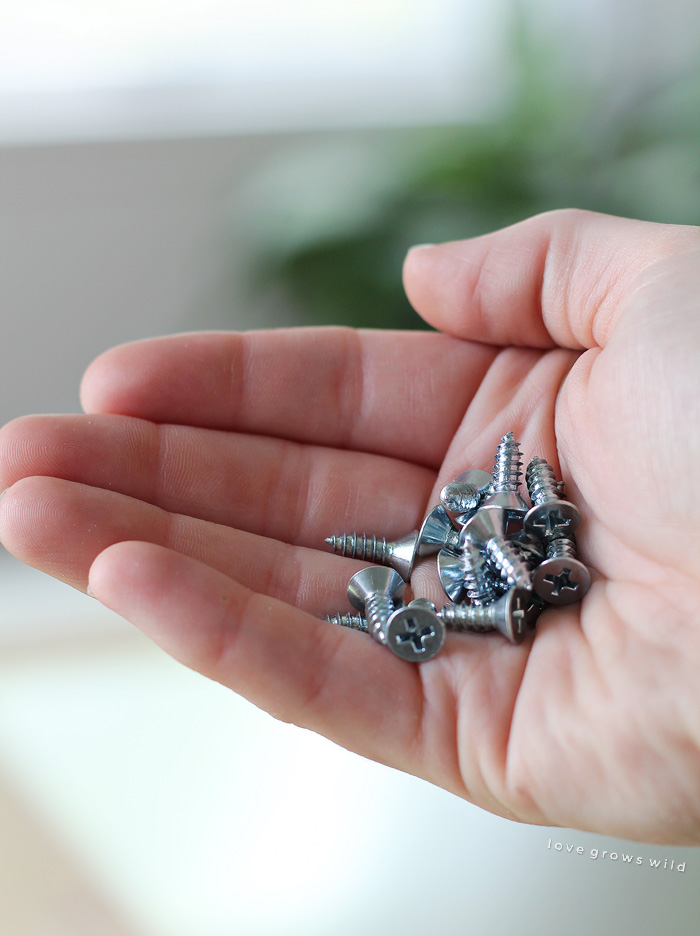
1/2″ sheet metal screws
paint and/or stain of choice
Command Hanging Strips (or other hardware for hanging)
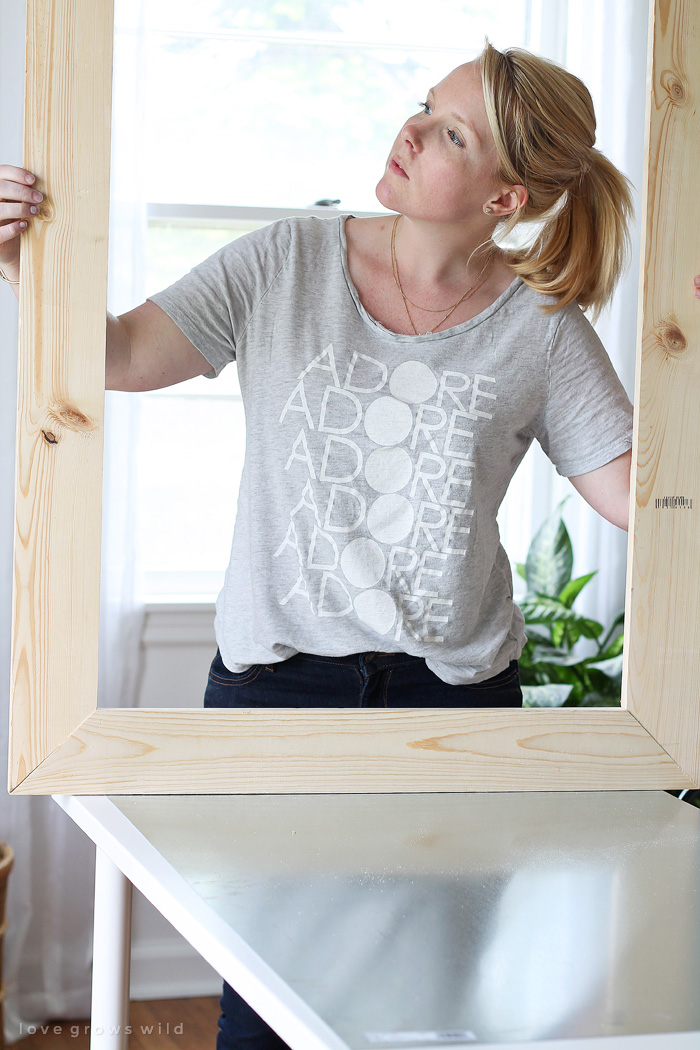
Step one:
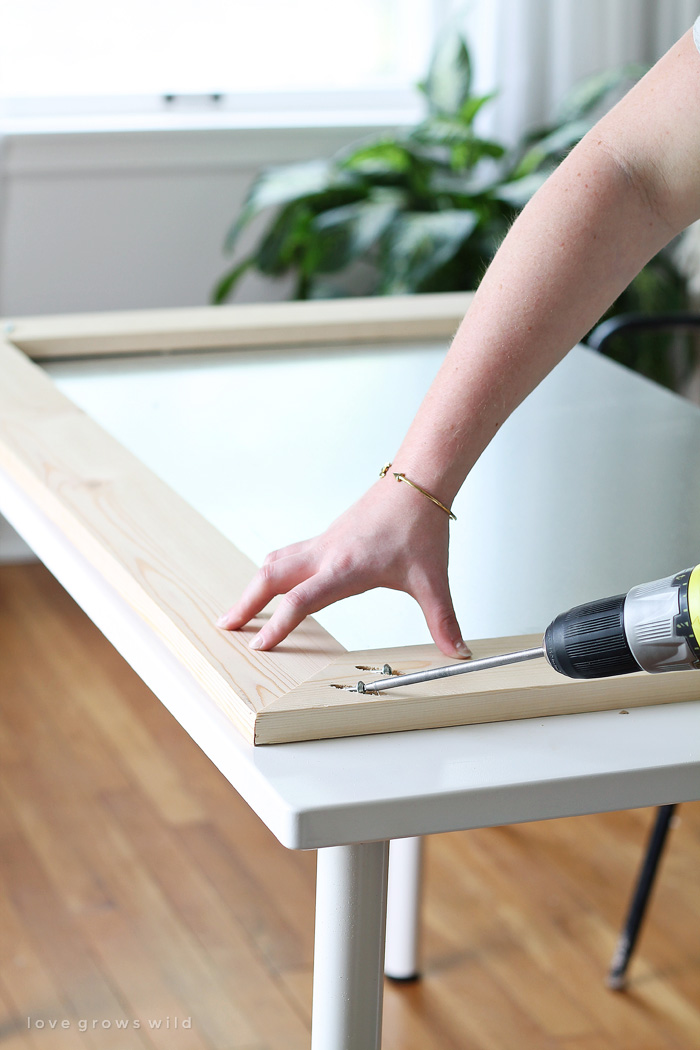
Cut a 1 x 4 into 4 pieces: 2 – 42″ long and 2 – 30″ long. Miter all the edges at a 45º angle. Then use the Kreg Jig to add pocket holes to your boards. I made two holes on both ends of the 30″ boards. Fit the mitered edges of the boards together to create a frame, then add 1 1/4″ Kreg Jig screws to the pocket holes to secure the frame.
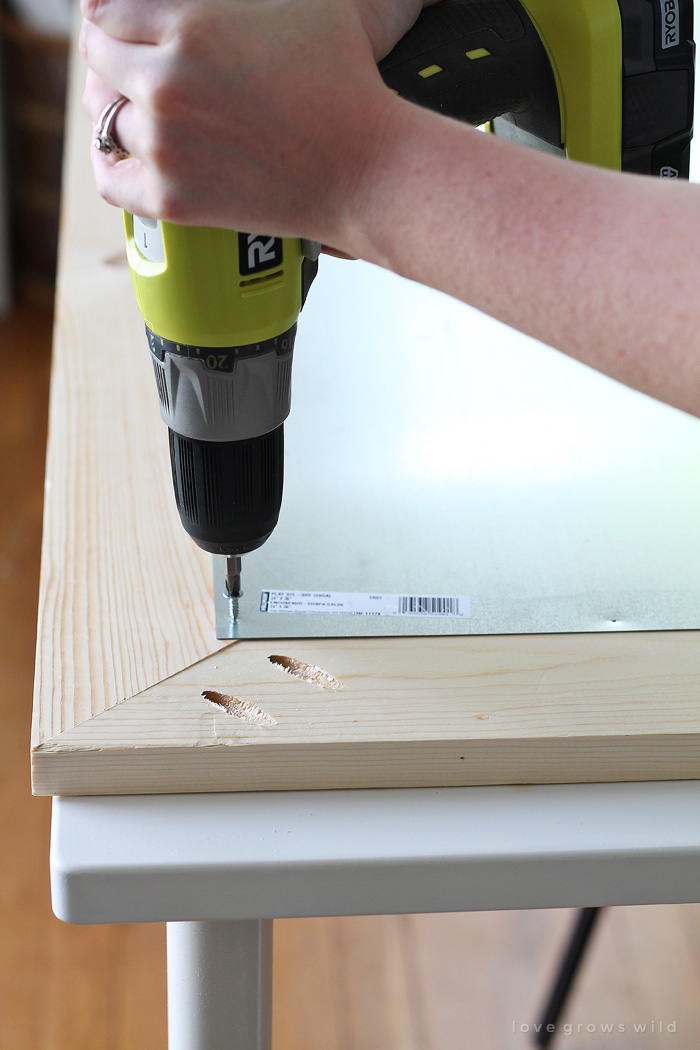
Step two:
Now attach the sheet metal to the back of the frame with screws. I first used a sharp drill bit and a hammer to create a small hole where I wanted each screw to go.
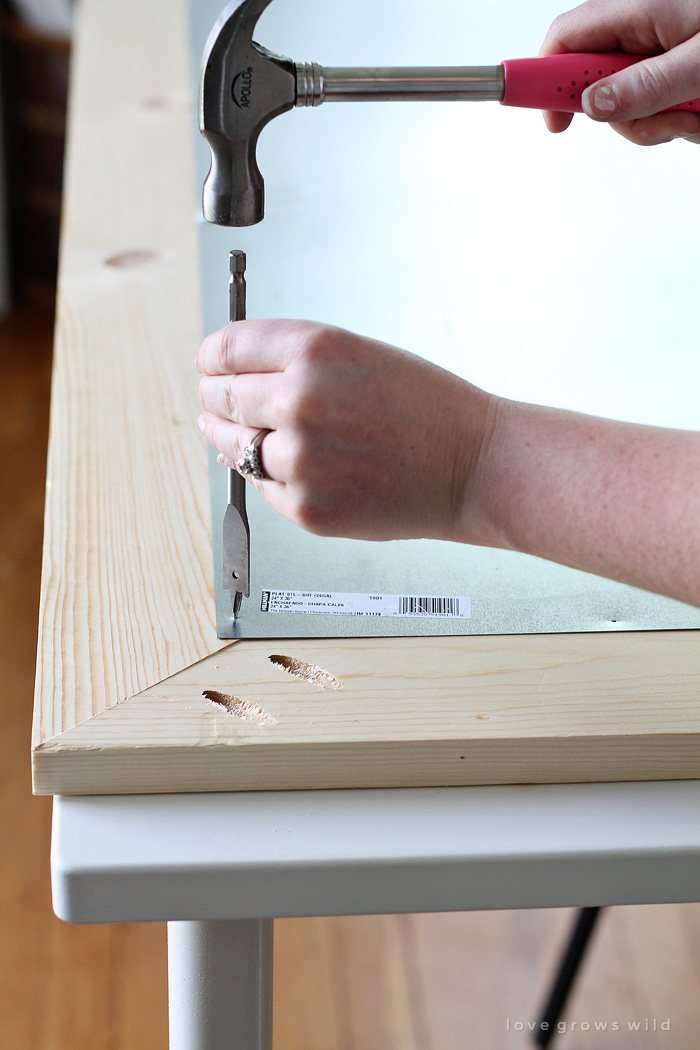
Make sure to use 1/2″ sheet metal screws so they don’t poke through the front of the frame!
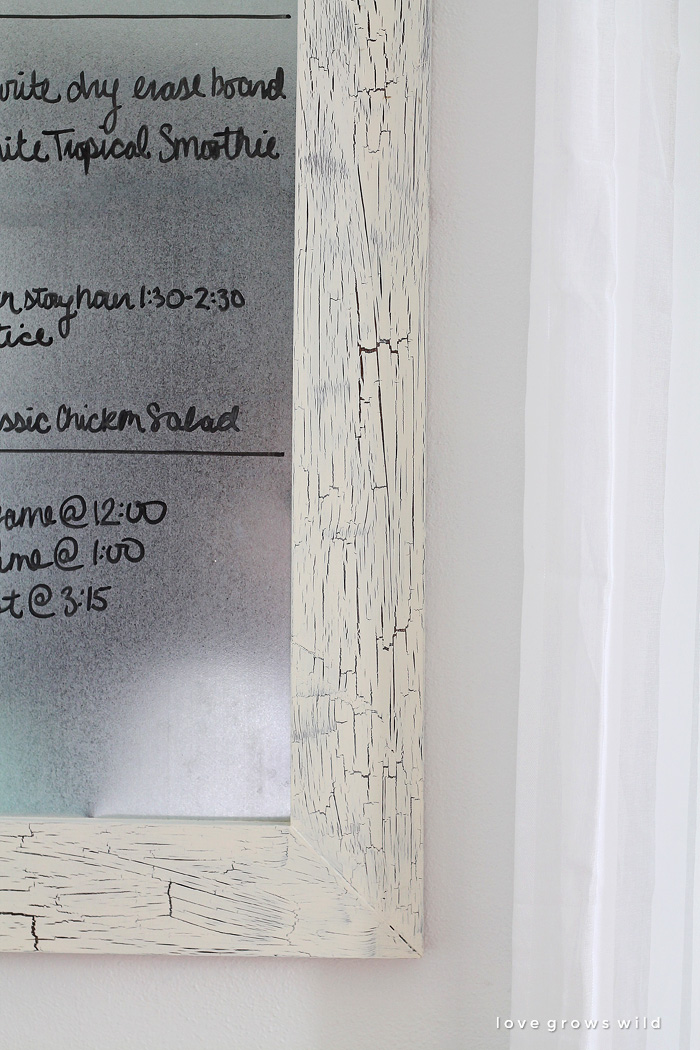
The last step is painting or staining your frame. I did a cracked white paint with dark wood stain underneath, and although I’m not going into details on HOW I got that awesome chipped paint look today, I promise to have a full tutorial for you soon!
It probably would have been smarter to paint the frame BEFORE adding the sheet metal, but I was just too excited to get it all put together. It only took a minute or two to put down some painter’s tape over the metal, but you can definitely paint the frame beforehand and save yourself this step!

You can use any hardware you want to hang the dry erase board, but I like using Command Hanging Strips. I don’t have to add any holes to the wall, and they’re super easy to use.
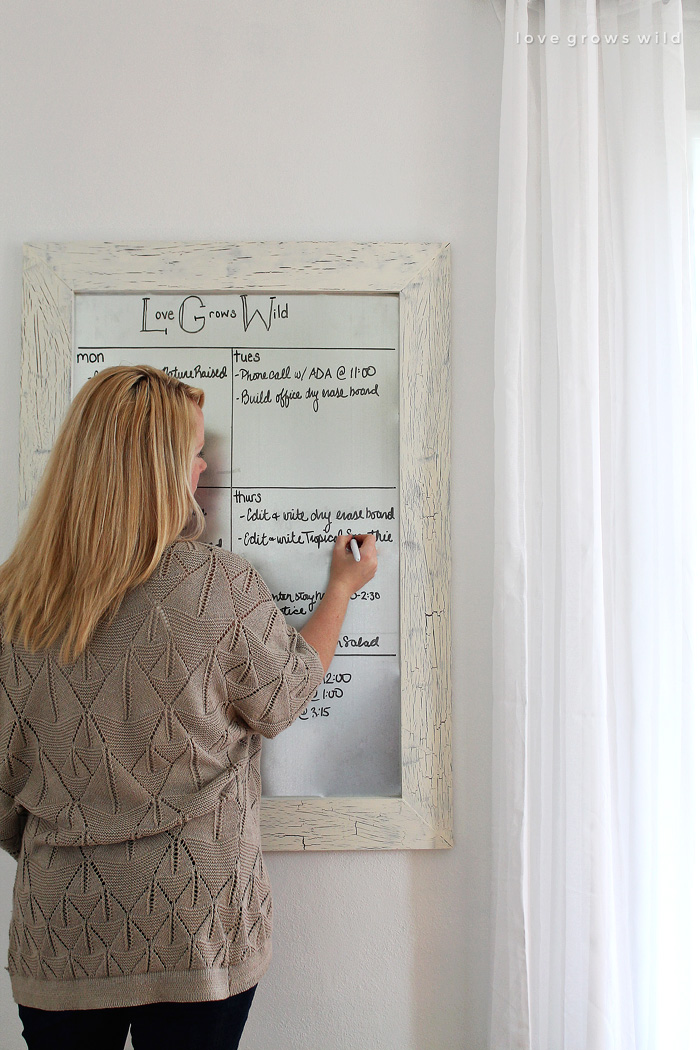
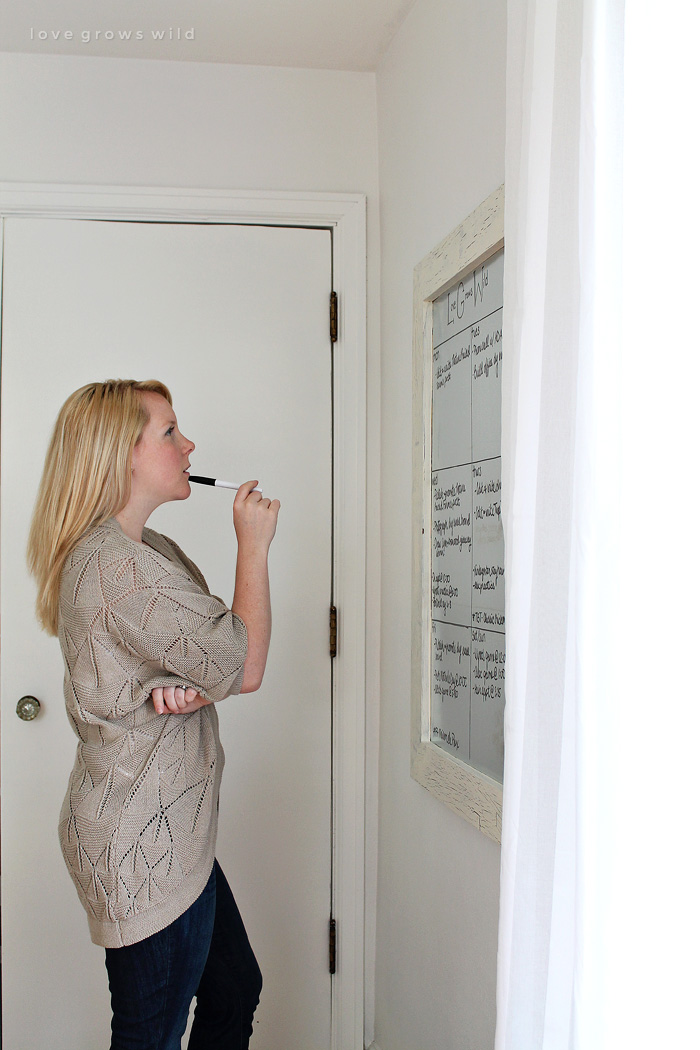
It didn’t take long to fill up my new office organizer with notes and appointments and deadlines, but now I can look over while I’m sitting at my desk and see EXACTLY what I need to accomplish that day! Seriously, I don’t know what it is, but I have to have a to-do list sitting right in front of me or else I get totally distracted by other stuff like Pinterest or Real Housewives or chocolate…
Using sheet metal for the dry erase board works like a charm, and the best part is that it’s magnetic too! I just set my dry erase marker on the bottom 1 x 4 and keep a little towel (paper towels work too) nearby when it’s time to start fresh with a new week. Now that I have this office organizer, I’m able to plan ahead better and keep my sanity during long, chaotic weeks. I think EVERYONE needs one of these!
I hope you enjoyed today’s project! Stay tuned for more office updates coming soon!
Like what you see? Subscribe to Love Grows Wild so you’ll never miss a post!
Follow along on Pinterest, Google+, Instagram, and Facebook for more fun!
Are you making this project? I’d LOVE to see it! Post a photo of your creation on Instagram and use the hashtag #MyLGWProject. It may just get featured!
See more projects:
LET’S KEEP IN TOUCH!
Subscribe to Blog | Browse my Shop | Follow on Facebook | Follow on Twitter
Follow on Google+ | Follow on Pinterest | Follow on Instagram

SUCH a cute idea! LOVE that you can throw a few magnets on it too! And I’m totally crushing on that crackly-weathered finish on the frame! It’s perfect Liz!!!
Just have to say how much I love your site, and your design and DIY sense… know where I’m headed tomorrow? The hardware store….
You totally just made me smile, Christine! Have fun creating, sweet friend! 🙂
Wow!! This is beautiful!! Great job.
Love this dry erase board!
I’ve seen a lot of people use glass as a makeshift dry erase board, but have never heard of using sheet metal. I really like it though! It gives it a great rustic feel. Thanks for sharing!
I love this project!! Using the metal sheet is a great idea, and I’m dying to know how you got the white crackle finish on the frame!
It is on my to-do list, girl… I promise!! The crackle finish tutorial WILL be coming soon! 🙂
Gorgeous dry erase board! I love everything about it! Where can I find the 36″ x 24″ piece of flat sheet metal?
Just read your post. I have an oil drip pan that works pretty good for my lists. However for a couple of weeks I did not wipe it off and now I have marks that I can’t take off. Do you have any ideas on how to clean it and possibly either condition or prep the pan so it doesn’t happen as easily?
Hmm… I’m not sure. I forget to wipe mine sometimes too, but usually after a few more times of writing/wiping the board, it looks nice again. Let me know if you come up with any clever ideas!